For Magento stores serving multiple languages or currencies, we recommend the standard tag integration using Google Tag Manager.
The Magento plugin lets you install via GitHub and enable Mention Me tags from within your Magento account. You can choose from default tag positions or manually select where tags load, and preview how they appear.
The plugin is compatible with Magento 2.1.18, 2.2.9, 2.3.x
Installing the module
Via Composer (recommended)
Add the GitHub repository as a Composer source:
composer config repositories.mentionme vcs https://github.com/mention-me/magento2-integration
composer require mentionme/module-mention-me --no-update
composer update mentionme/module-mention-me
php bin/magento module:enable MentionMe_MentionMe
php bin/magento setup:upgrade
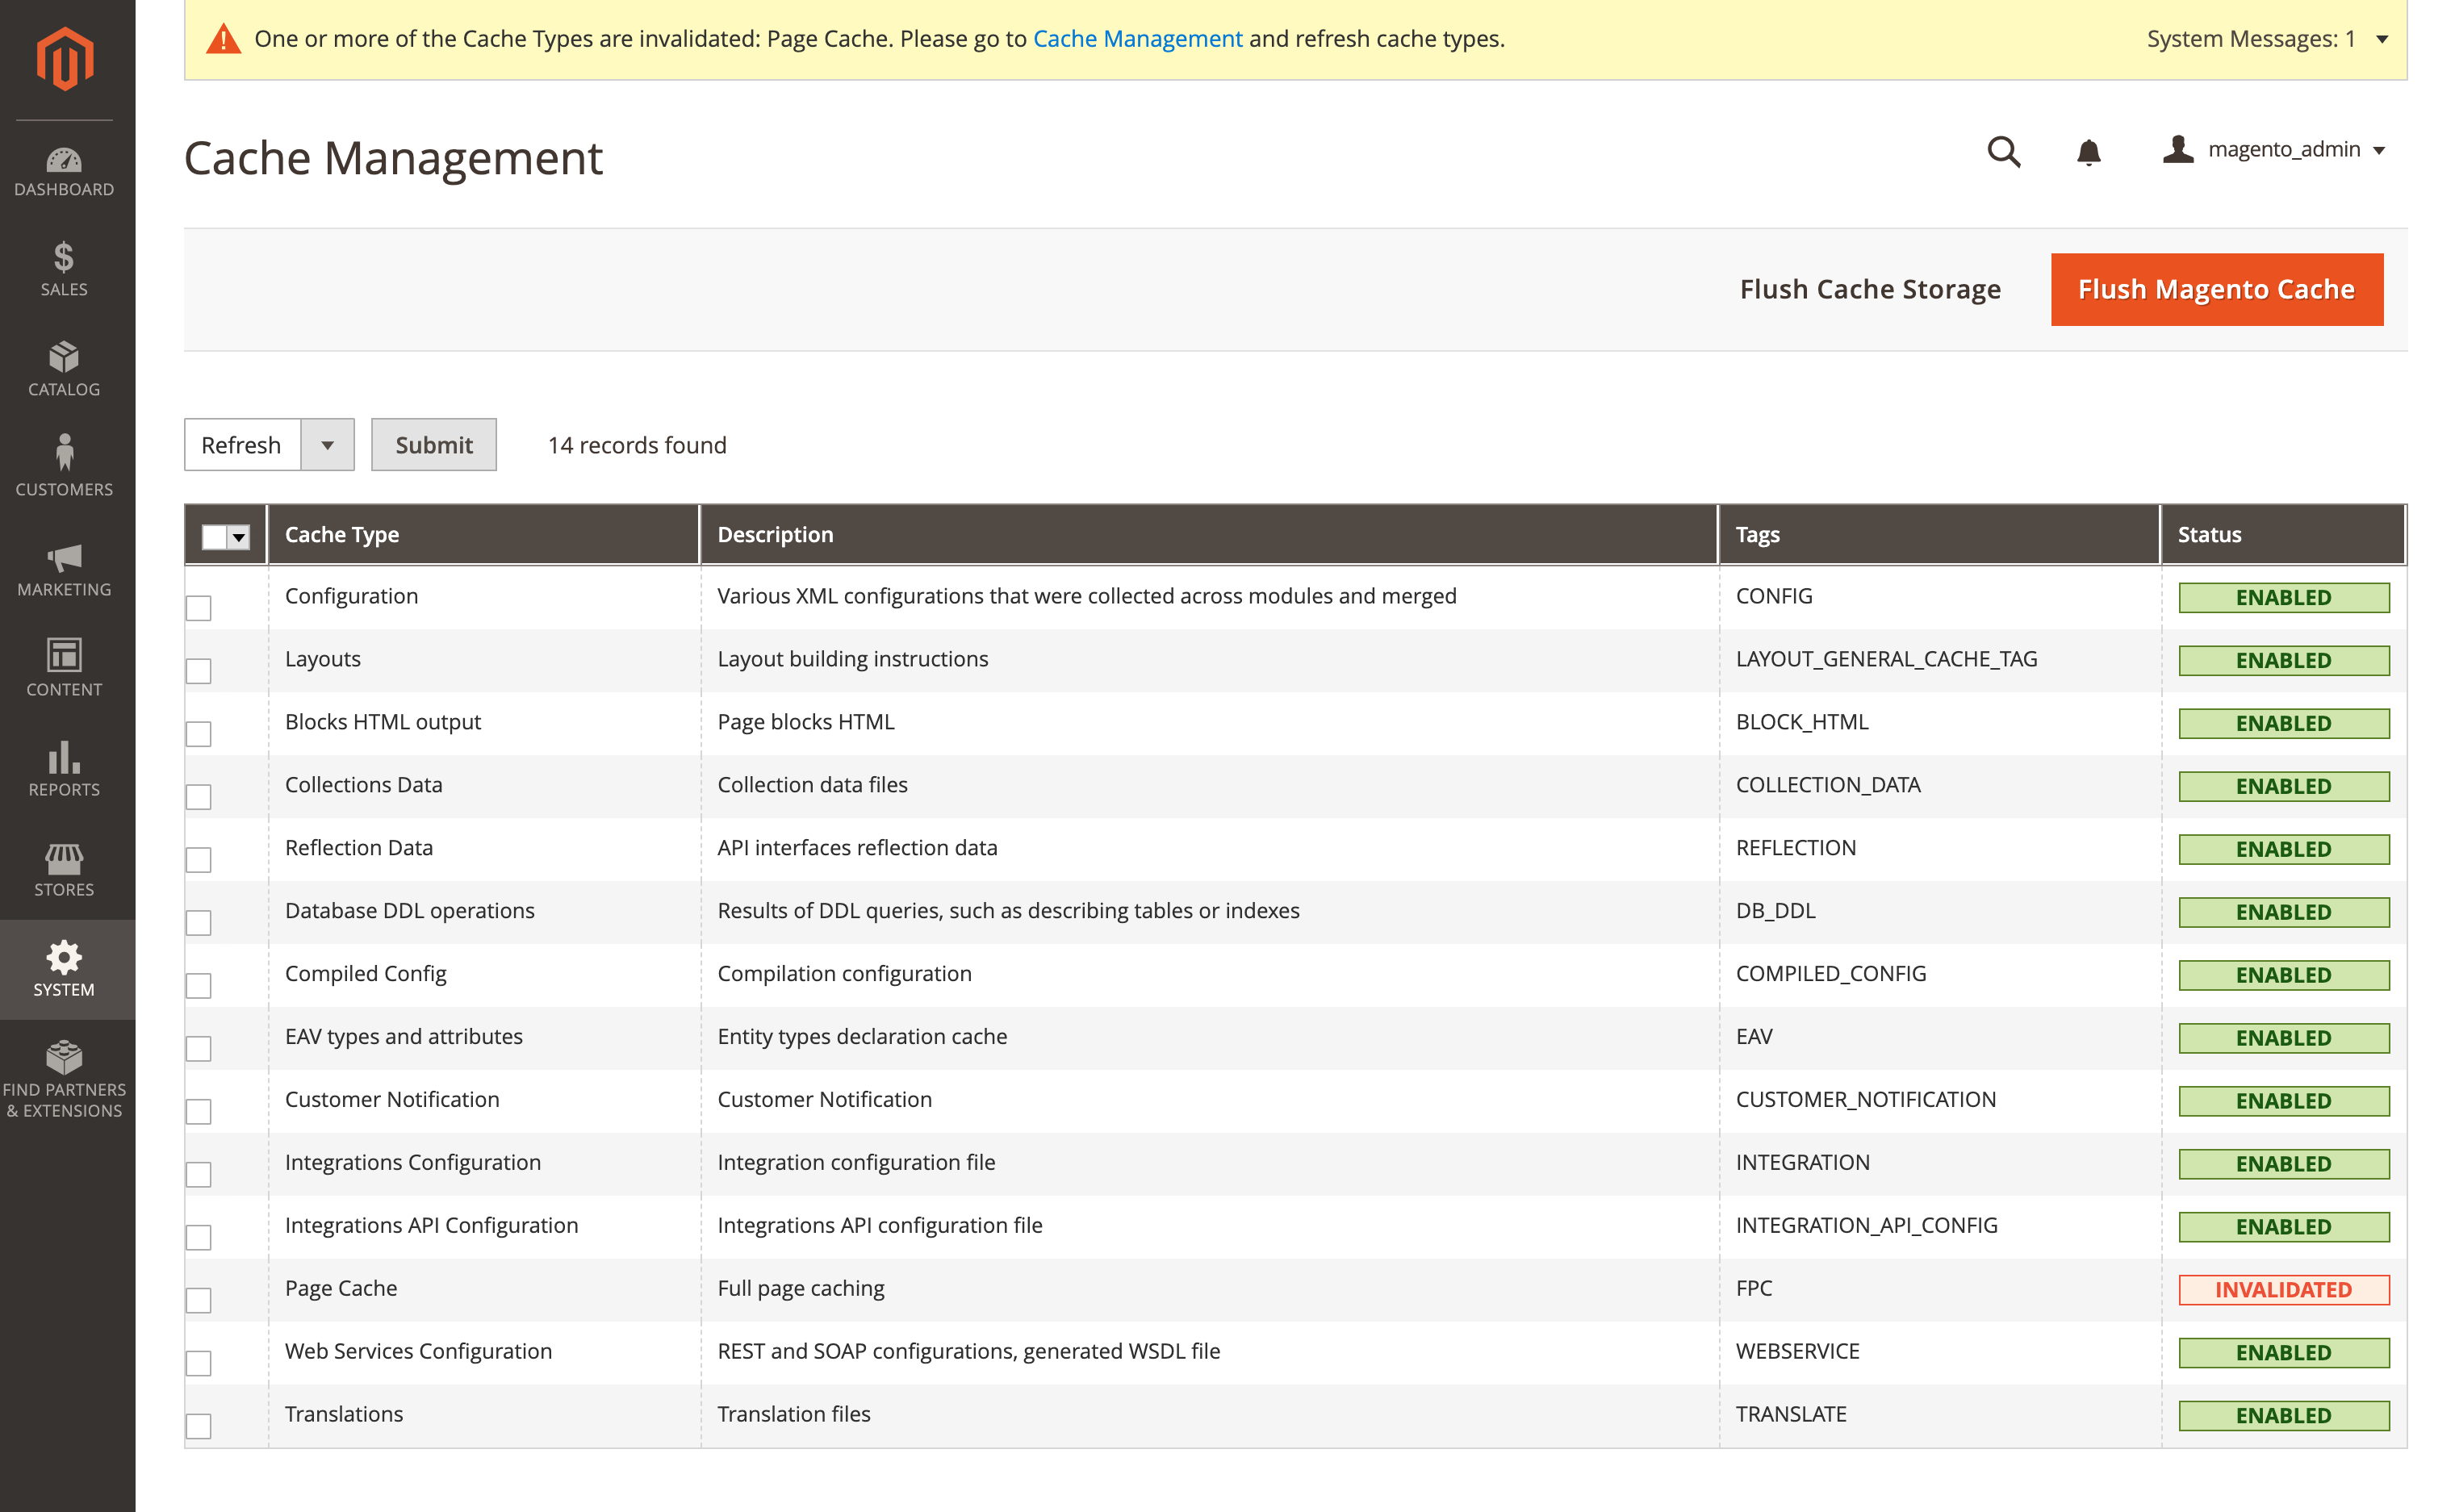
php bin/magento cache:flush

Via FTP (manual)
Download the ZIP
From GitHub, click “clone or download” > “Download ZIP”.
Copy files
Copy the app folder from the ZIP archive to your Magento root directory.
Enable the module and refresh cache
php bin/magento module:enable MentionMe_MentionMe
php bin/magento setup:upgrade
php bin/magento cache:flush
If you’re running PHP OPcache that doesn’t clear automatically, you must clear it for the new module to be available.
Configuring the integration
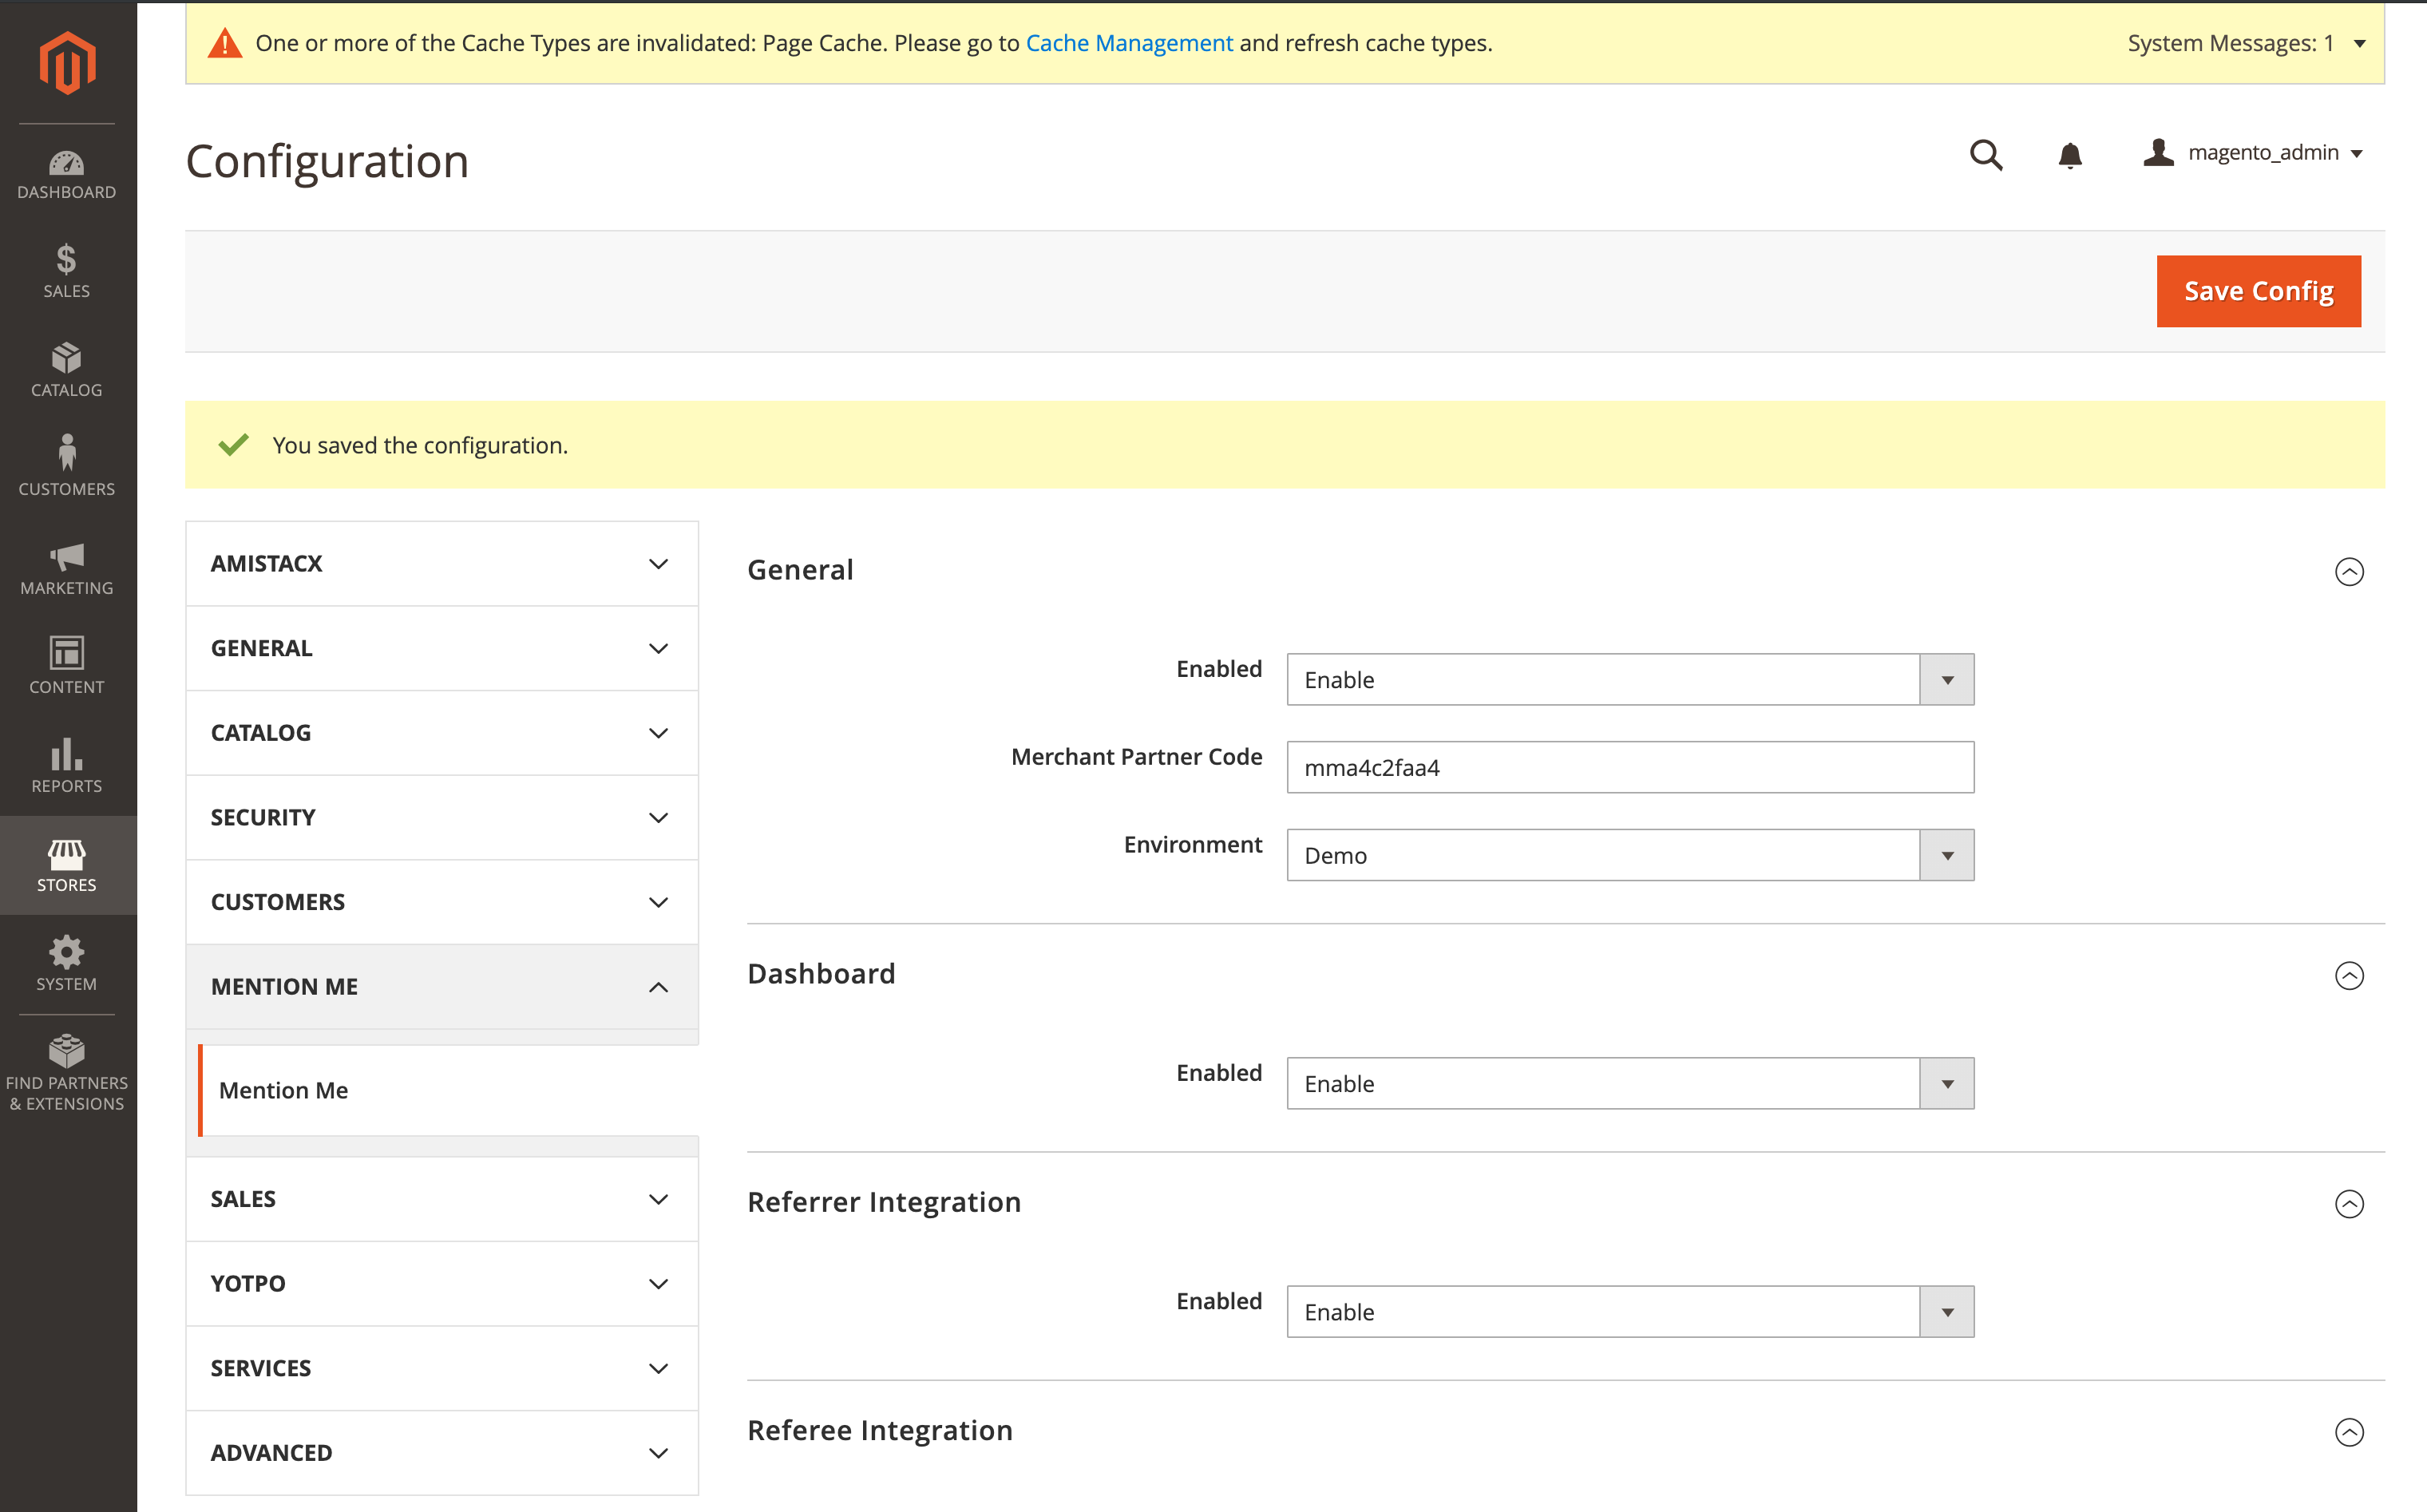
Navigate to Stores > Configuration > Mention Me and add your Merchant Partner Code in the General configuration section.
Referrer
Automatically enabled. Fields populated on order: firstname, surname, customer email, order_number, order_total (net), order_currency, locale.
Referee
Automatically enabled. Select the tag position from the “Position on Page” dropdown, or choose manual placement for custom themes (insert the MM wrapper in your template).
Landing page
Automatically enabled as a Magento widget. Manage and place using Magento’s widget system:
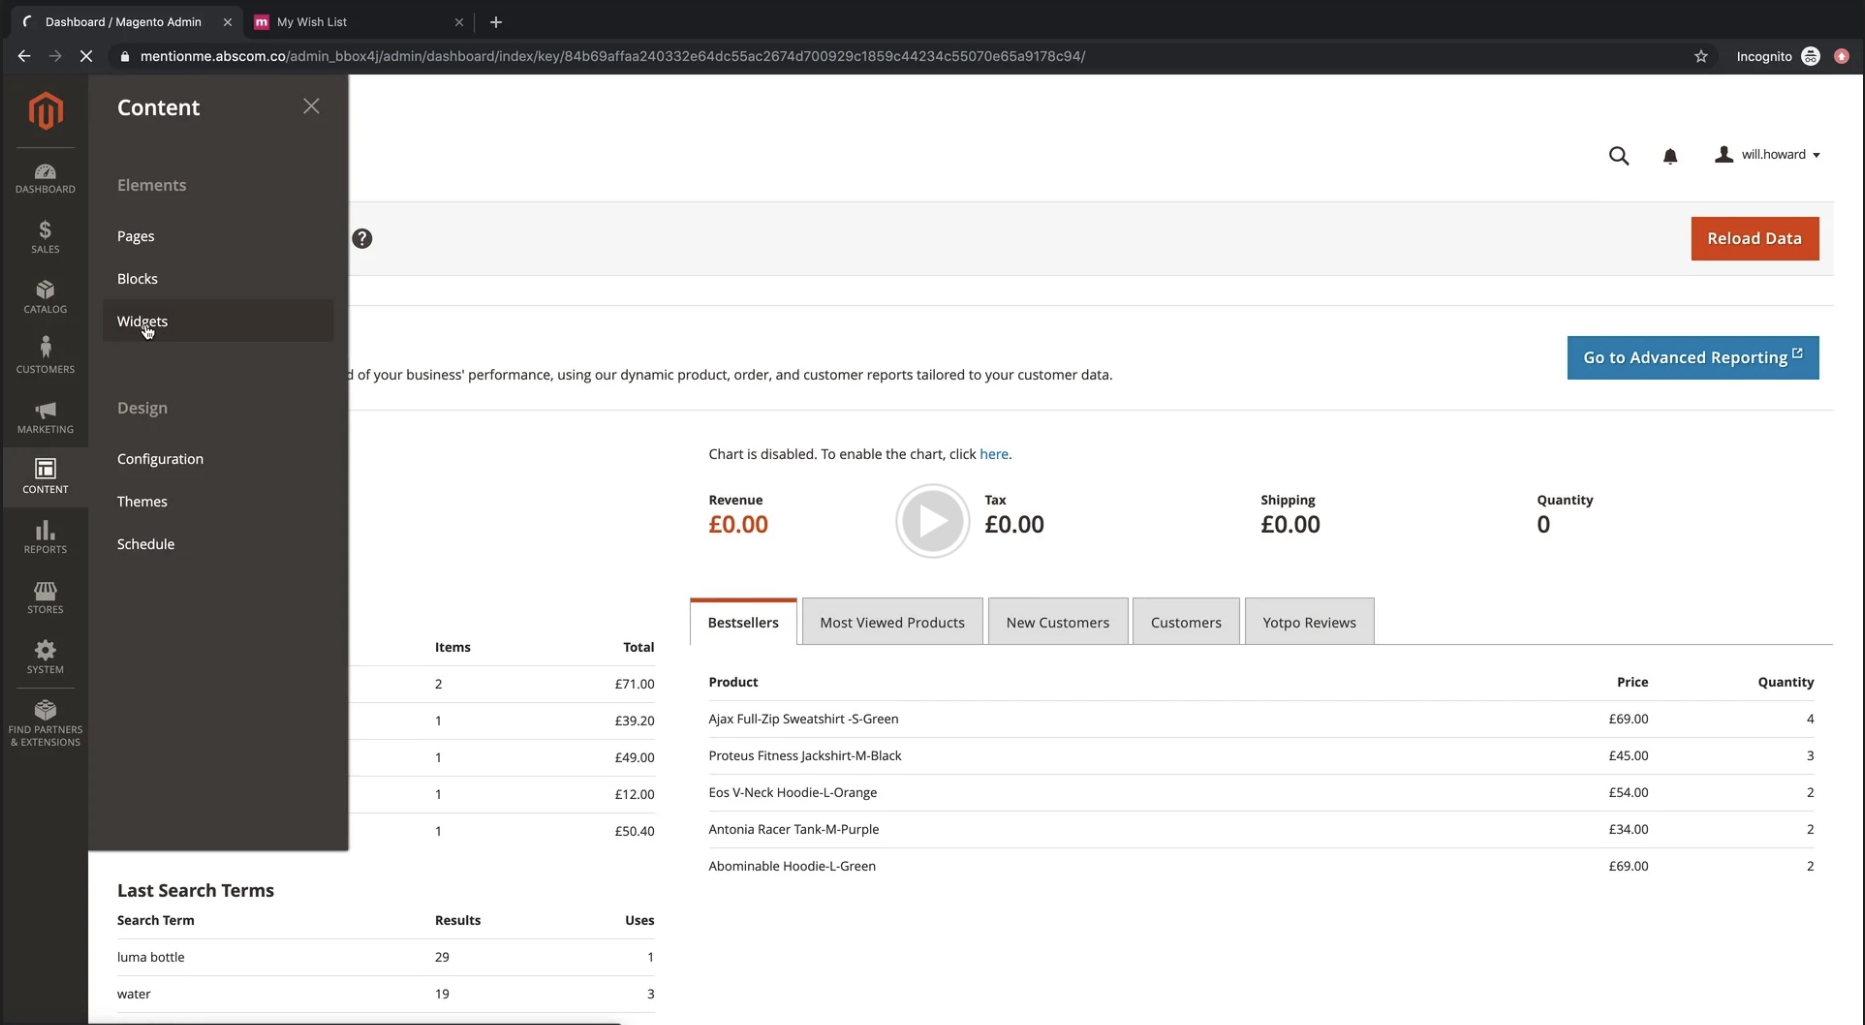
Open Widgets
Go to Content > Widgets.
Add Widget
Click Add Widget.
Select widget type
Select MentionMe Landing Page as the type and your theme. Click Continue.
Configure widget
Give the widget a title and select stores to trigger.
Set situation param
Under Widget Options, specify the situation param.
Choose layout
Use Layout Update to select the CMS page/container.
Share URL with Mention Me
Send the full landing page URL to your Mention Me Onboarding Manager.


Dashboard
Automatically enabled.
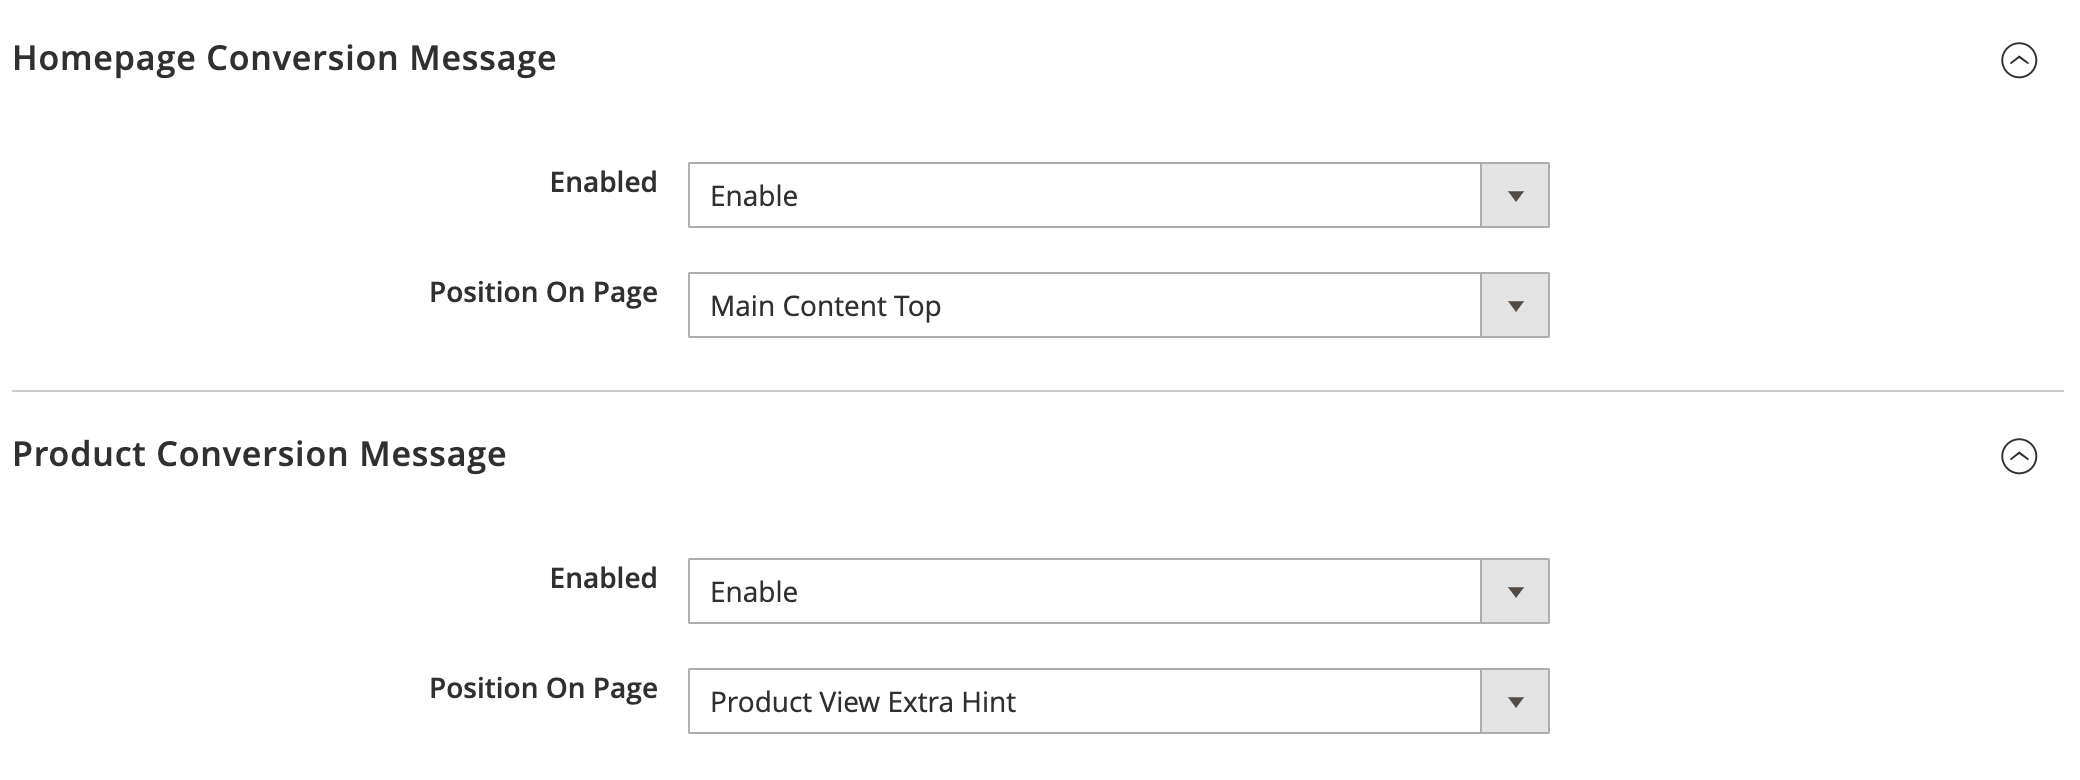
Conversion message (homepage and product)
Automatically enabled. Select the position, or manually place the tag for custom themes.

Saving and viewing the configuration
After placing tags or widgets, save config and flush cache. Click Customer View to preview how tags look for your customers.


Upgrading the module
Via Composer
composer require mentionme/module-mention-me --no-update
composer update mentionme/module-mention-me
php bin/magento setup:upgrade
php bin/magento cache:flush
Via FTP (manual)
Replace existing files
Download latest ZIP and remove existing app/code/MentionMe directory.
Copy new files
Copy new app folder to Magento root.
Upgrade module and flush cache
php bin/magento setup:upgrade
php bin/magento cache:flush
Removing the module
Via Composer (recommended)
composer remove mentionme/module-mention-me
php bin/magento setup:upgrade
php bin/magento cache:flush
Via FTP (manual)
Delete module files
Delete app/code/MentionMe directory.
Flush config and cache
php bin/magento setup:upgrade
php bin/magento cache:flush
As with any new software install, always take backups and test in staging before deploying to production.