Running A/B tests is one of the most effective ways to optimise your referral campaigns. With the updated test creation flow, you can launch smart experiments in minutes using proven templates or create custom tests tailored to your goals.

Step-by-Step Guide

1

Navigate to the Right Campaign

Open Mention Me and navigate to the campaign where you’d like to run an A/B test. Click the Run an A/B Test button at the top of the campaign dashboard.
Run an A/B Test button on campaign dashboard

The Run an A/B Test button at the top of the campaign dashboard.

2

Choose a Test Template or Create a Custom One

Select one of the 12 pre-built test templates based on high-performance examples from other brands. Templates are labelled:
  • High Impact: Proven to deliver strong uplift
  • Low Effort: Quick and easy to implement
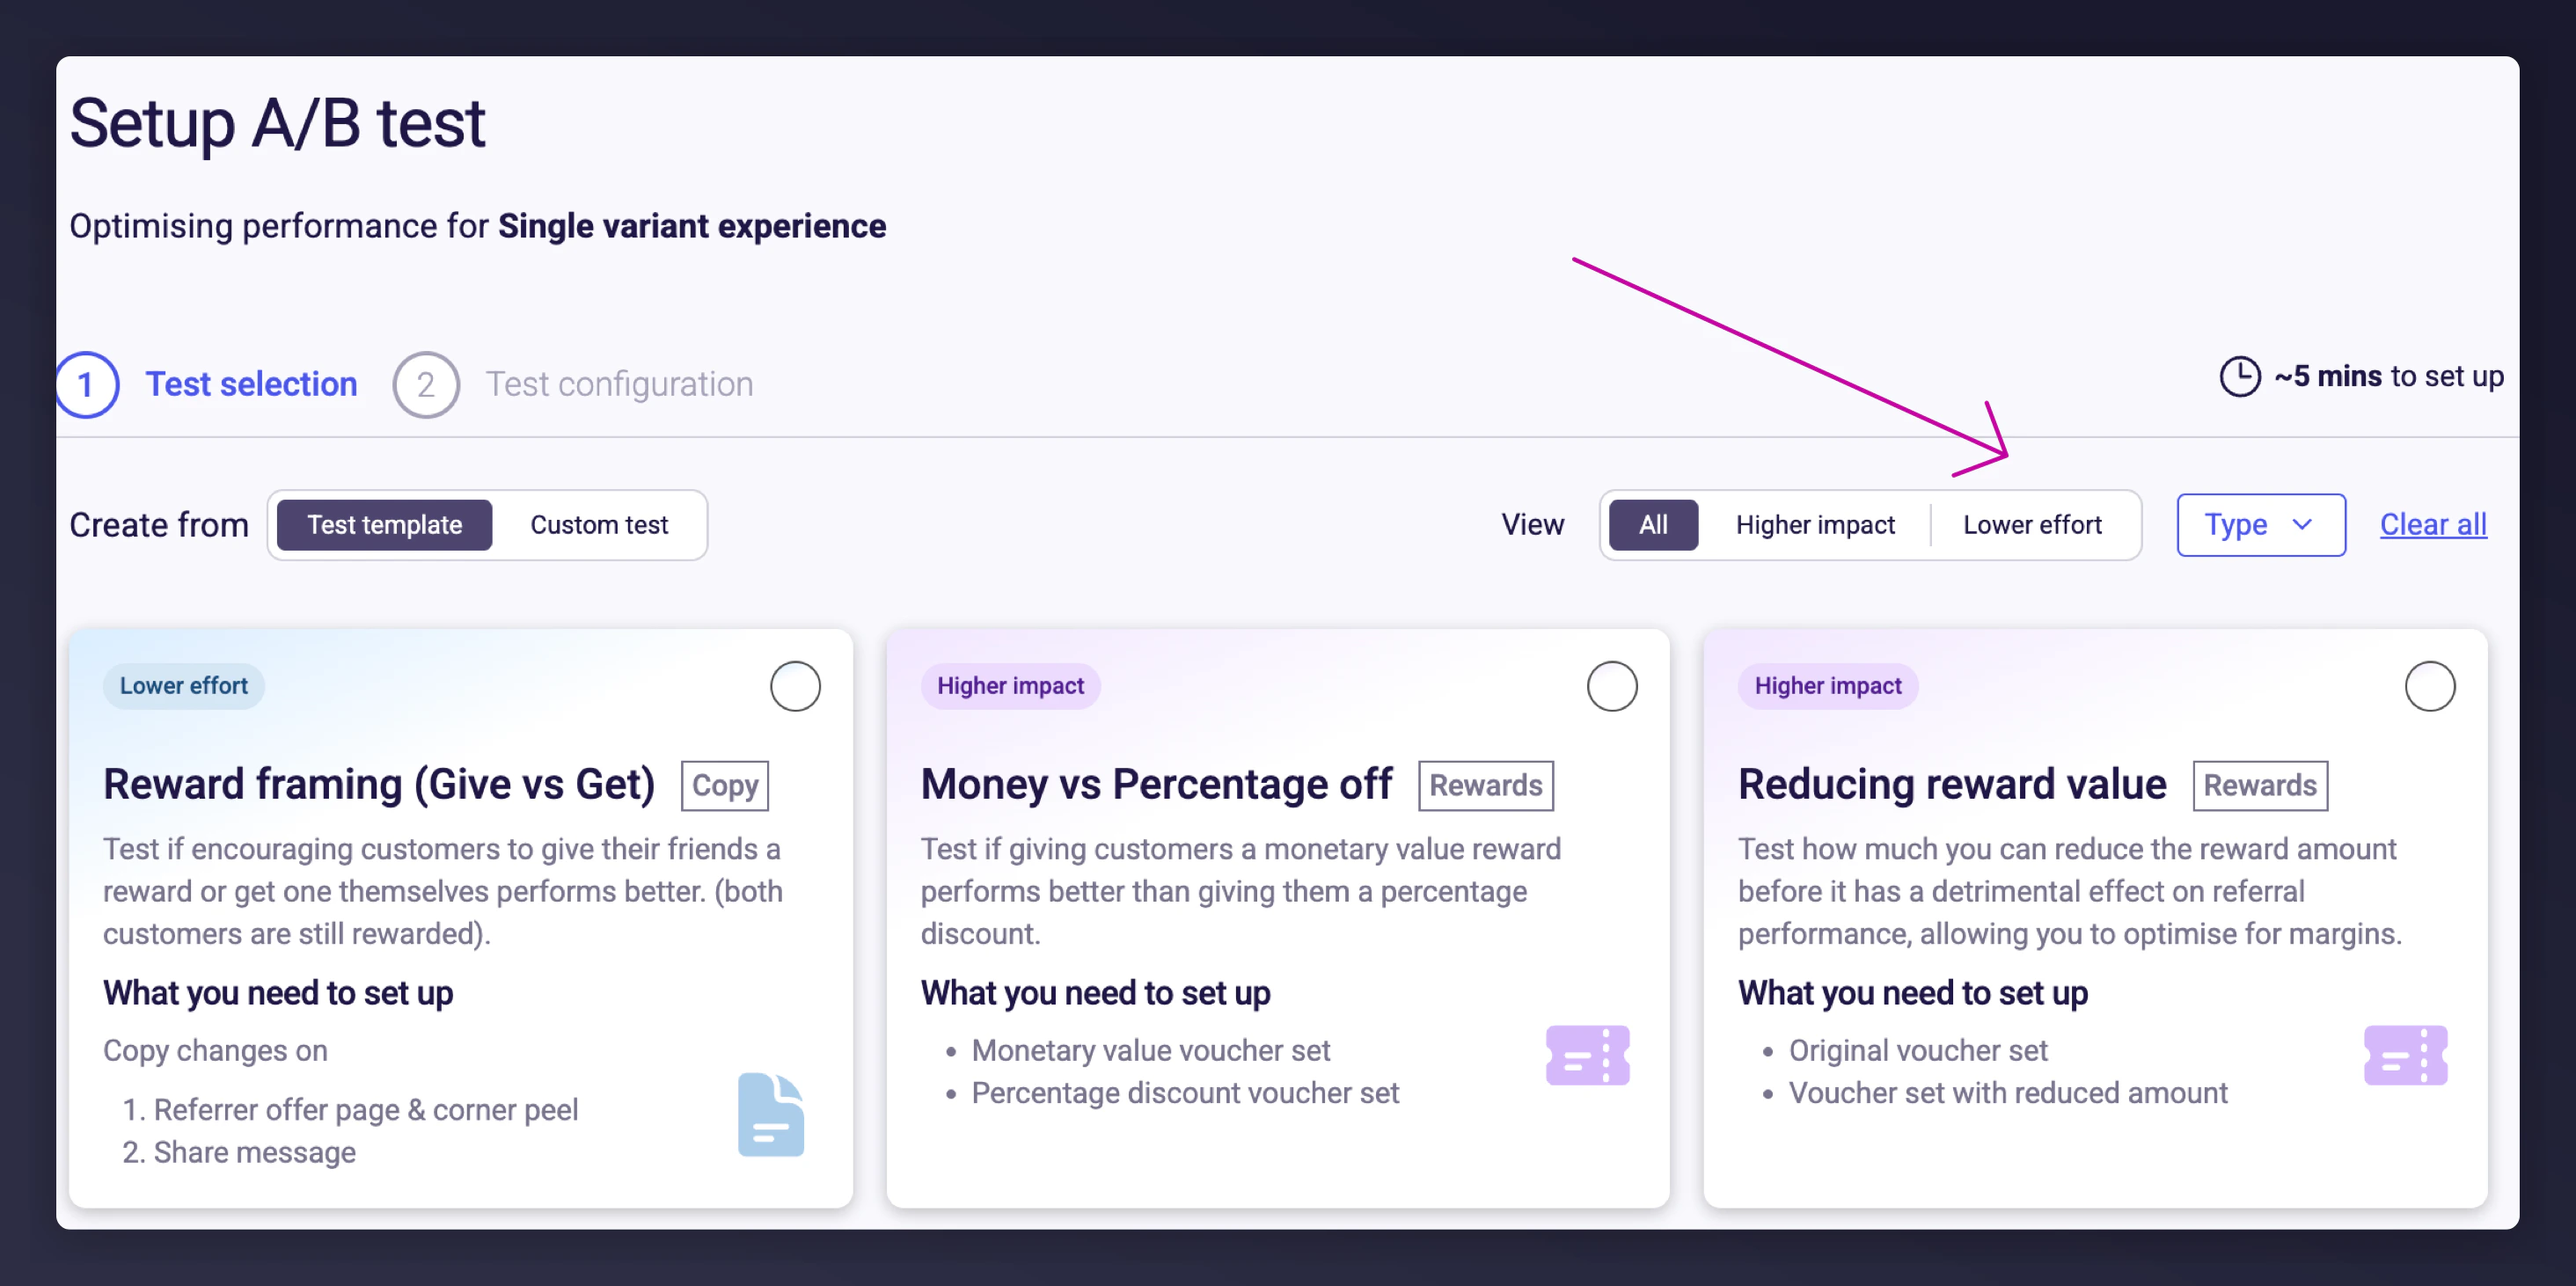
Filter templates using the toggles for Impact, Effort, or test type at the top of the gallery.
A/B test template gallery with impact and effort labels

The A/B test template gallery, showing templates labelled by impact and effort.
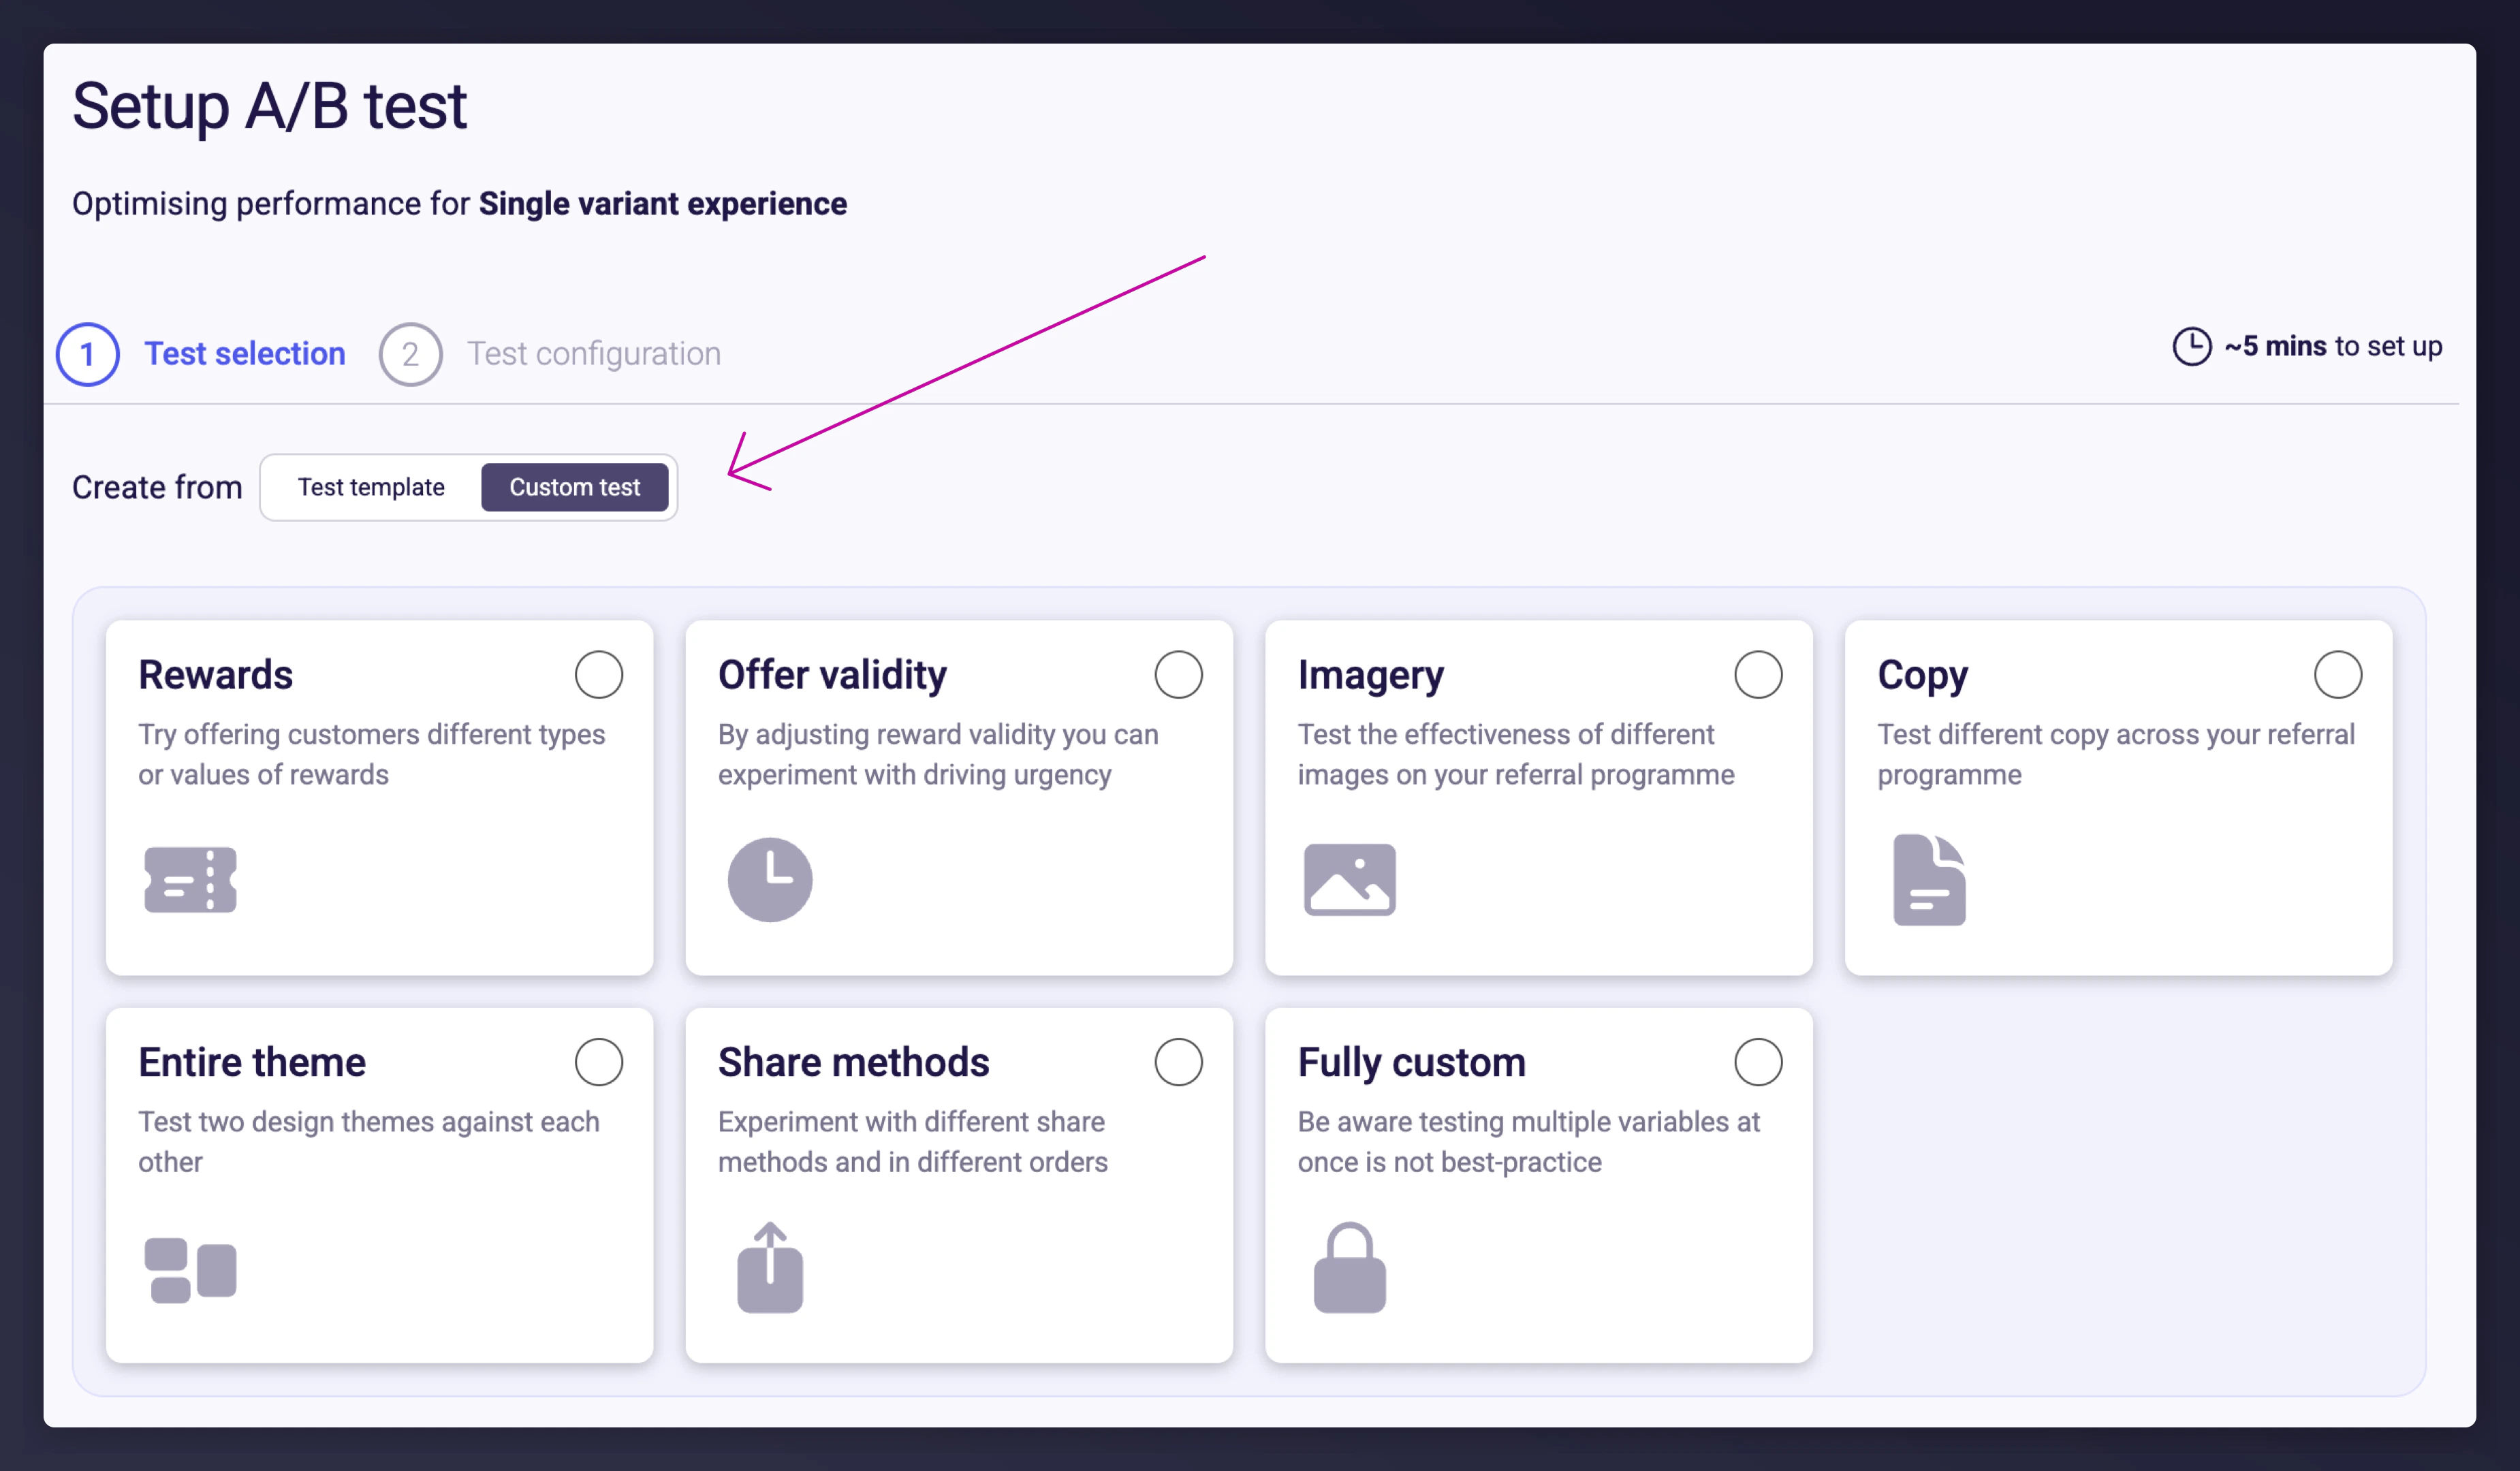
For flexibility, choose Custom Test to configure your own experience.
Custom test configuration option

The Custom Test option for configuring your own experience.

3

Configure the Variant Experience

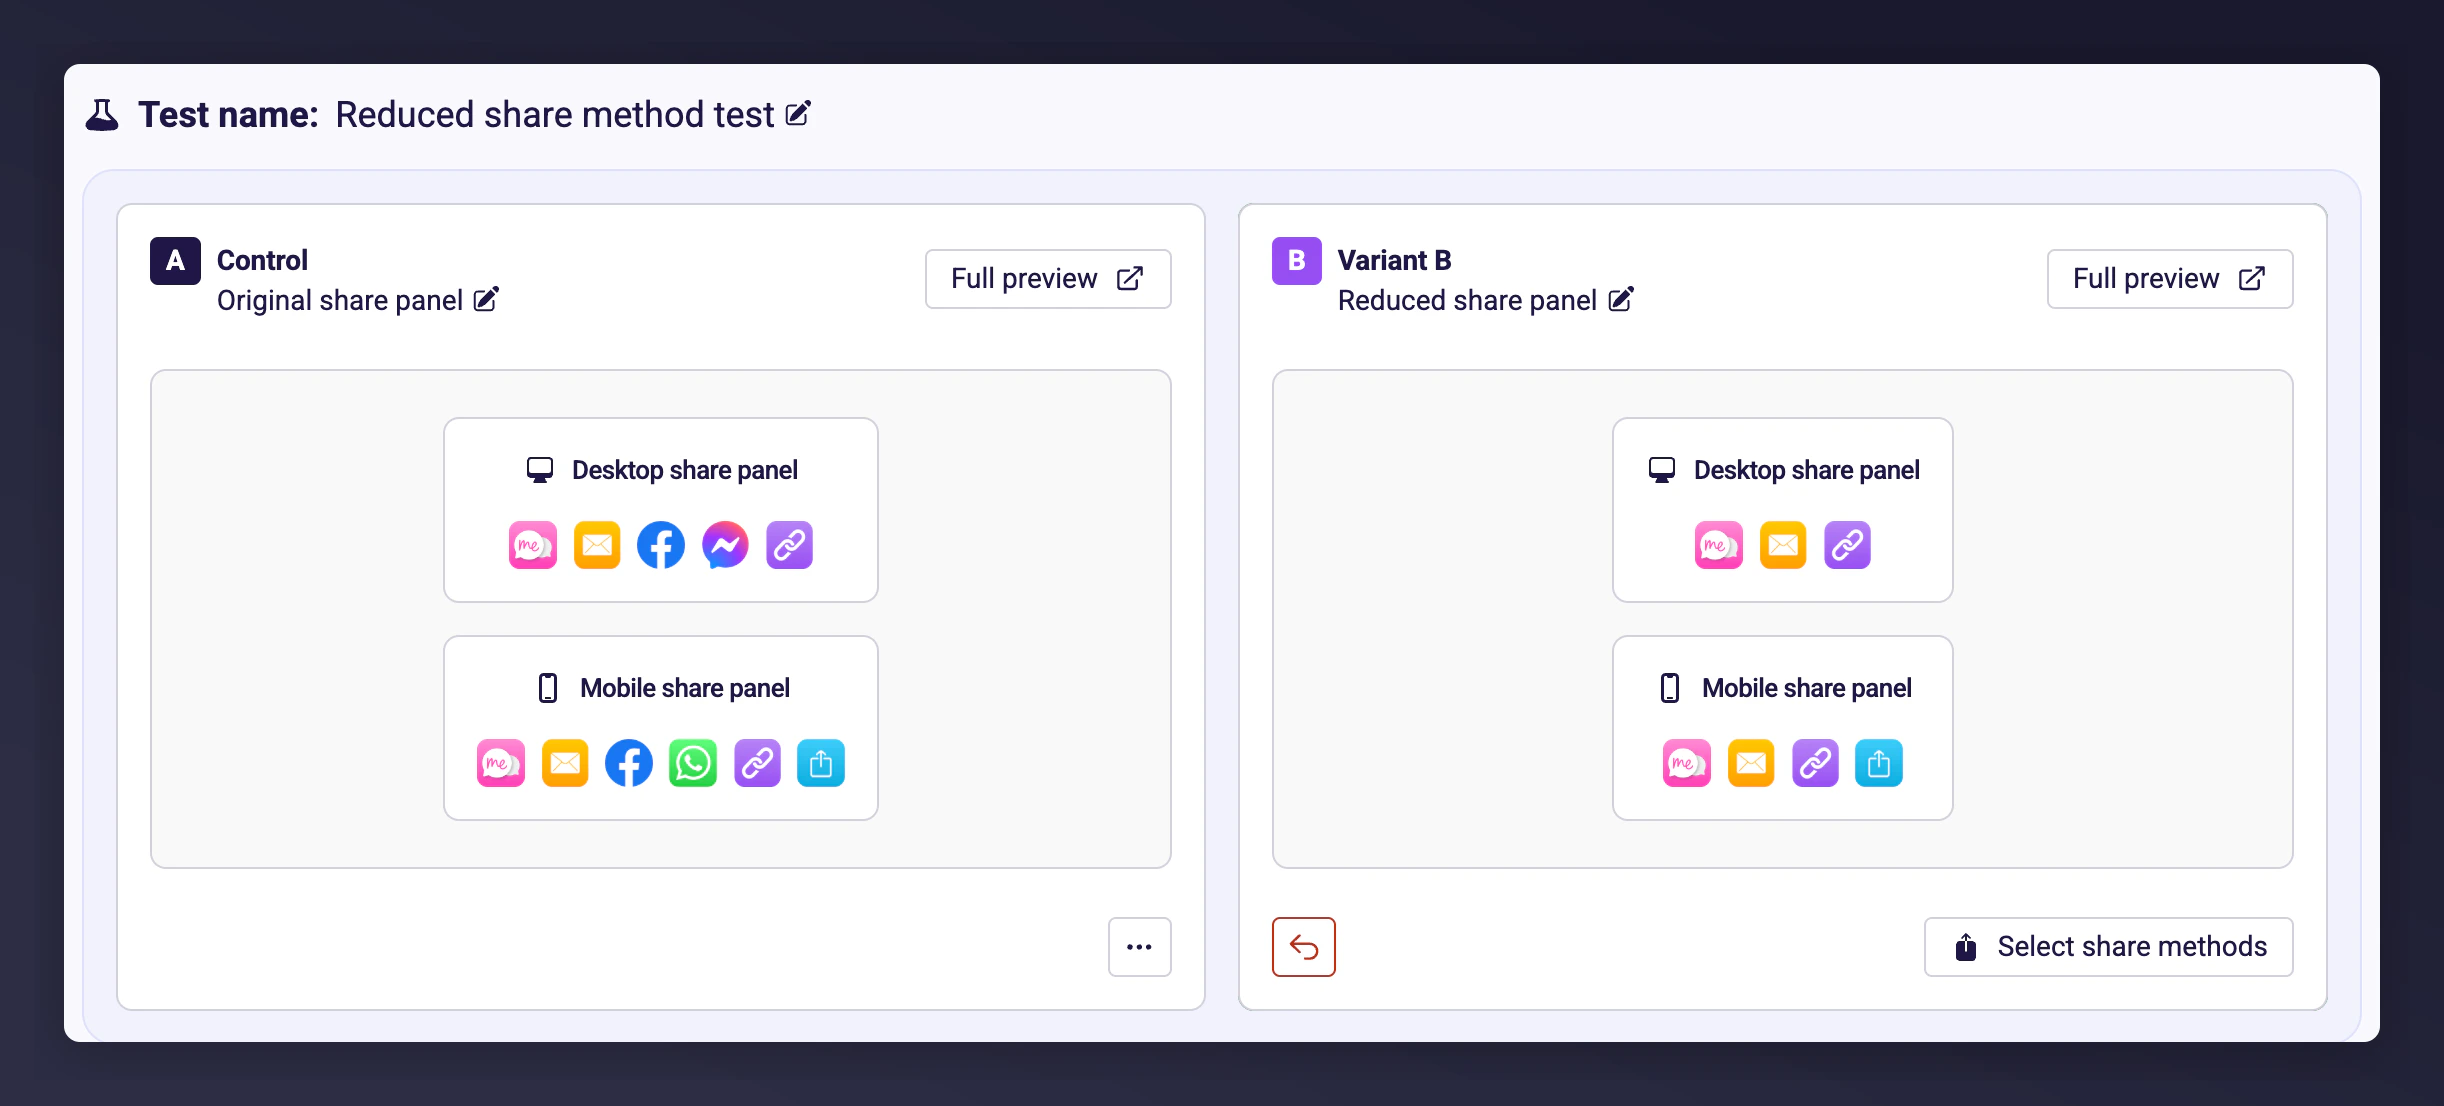
The variant may be pre-filled based on best-performing defaults (e.g. select specific share methods). Use the Select share methods button to customise the variant experience further.
Variant experience configuration with share method selection

The variant experience configuration screen with share method selection.

4

Check the Test Parameters

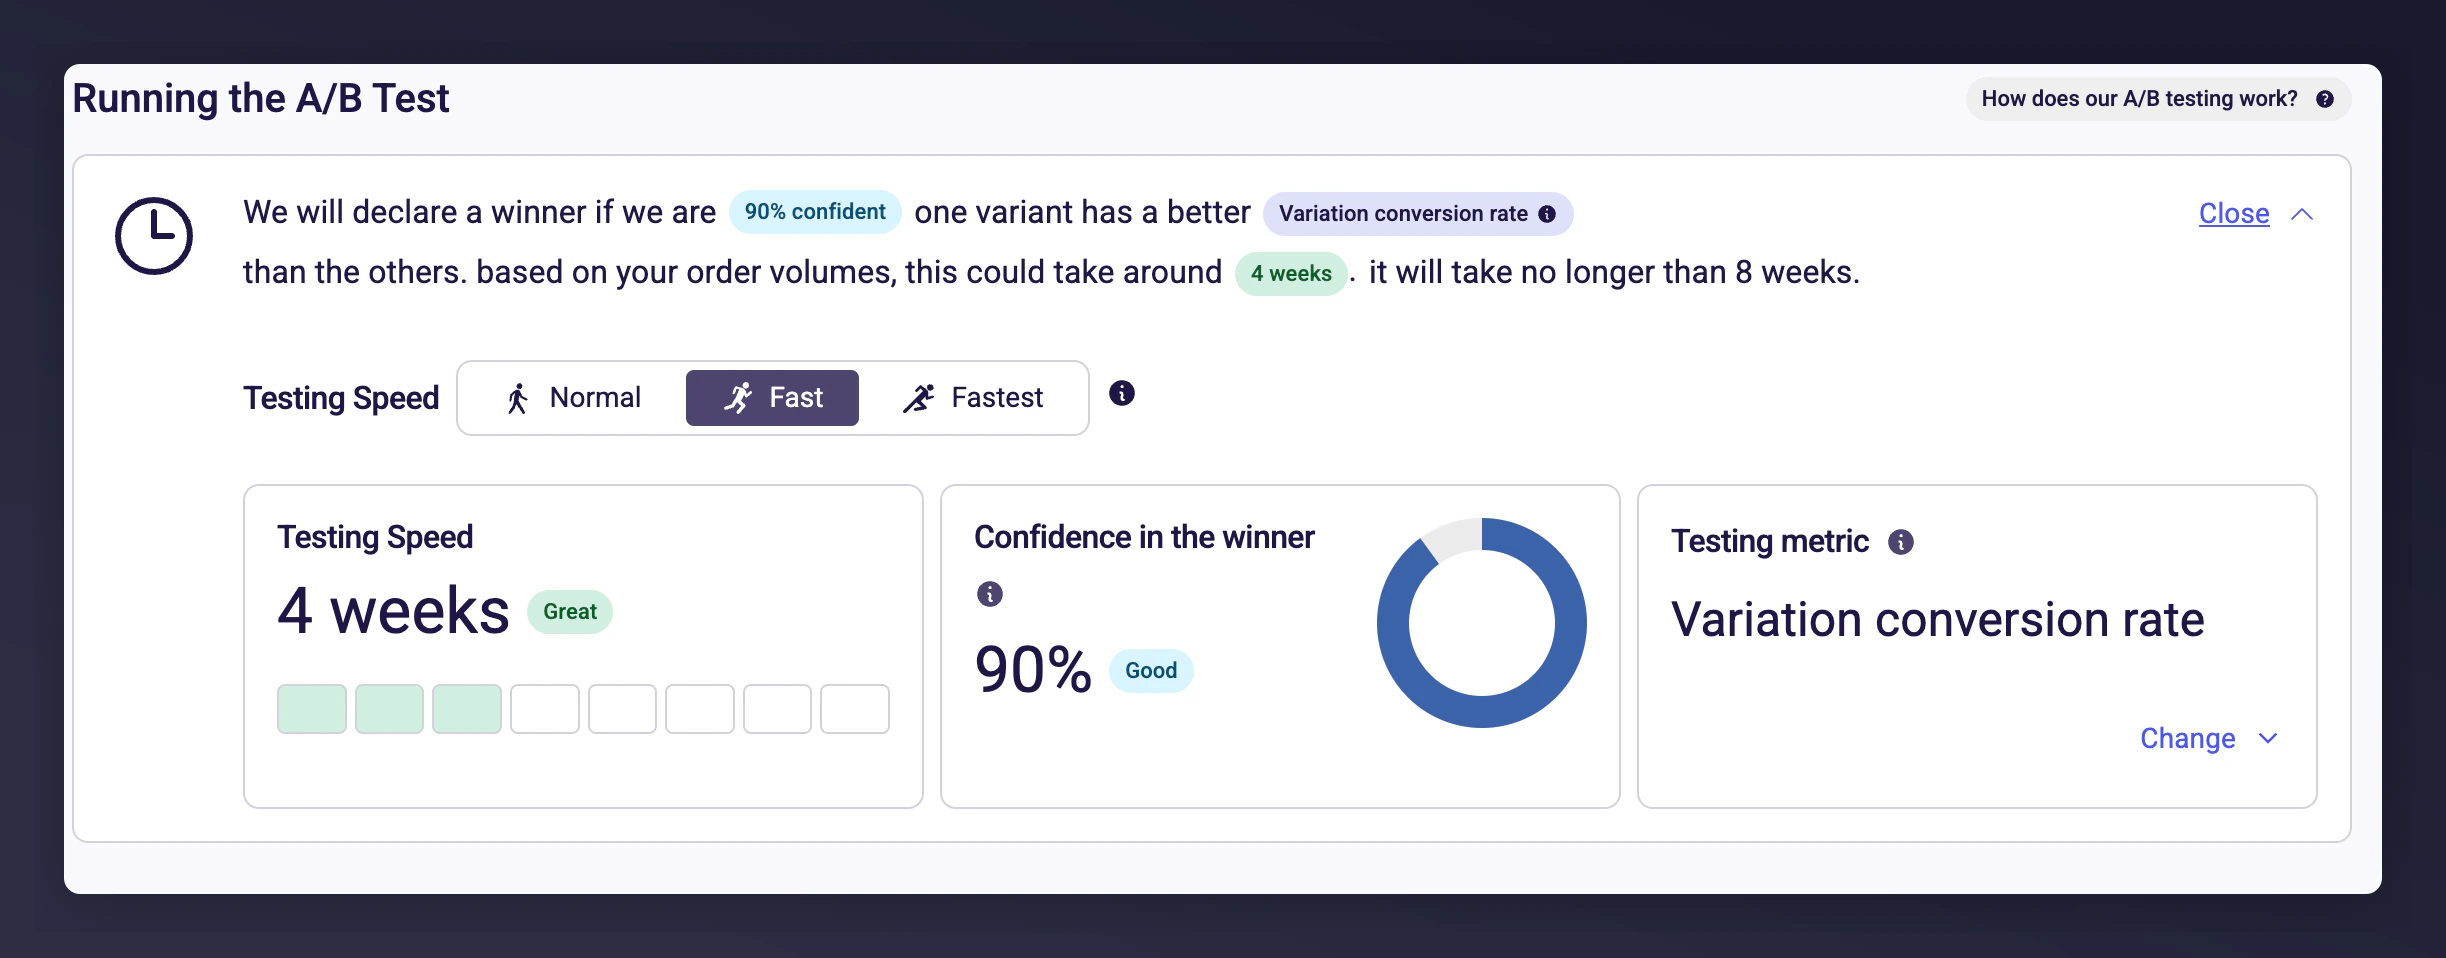
Configure how your A/B test will run. Smart defaults are applied to save time:
  • Confidence Level: Automatically selected based on your campaign traffic (e.g. 90%)
  • Success Metric: Defaults to variation conversion rate
  • Estimated Duration: Example shows 4 weeks, depending on traffic and goals

Test parameters with confidence level and estimated duration

The test parameters screen showing confidence level, success metric, and estimated duration.

Click Adjust Speed and Metrics to:
  • Change Confidence Level (speed vs reliability)
  • Select a custom testing metric
Adjust Speed and Metrics panel for confidence and metric selection

The Adjust Speed and Metrics panel for changing the confidence level and testing metric.

5

Check Test Outcomes

Control what happens when the test ends. By default:
  • The test will auto-conclude after:
    • 8 weeks
    • Finding a statistically significant winner
    • No meaningful difference over the campaign duration
  • All traffic will be directed to the best-performing variant
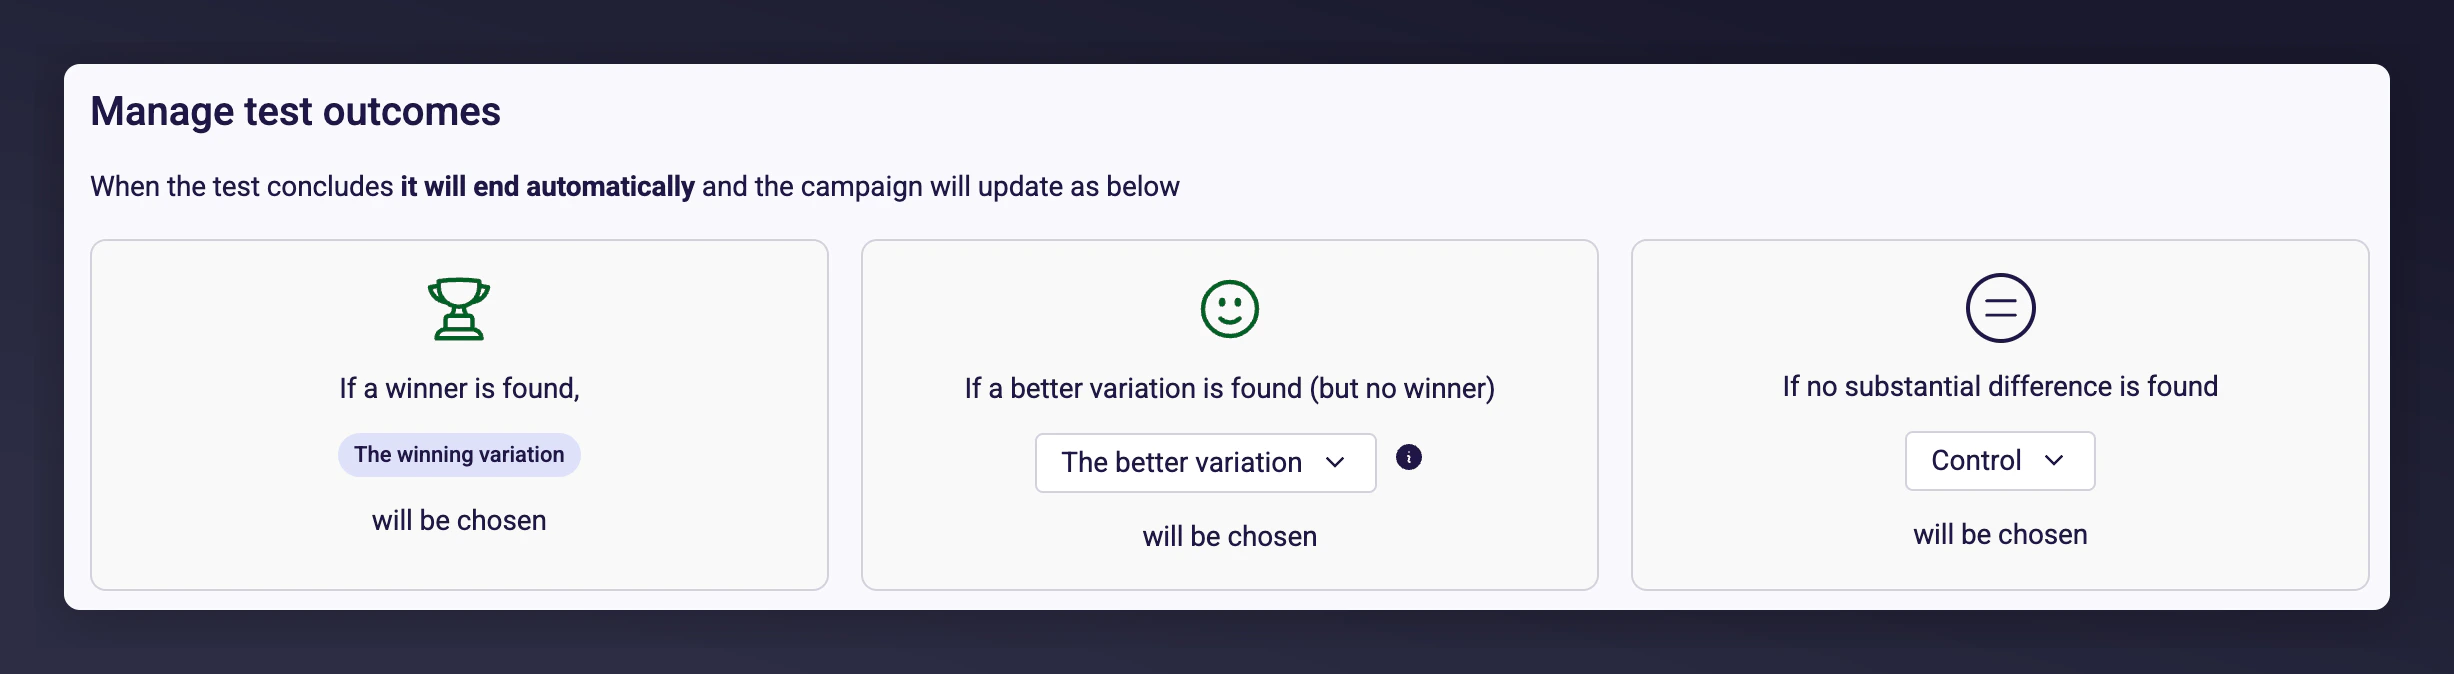
After the test ends, you can manually switch the variant that receives 100% of traffic.
Test outcome settings with auto-conclude options

The test outcome settings showing the default auto-conclude options.

6

Launch Your Test

Click Run Test when you’re ready. Preview the final experience to see what each variation looks like post-purchase.After launch:
  • The campaign page will show your live test
  • Click View A/B Test Details to monitor real-time performance
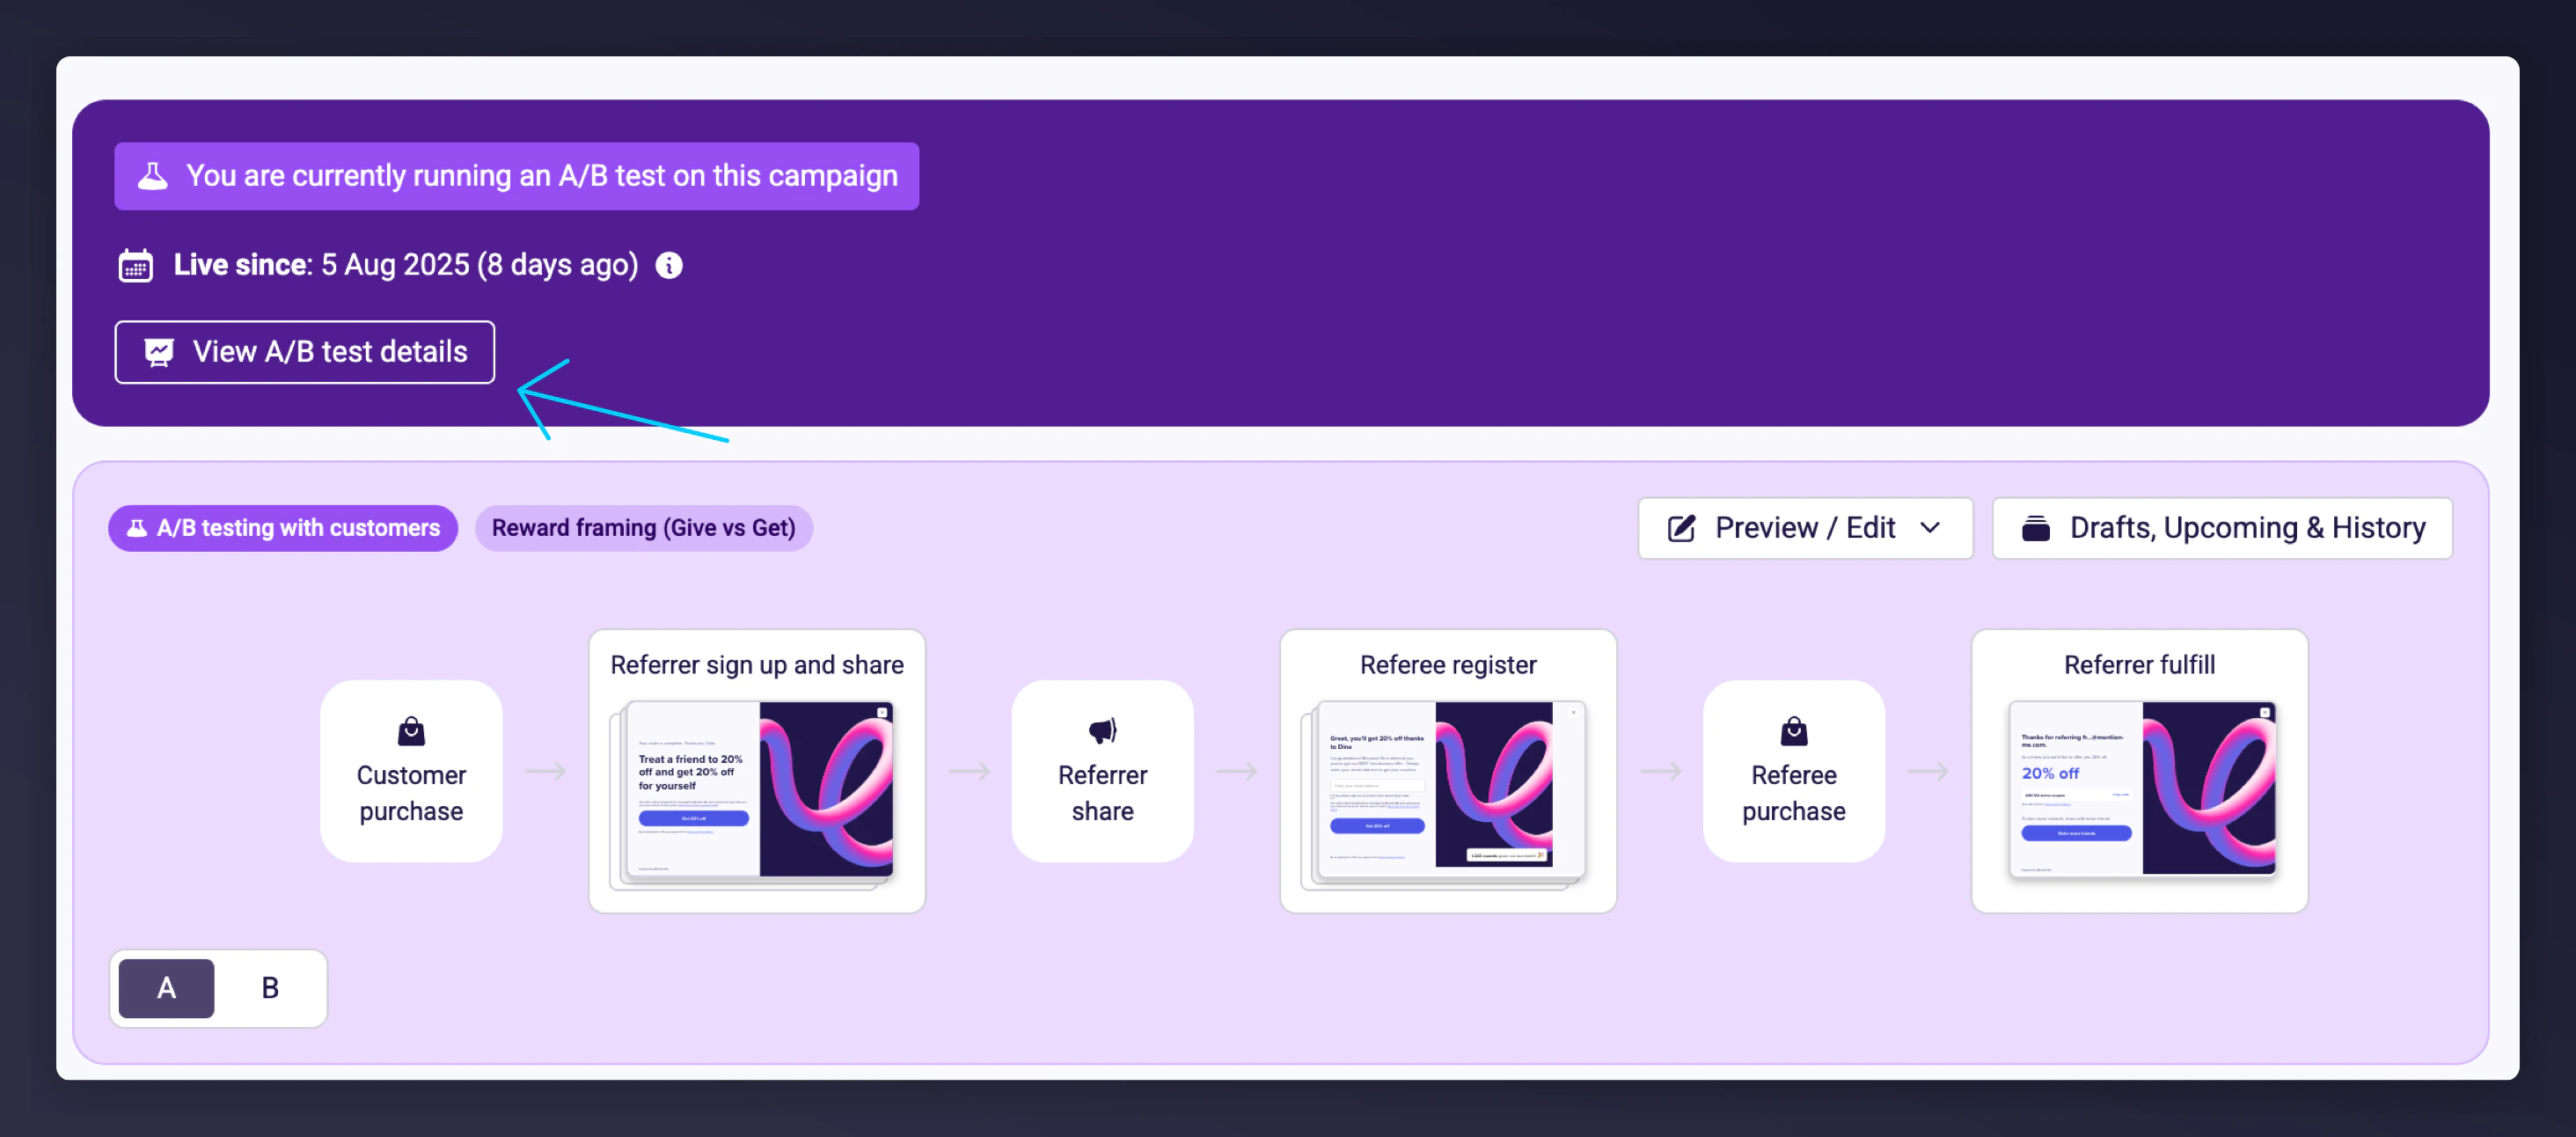
Live test on campaign page with View A/B Test Details

The live test shown on the campaign page, with the option to view A/B test details.

7

When the Test Concludes

You’ll receive an outcome email (e.g. winner found, inconclusive). Final traffic will be routed to your selected variant.Use the Campaign Dashboard to:
  • View Detailed Results
  • Use a Different Variant (manually redirect traffic)
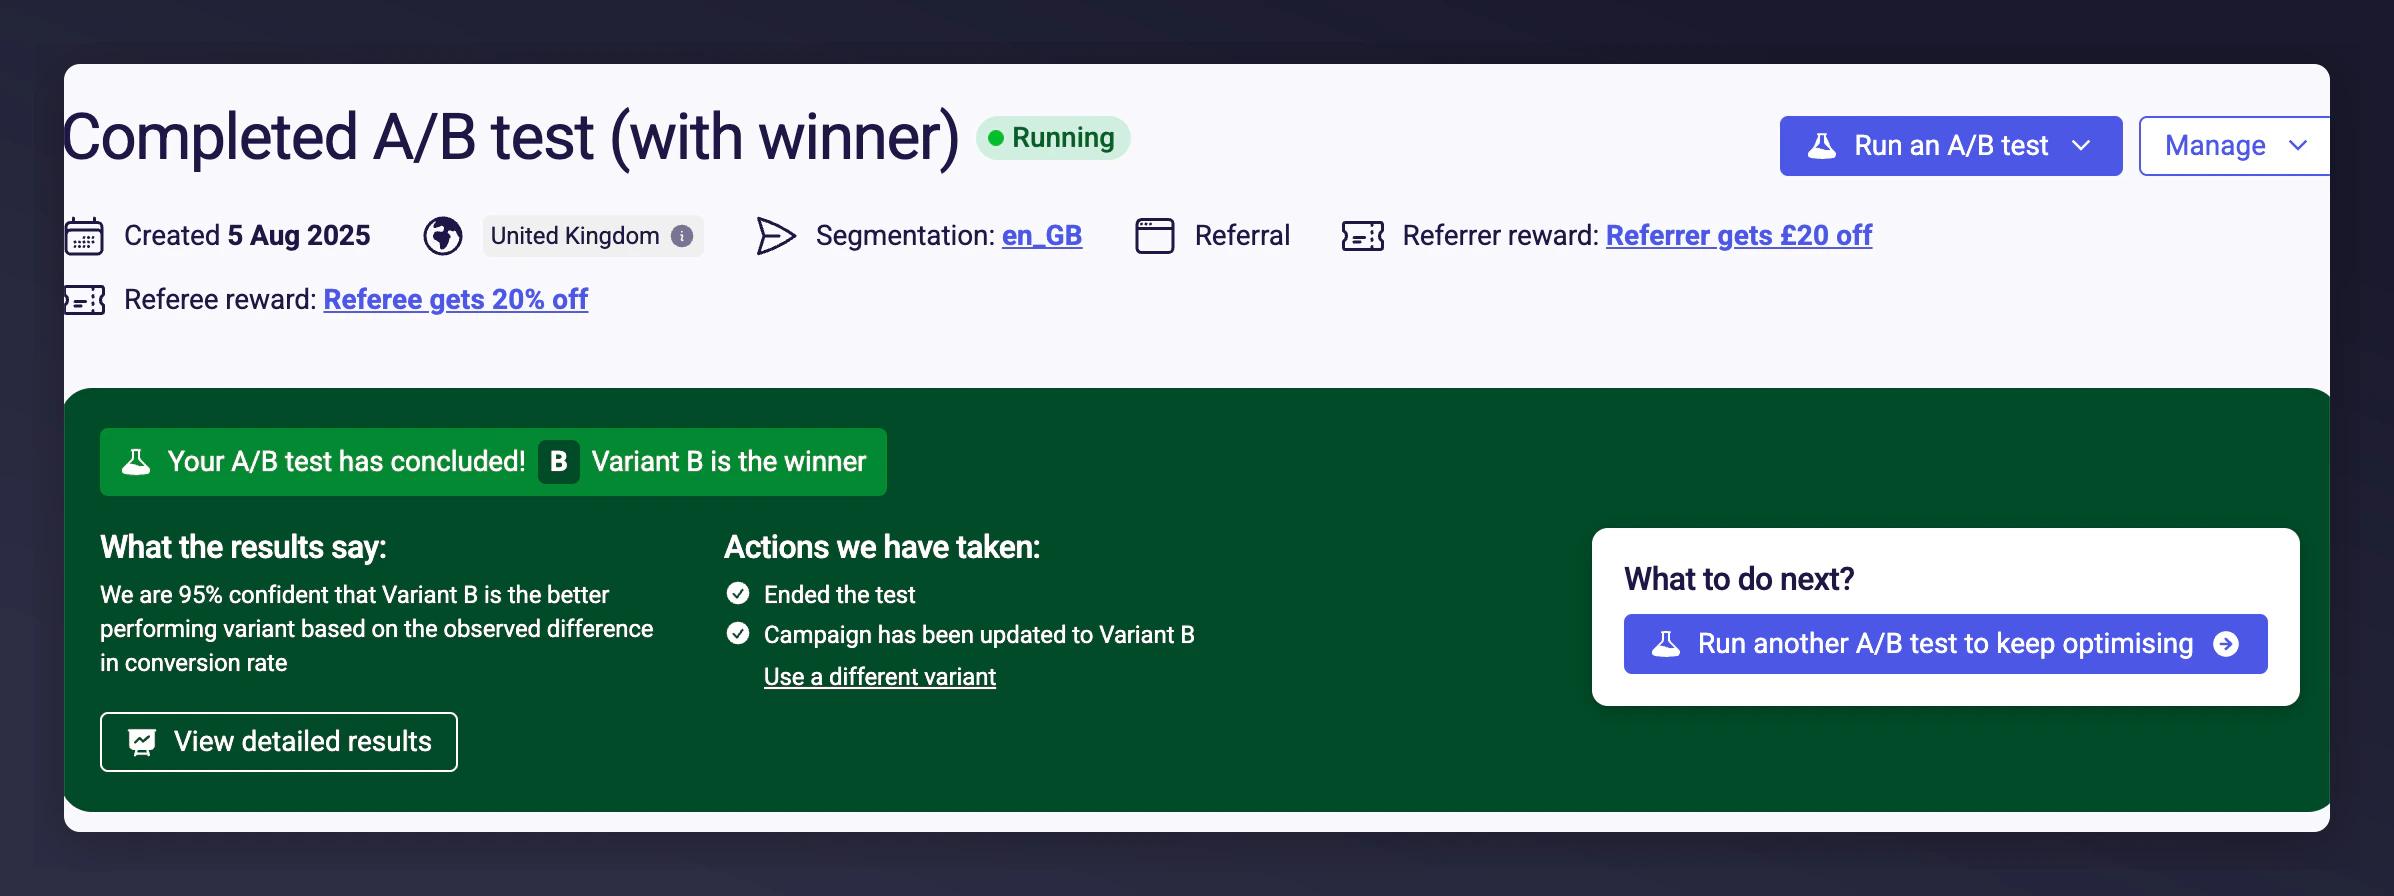
Concluded test results with variant routing options

The concluded test results screen with options to view results or switch variants.

What Happens Next? Keep Testing

To achieve long-term gains, continue testing. As soon as one experiment concludes, we recommend launching another.
Last modified on July 10, 2026