Mention Me can automatically send your customers’ Extended Customer Revenue (ECR) data to your Emarsys account. ECR is only calculated for customers who have made a successful referral.
This data is sent on a weekly basis and only for customers whose ECR has changed from the previous week.
The following steps explain how to import ECR data as a one-off prior to beginning the weekly updates.
For details on the ECR fields sent to Emarsys, see Emarsys Data Reference .
Step 1: Download ECR Data from Mention Me
Navigate to Customer Revenue
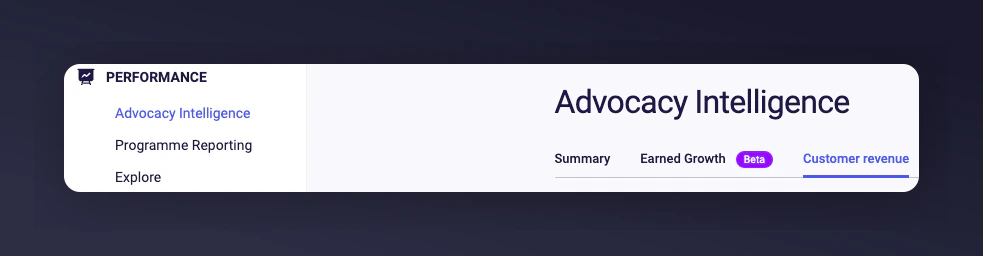
Log in to the Mention Me Platform and go to the Customer Revenue page in the Advocacy Intelligence section.
Navigating to the Customer Revenue page in Mention Me.
Download customer segments
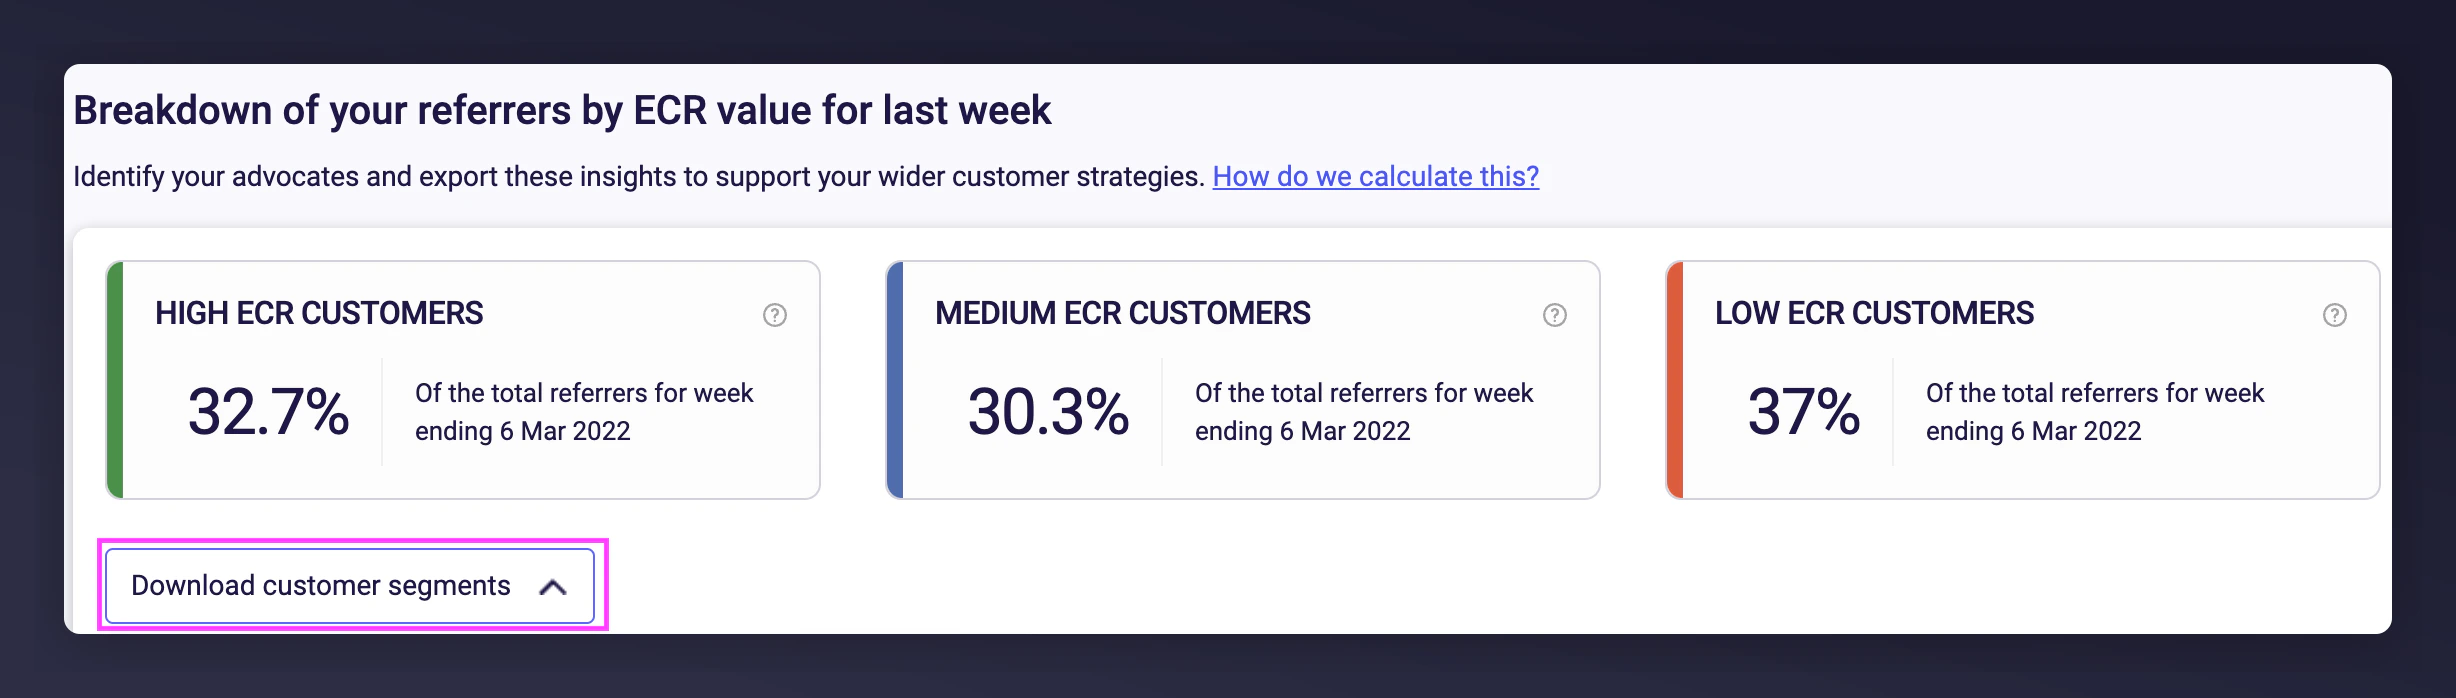
Click Download customer segments (if not visible, contact your CSM).
The Download customer segments button in Mention Me.
Generate the file
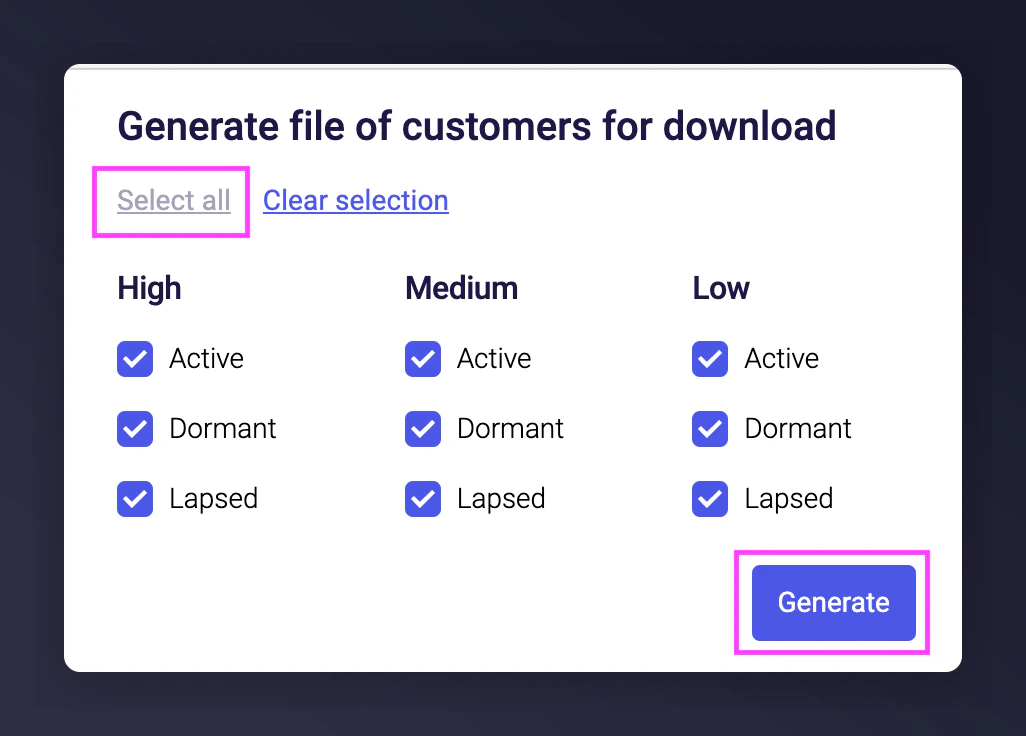
Select all segments and click Generate .
Selecting ECR segments to generate a CSV in Mention Me.
A CSV file will be generated (up to 15 minutes). You’ll receive an email notification when it’s ready.
Download the CSV file
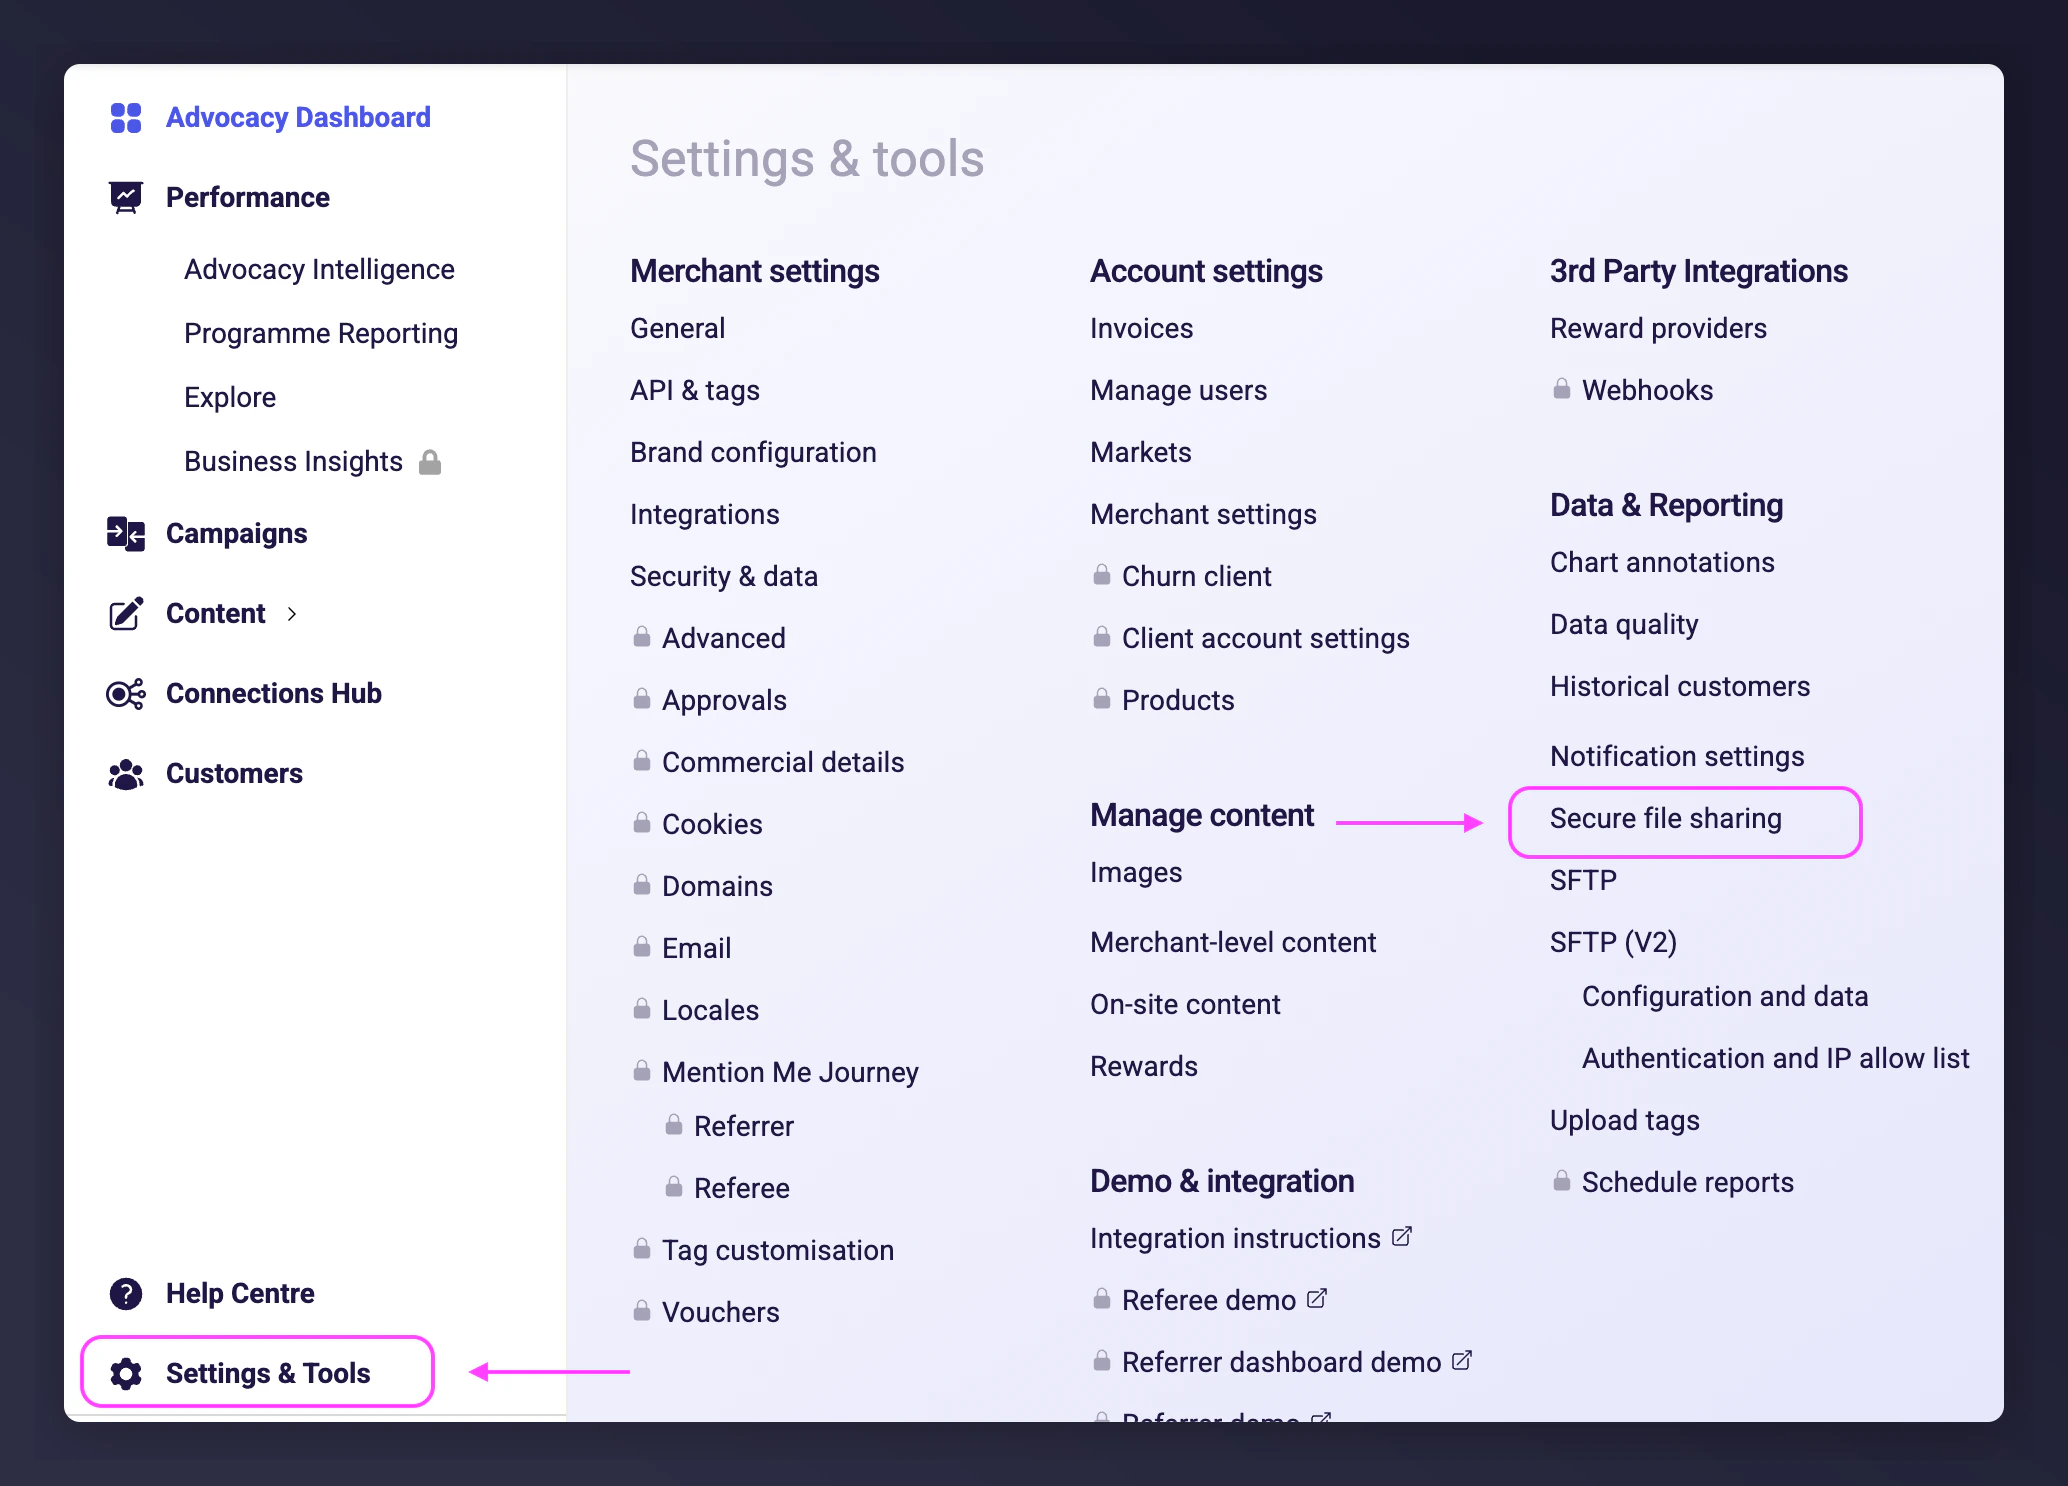
Click the link in the email to download (login required). You can also find the file under Settings > Secure file transfer .
The Secure file transfer page in Mention Me.
Step 2: Create a CSV File for Emarsys
Open the downloaded file
Open the file using Excel, Google Sheets, or a similar tool.
Remove the header rows
Remove the first 3 rows (keep headers only).
Delete unused columns
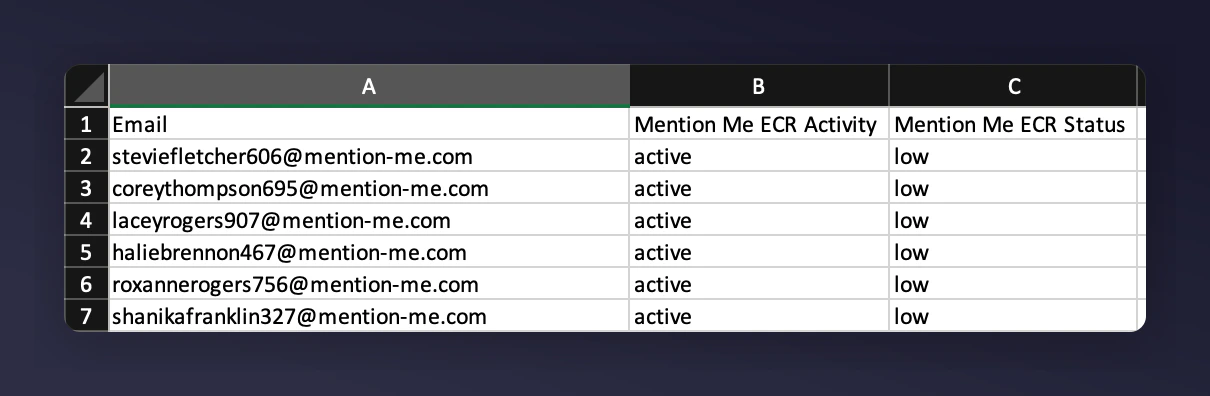
Delete these columns: Individual Revenue, Revenue Referred, Friends ECR Value, Report Currency Code, First Name, Surname.
Rename the remaining columns
Rename columns:
Email address to Email
Activity Status to Mention Me ECR Activity
ECR Segment to Mention Me ECR Status
Column names must be an exact match (case-sensitive), or duplicates may be created.
Reorder the Email column
Move the Email column to the first position.
The formatted CSV column layout for the Emarsys import.
Save the file
Save your final CSV file.
Step 3: Upload Your CSV File to Emarsys
Navigate to Data Import
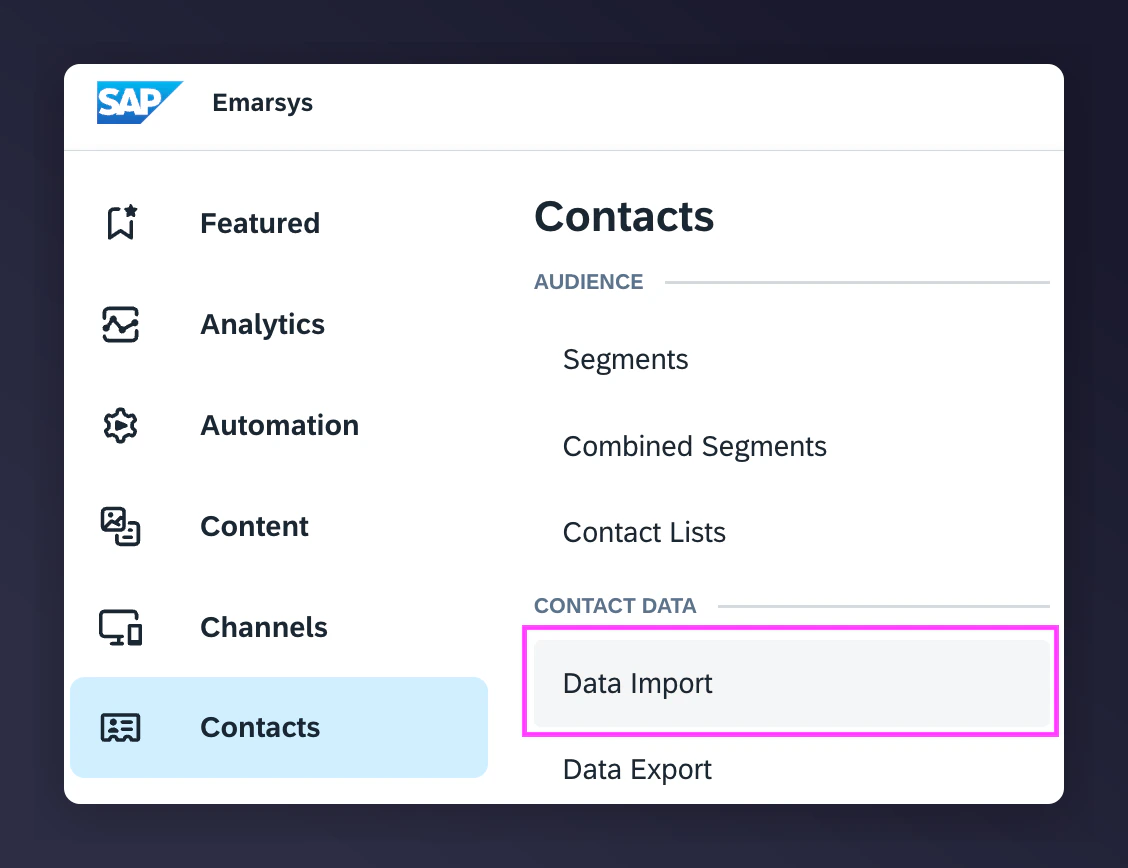
Go to Contacts > Data Import in Emarsys.
The Contacts Data Import navigation in Emarsys.
Import a file
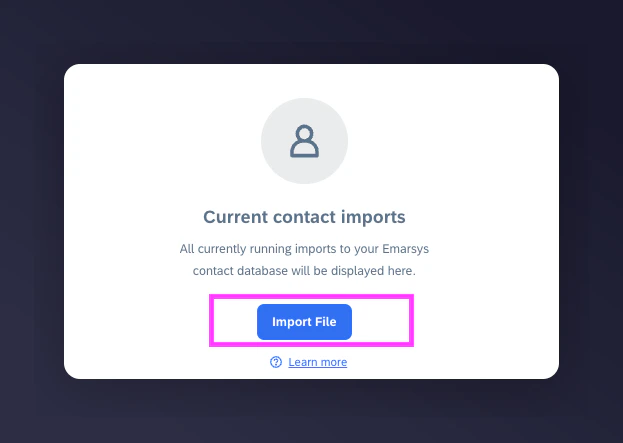
Click Import File .
The Import File button in Emarsys.
Import manually
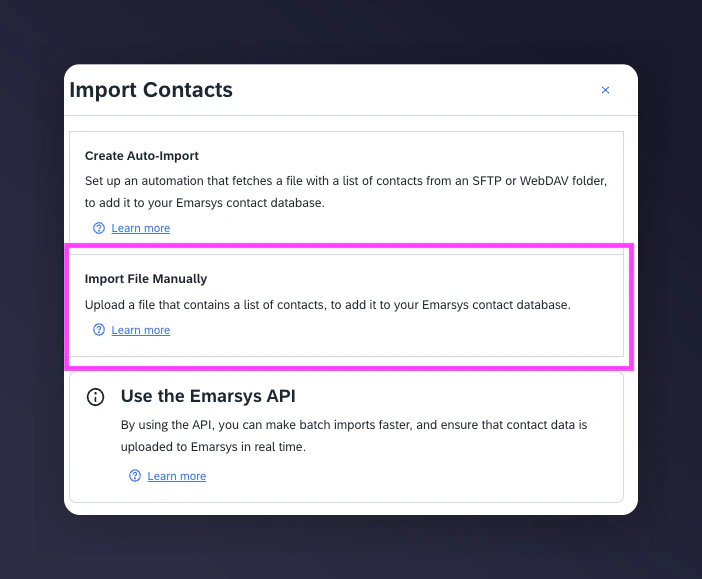
Click Import file manually .
The Import file manually option in Emarsys.
Select your CSV
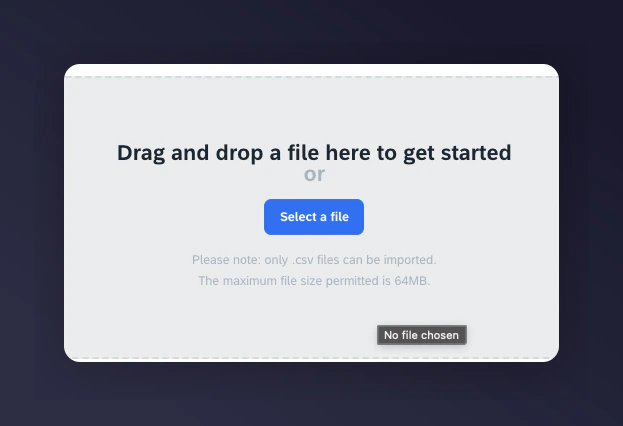
Click Select a file and upload your formatted CSV.
Selecting the CSV file for upload in Emarsys.
Configure import settings
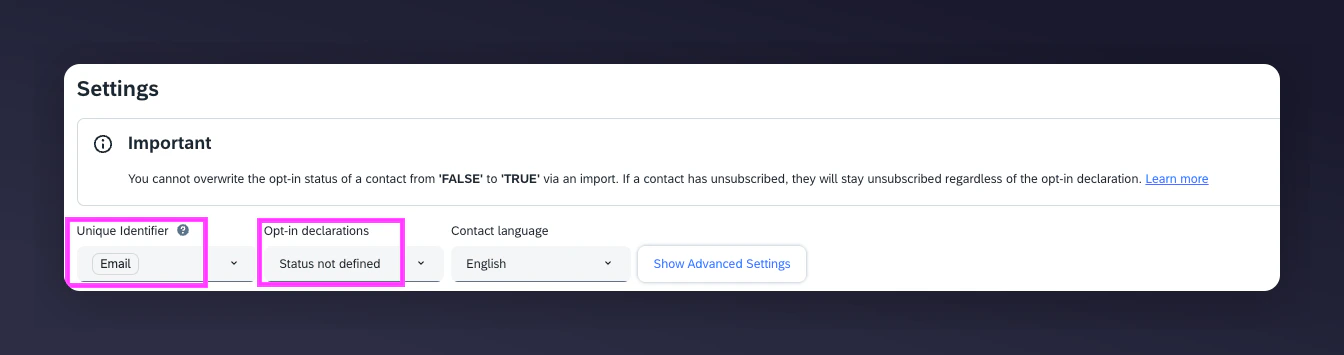
On the Settings screen, configure:
Unique Identifier = Email
Opt-in declarations = Status not defined
Import settings with the unique identifier and opt-in configuration in Emarsys.
Set advanced settings
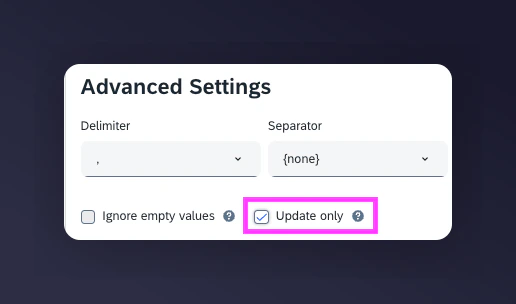
Click Show Advanced Settings and select Update only .
Advanced settings showing the Update only option in Emarsys.
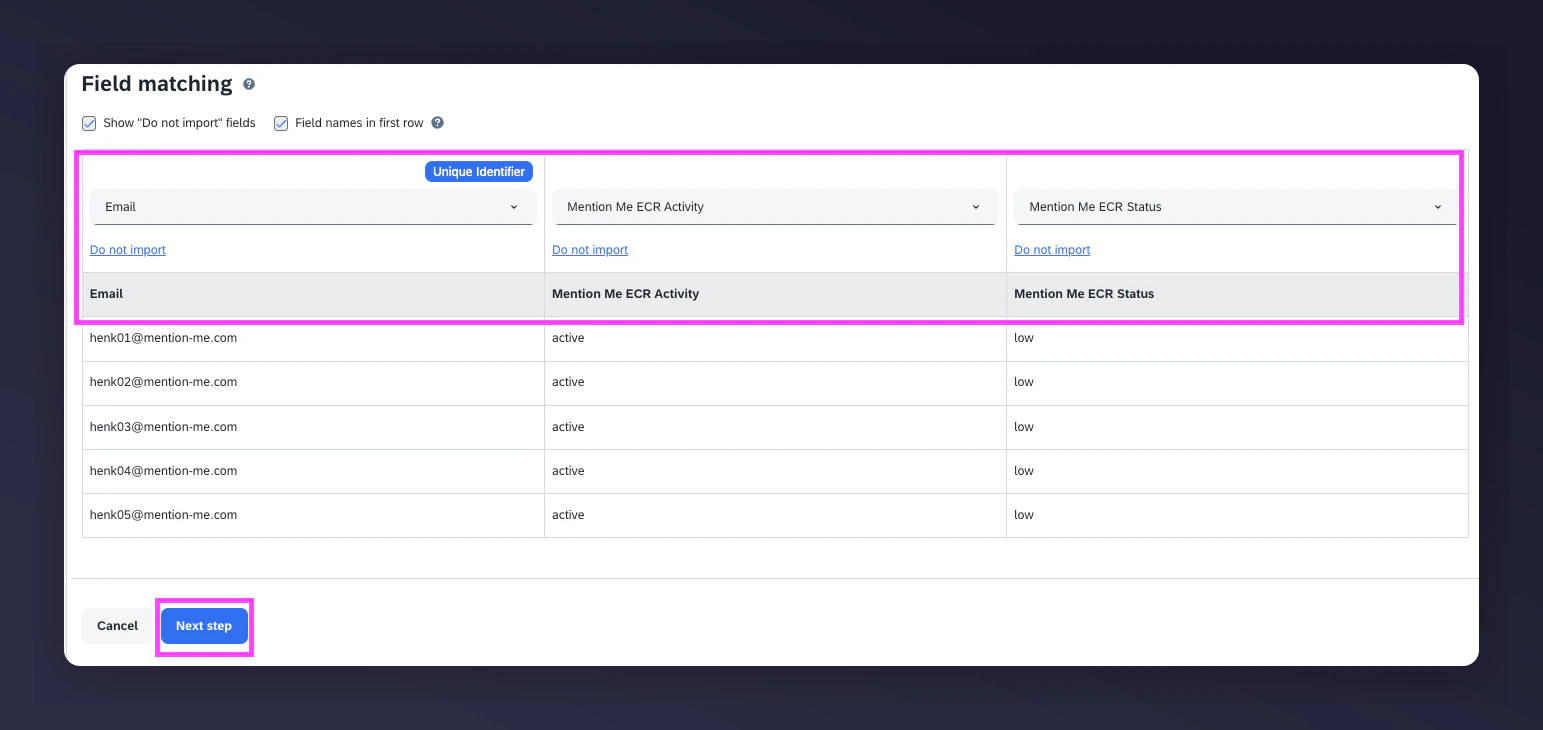
No need to match columns - Mention Me fields are already created during integration.
Proceed to the next step
Click Next step .
The column matching step in the Emarsys import.
Confirm and continue
Click Next step again.
Name and start the import
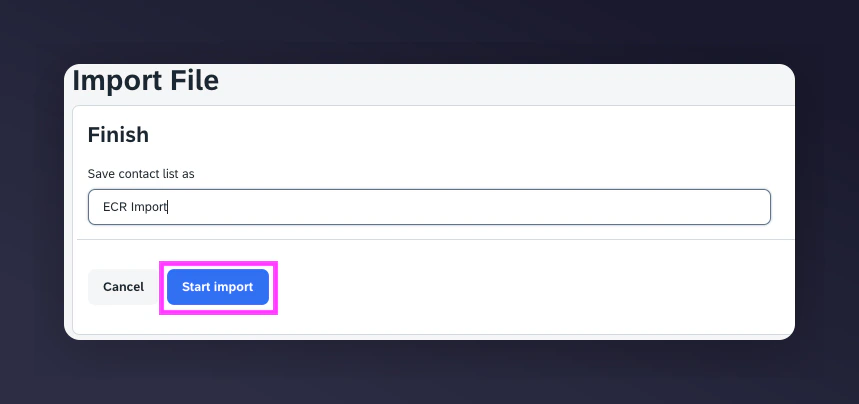
Name the import ECR Import , then click Start Import .
Naming and starting the ECR import in Emarsys.
Once the import completes, the Mention Me ECR segment and activity will be available in Emarsys. Last modified on August 3, 2026