About the integration
Put advocacy data at the heart of your core CDP so you can drive more value from your base by nurturing and retaining your biggest fans.Integration capabilities
- Grow your marketing database by sending opt-ins and contacts in real-time to mParticle
- Activate Mention Me data across downstream systems and marketing tools integrated with mParticle (email platforms, ad networks, CRM systems)
- Enhance other marketing channels by using referral data to segment and target high-value customers
Prerequisites
- mParticle — Ability to create Access Credentials. Know the name of your GDPR Consent Purposes used for email opt-ins.
- Mention Me — Access to the Mention Me platform. Contact your CSM or submit a support request if needed.
Step 1: Add Mention Me feed input to mParticle
Log in to mParticle
Log in to mParticle with access to add Inputs.
Select the main workspace
If you have more than one workspace, select the main workspace that stores your customer data.

Select Mention Me feed
Select Mention Me from the drop-down. If Mention Me is not available, select Custom Event.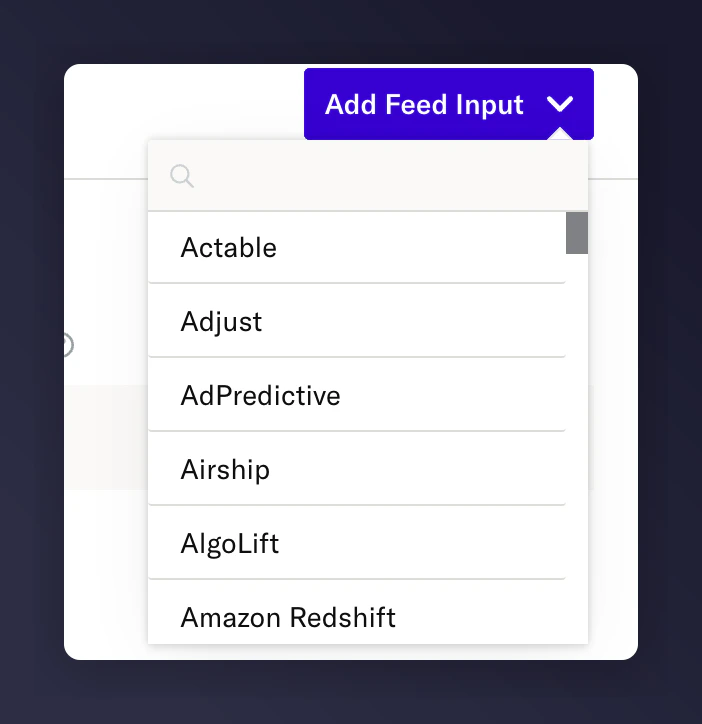
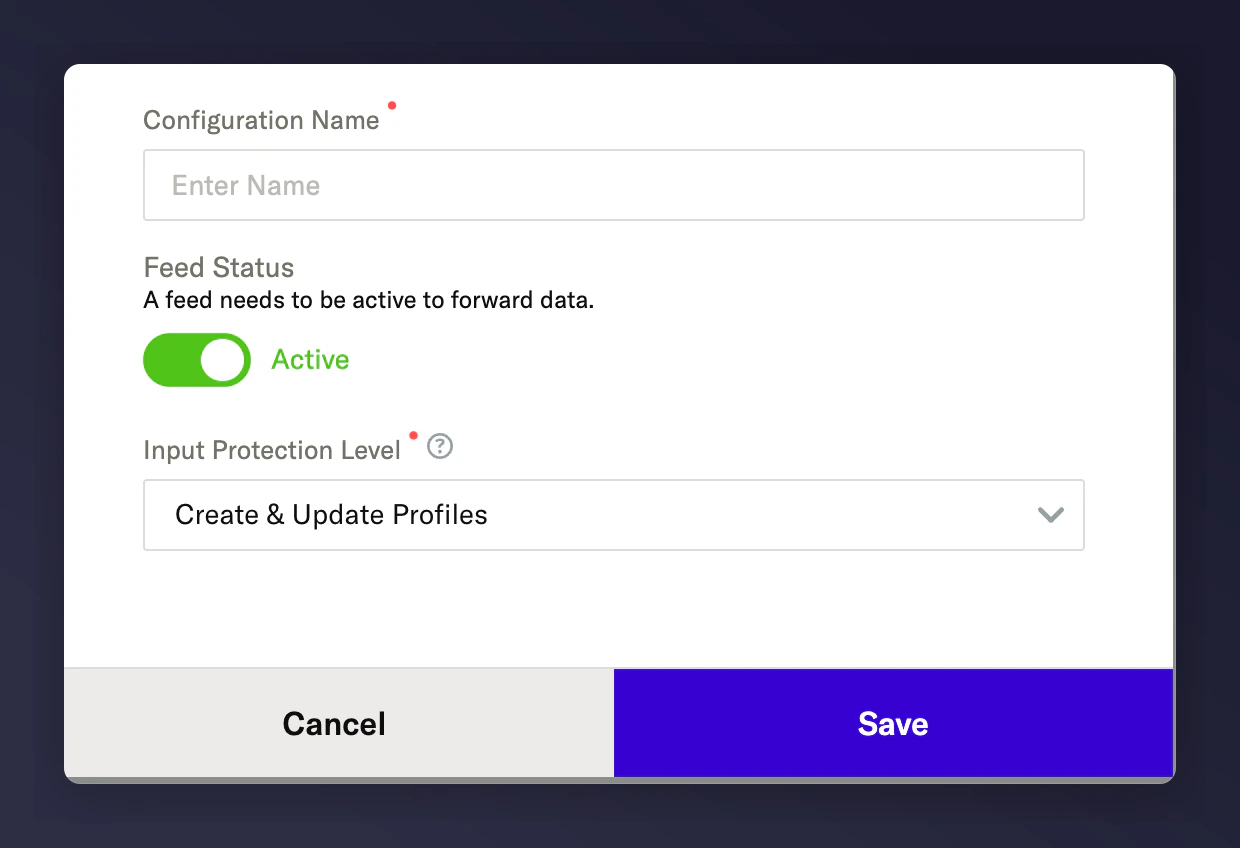
Configure and save the feed
Fill in the following details and press Save:
- Configuration Name
- Set Feed to Active
-
Set Permissions to Create & Update Profiles
Step 2: Set up the integration in Mention Me
Open the integration page
Log in to the Mention Me platform and click Connect.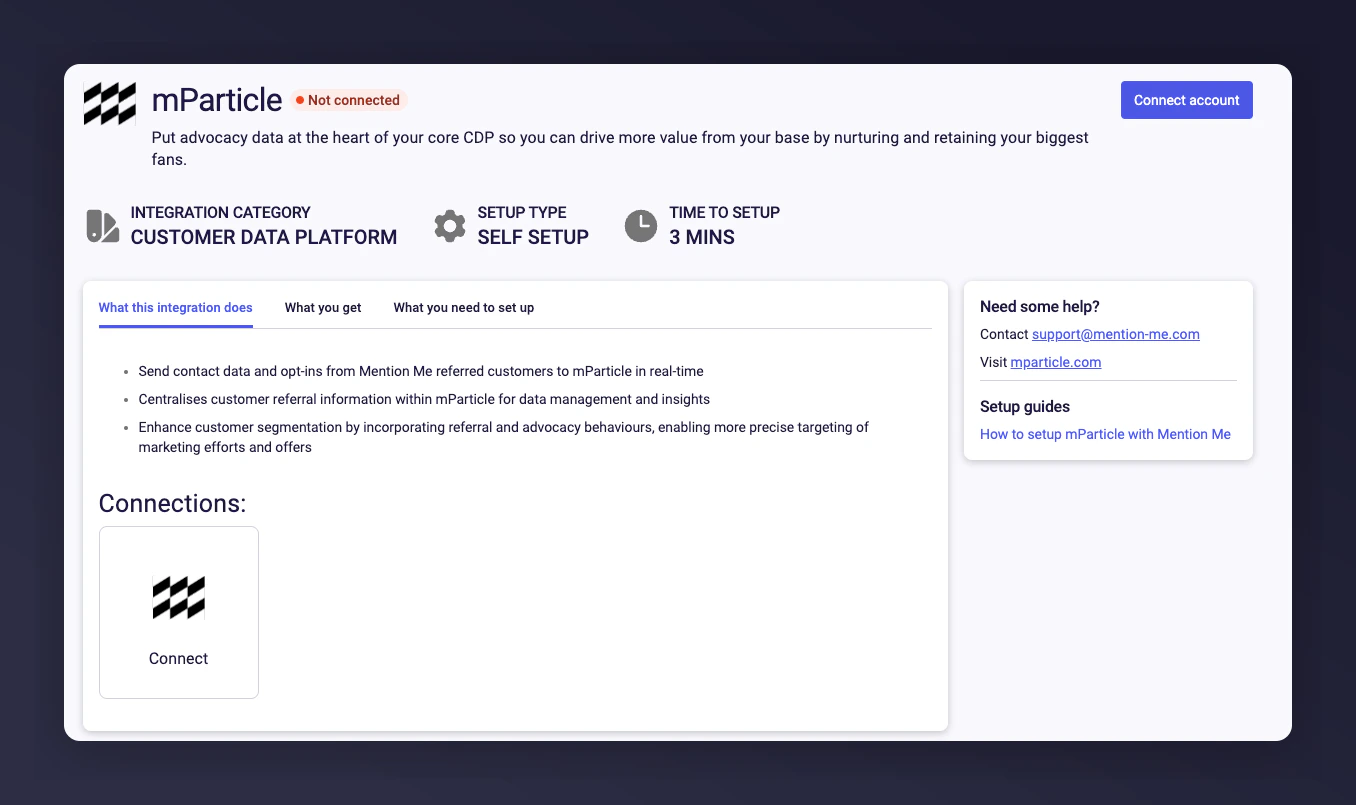
Accept terms and conditions
Agree to the Terms and Conditions to allow Mention Me to transfer data to mParticle (if prompted).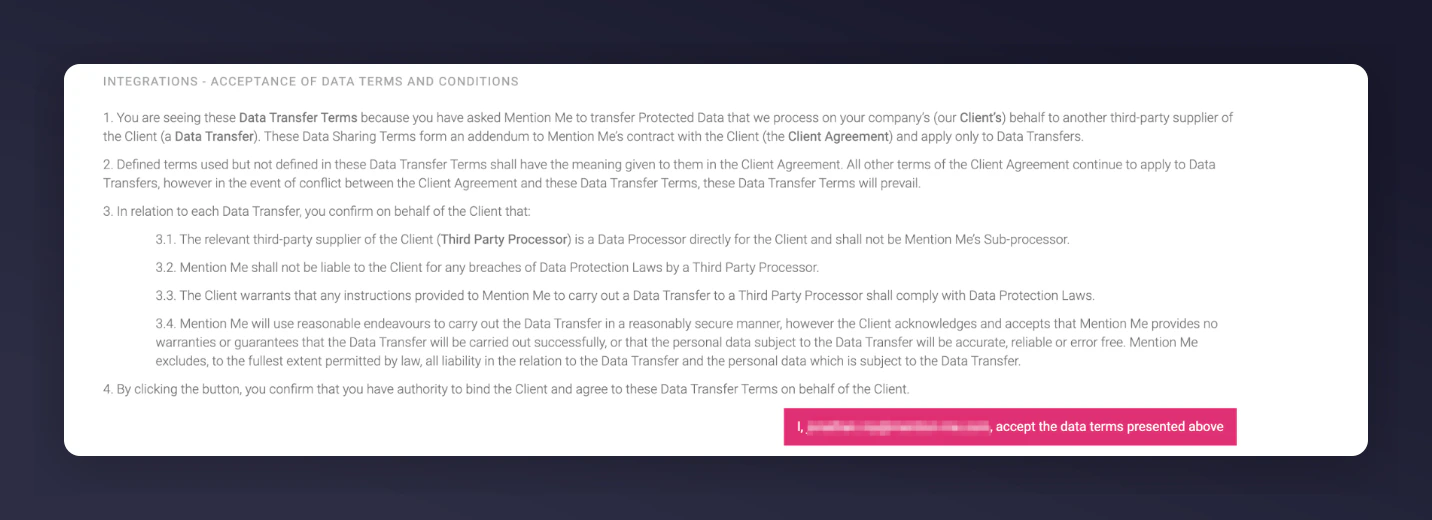
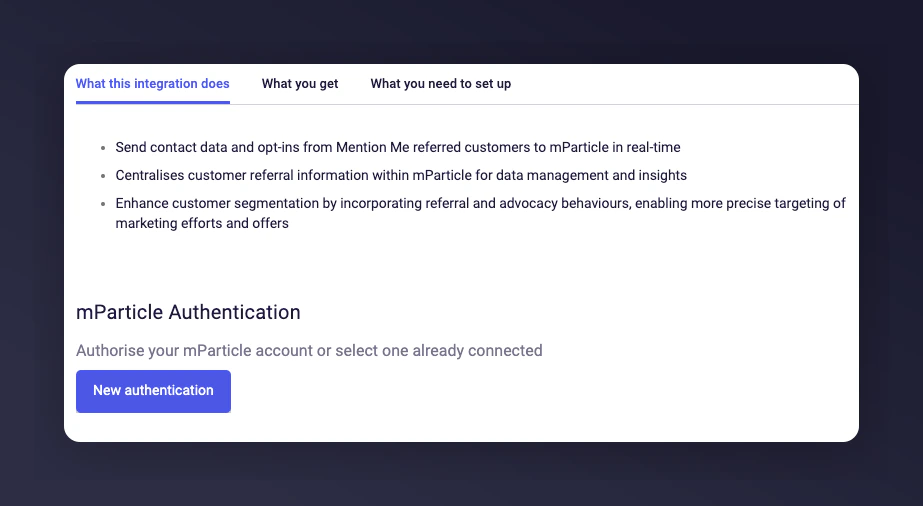
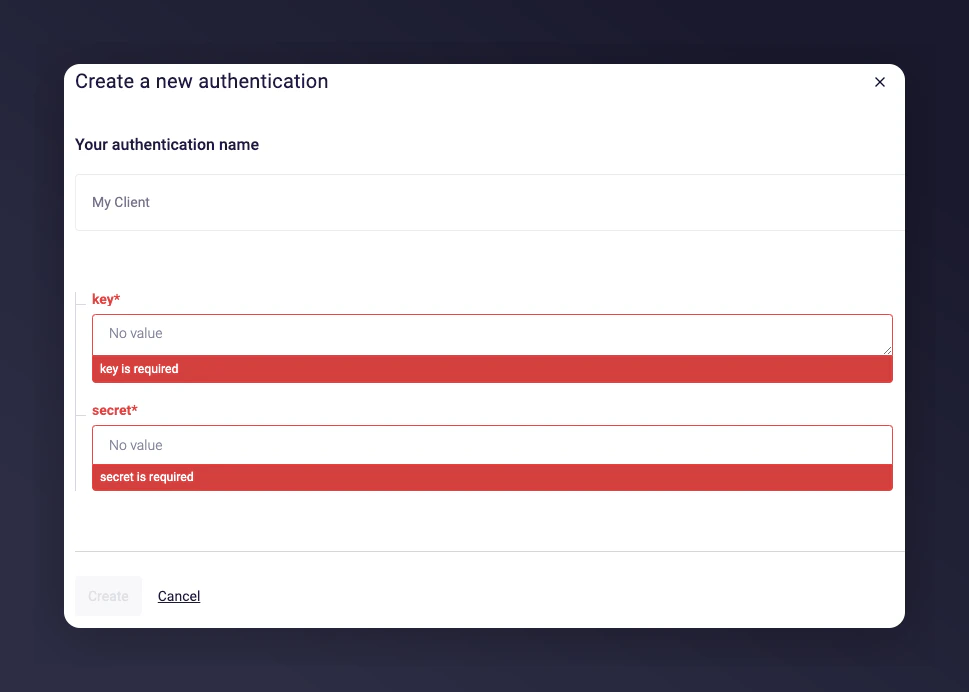
Name your authentication
Name your authentication. For multi-account setups, use descriptive names; otherwise, use the default.
Set GDPR consent purpose
Enter the name of the GDPR consent purpose category to assign opt-ins from Mention Me. Learn more about consent purposes.
Mention Me captures opt-ins during the referee journey or at post-purchase for a specific newsletter sign-up offer.
Select countries to sync
Select the country or countries to sync to your mParticle account.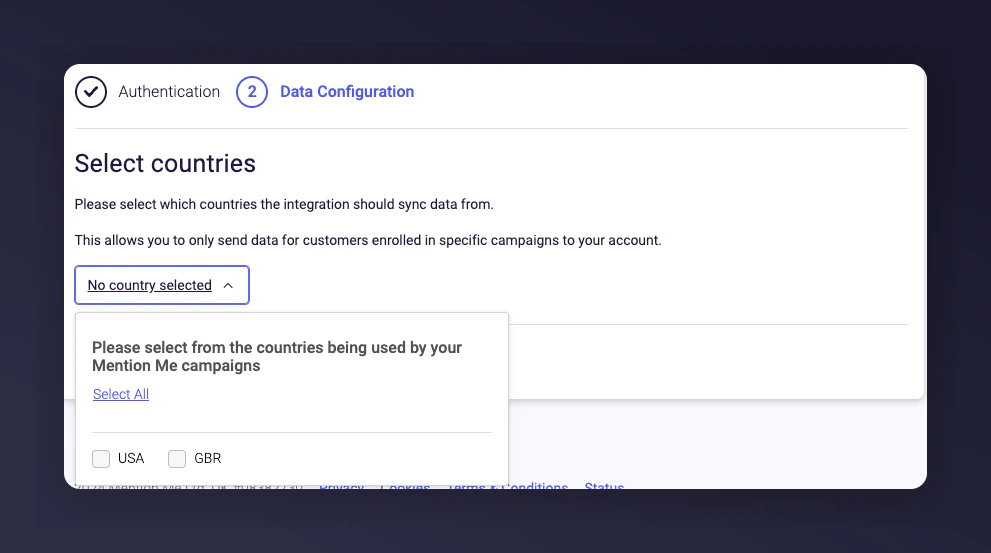
If you operate in multiple countries, you can choose to sync opt-in data from specific Mention Me enabled countries.
Complete the setup
Click Connect to finalise setup. You will see a confirmation message once complete.