> ## Documentation Index
> Fetch the complete documentation index at: https://docs.mention-me.com/llms.txt
> Use this file to discover all available pages before exploring further.
# Set Up Emarsys with Mention Me
> Connect your Emarsys account to Mention Me to sync referral data, opt-ins, and power automated tactics.
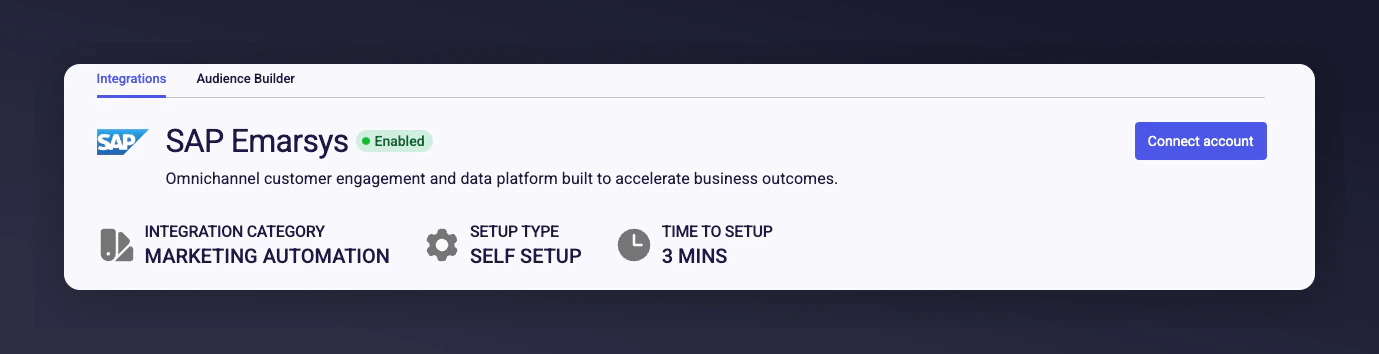
## About the integration
Activate your biggest fans by feeding first-party advocacy data directly into Emarsys to deliver higher engagement, retention, and revenue across your customer base.
## Integration capabilities
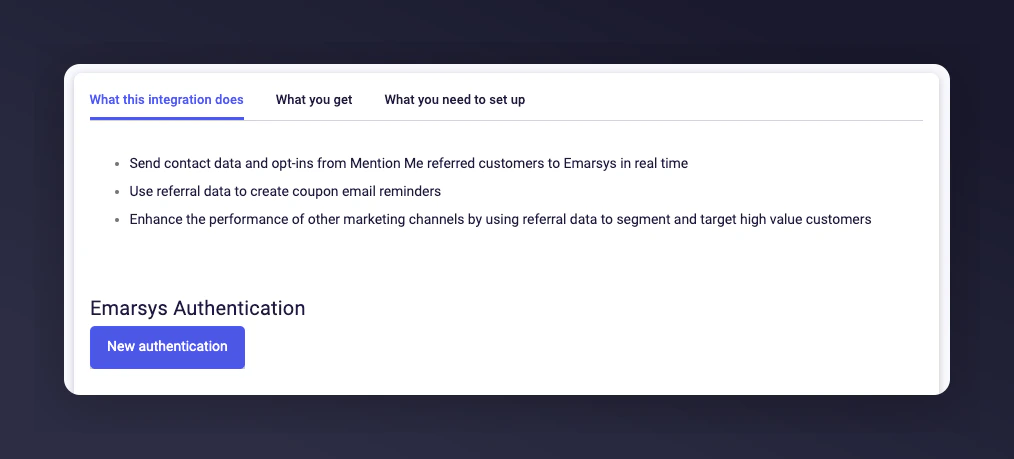
* Send contact data and opt-ins from Mention Me referred customers to Emarsys in real-time
* Use referral data to create coupon email reminders
* Enhance other marketing channels by using referral and advocacy data to segment and target high-value customers
## Prerequisites
* **Emarsys** — Ability to [create private API Users](https://help.emarsys.com/hc/en-us/articles/115004740329-Your-account-Security-Settings#api-users).
* **Mention Me** — Access to the [Mention Me platform](https://mention-me.com/login). Contact your CSM or [submit a support request](https://help.mention-me.com/hc/en-gb/requests/new) if needed.
## Step 1: Create an API user and secret for Mention Me
Log in to [Emarsys](https://login.emarsys.net/bootstrap.php?r=customer/Login) as the **Account Owner**.
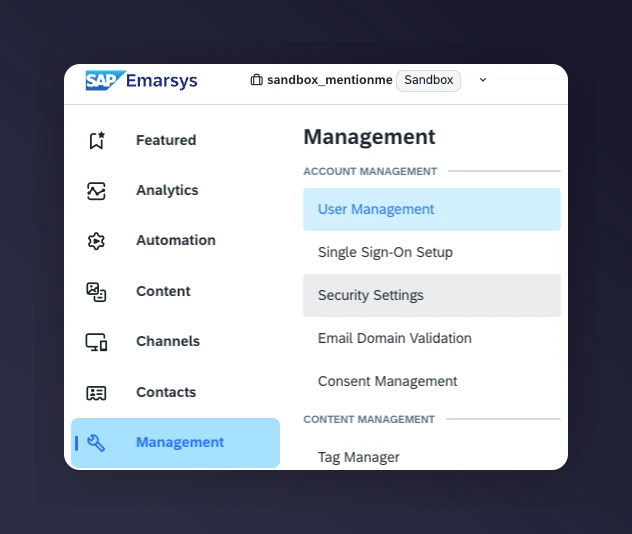
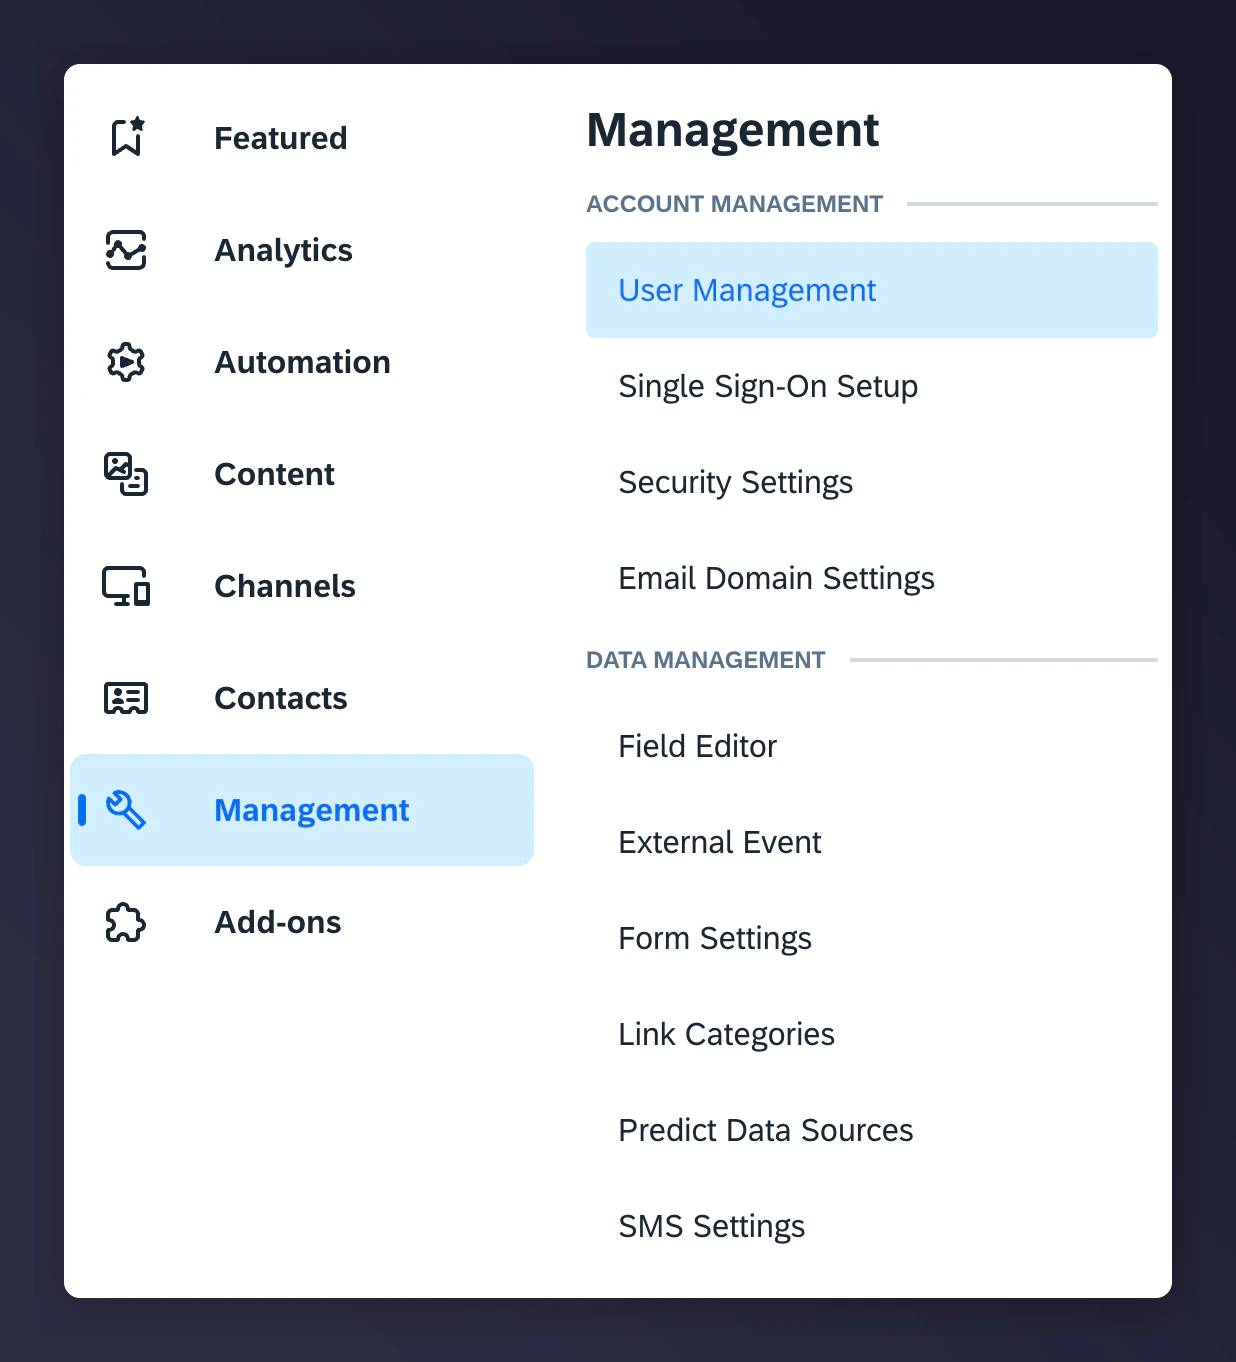
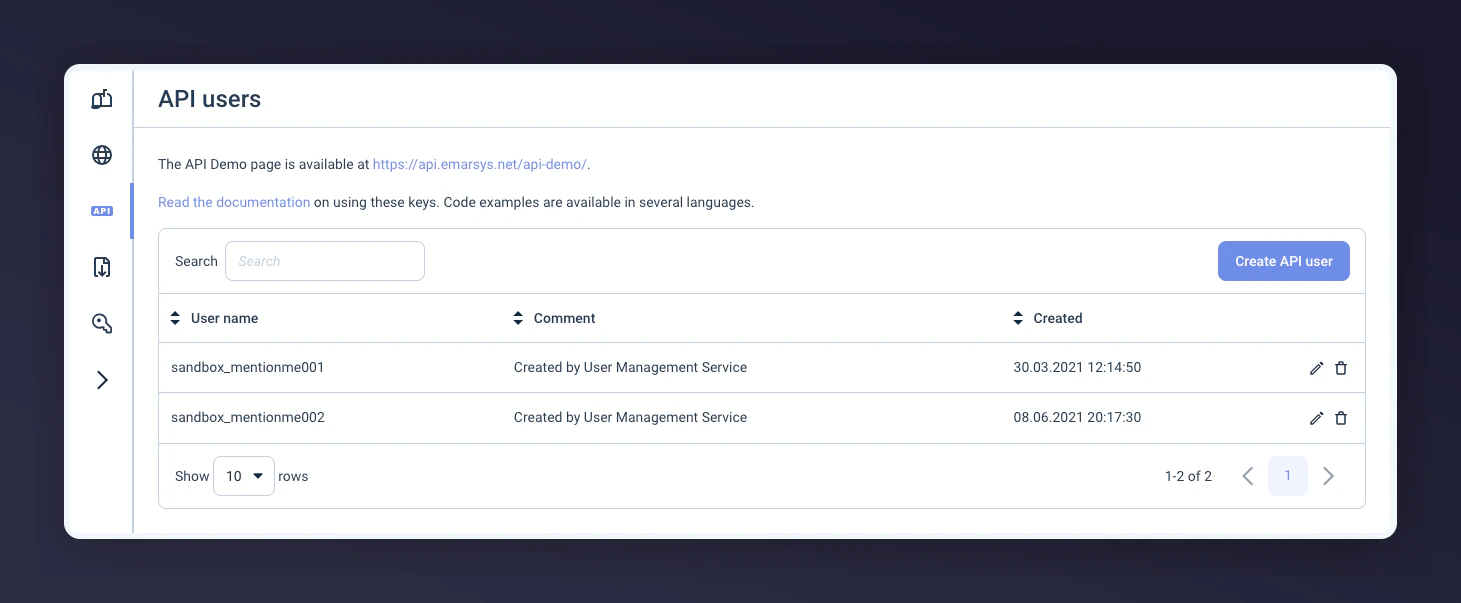
Navigate to Management > Security Settings > API.
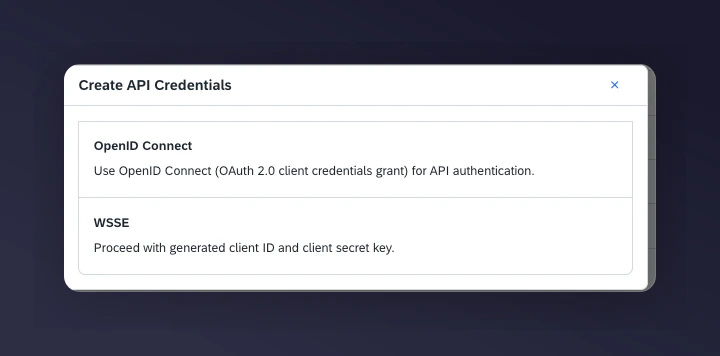
 Select **Create your API User**.
 Select **WSSE** as the Authentication Type.
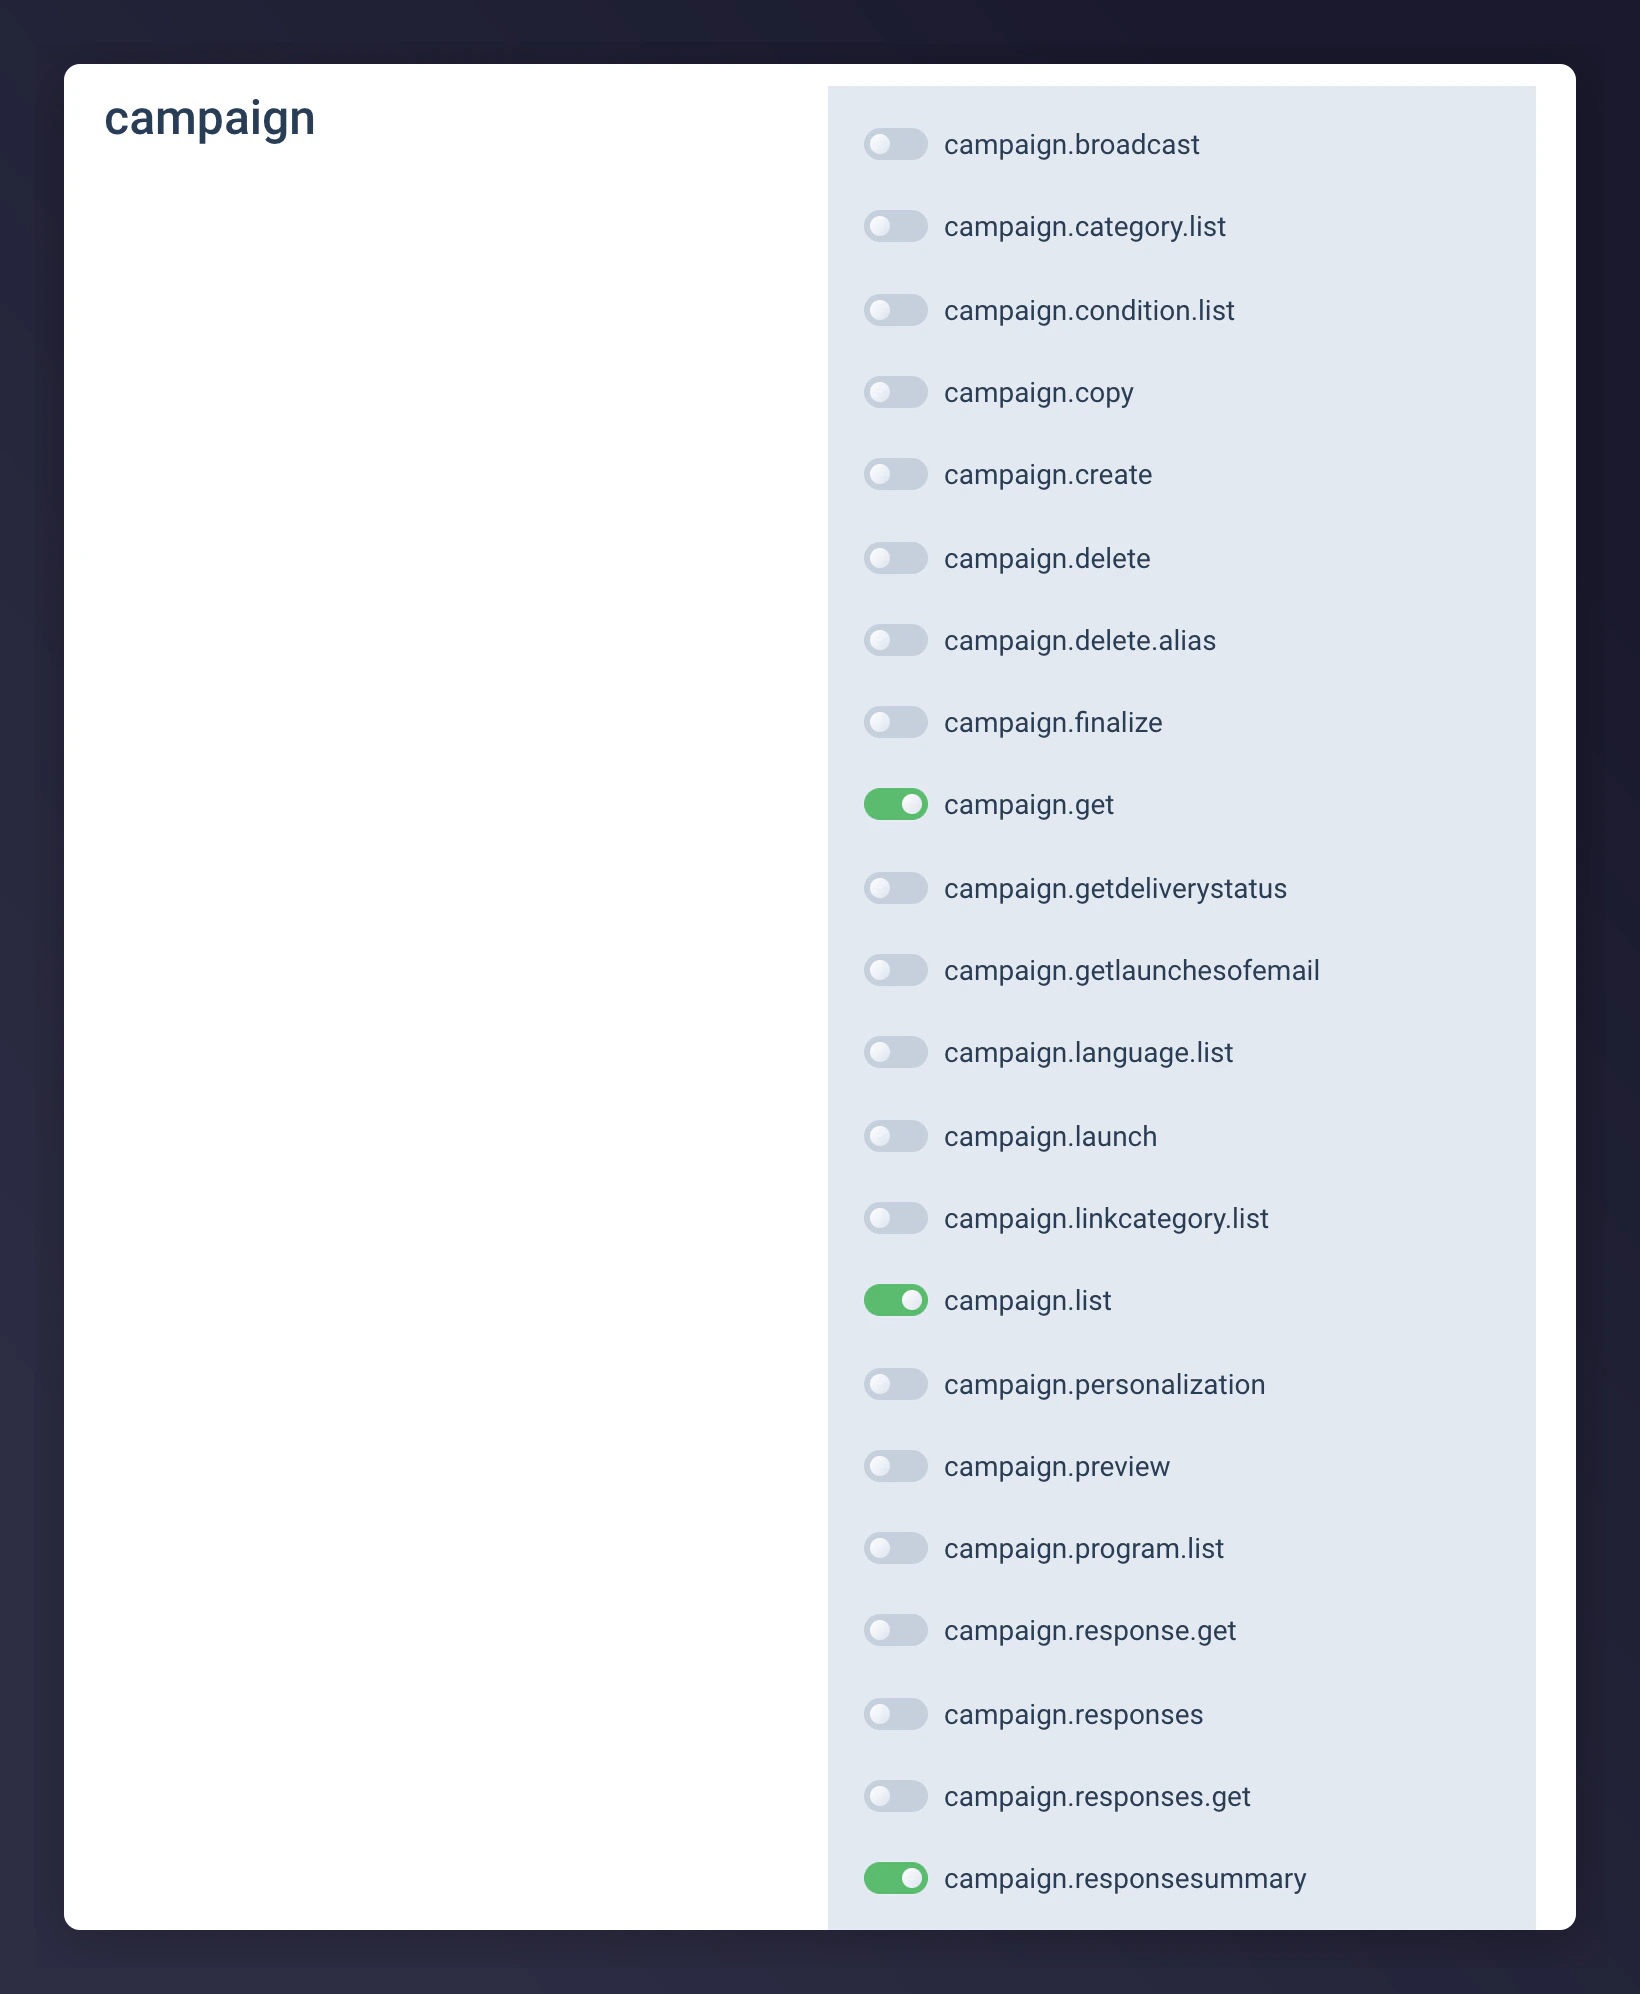
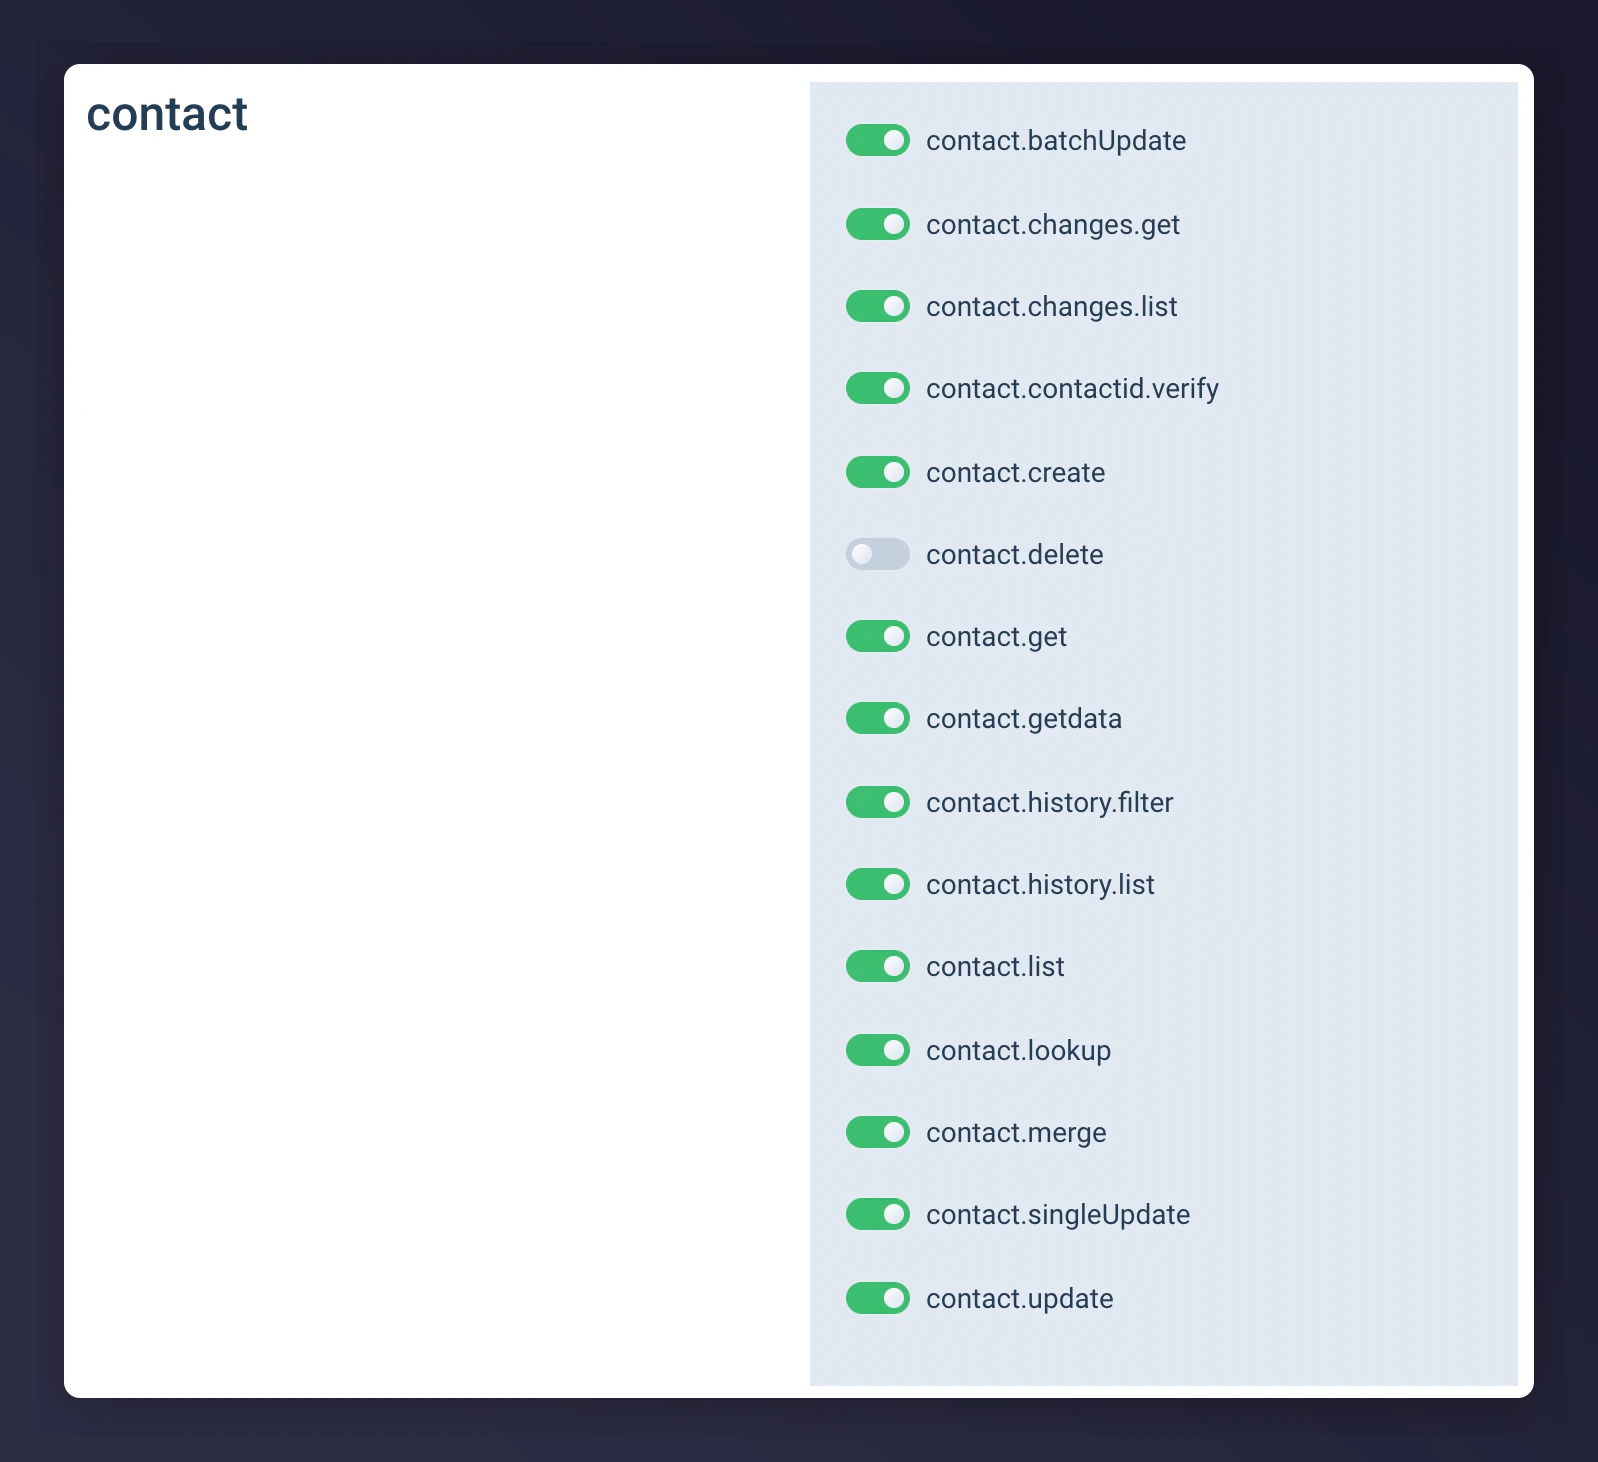
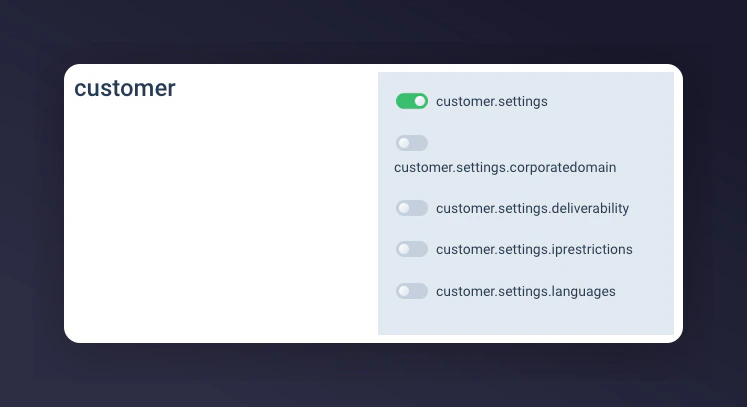
 Set the following permissions for the created API User(s):
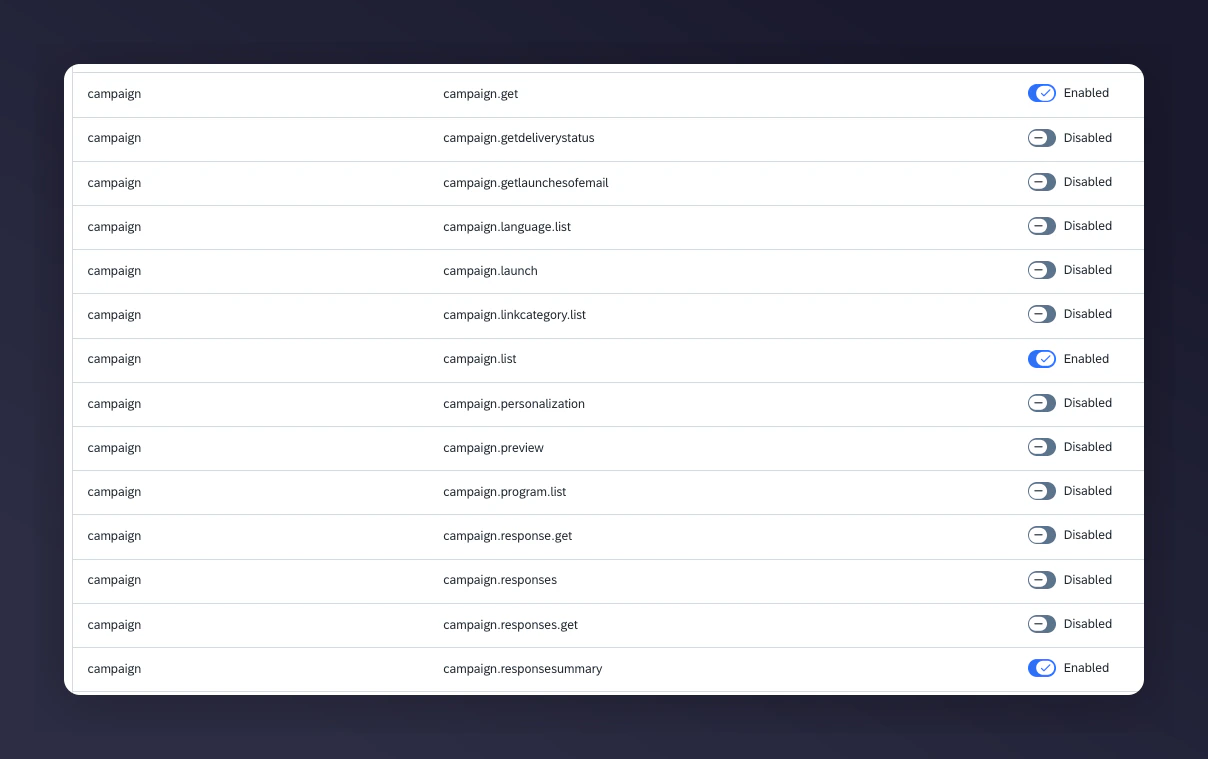
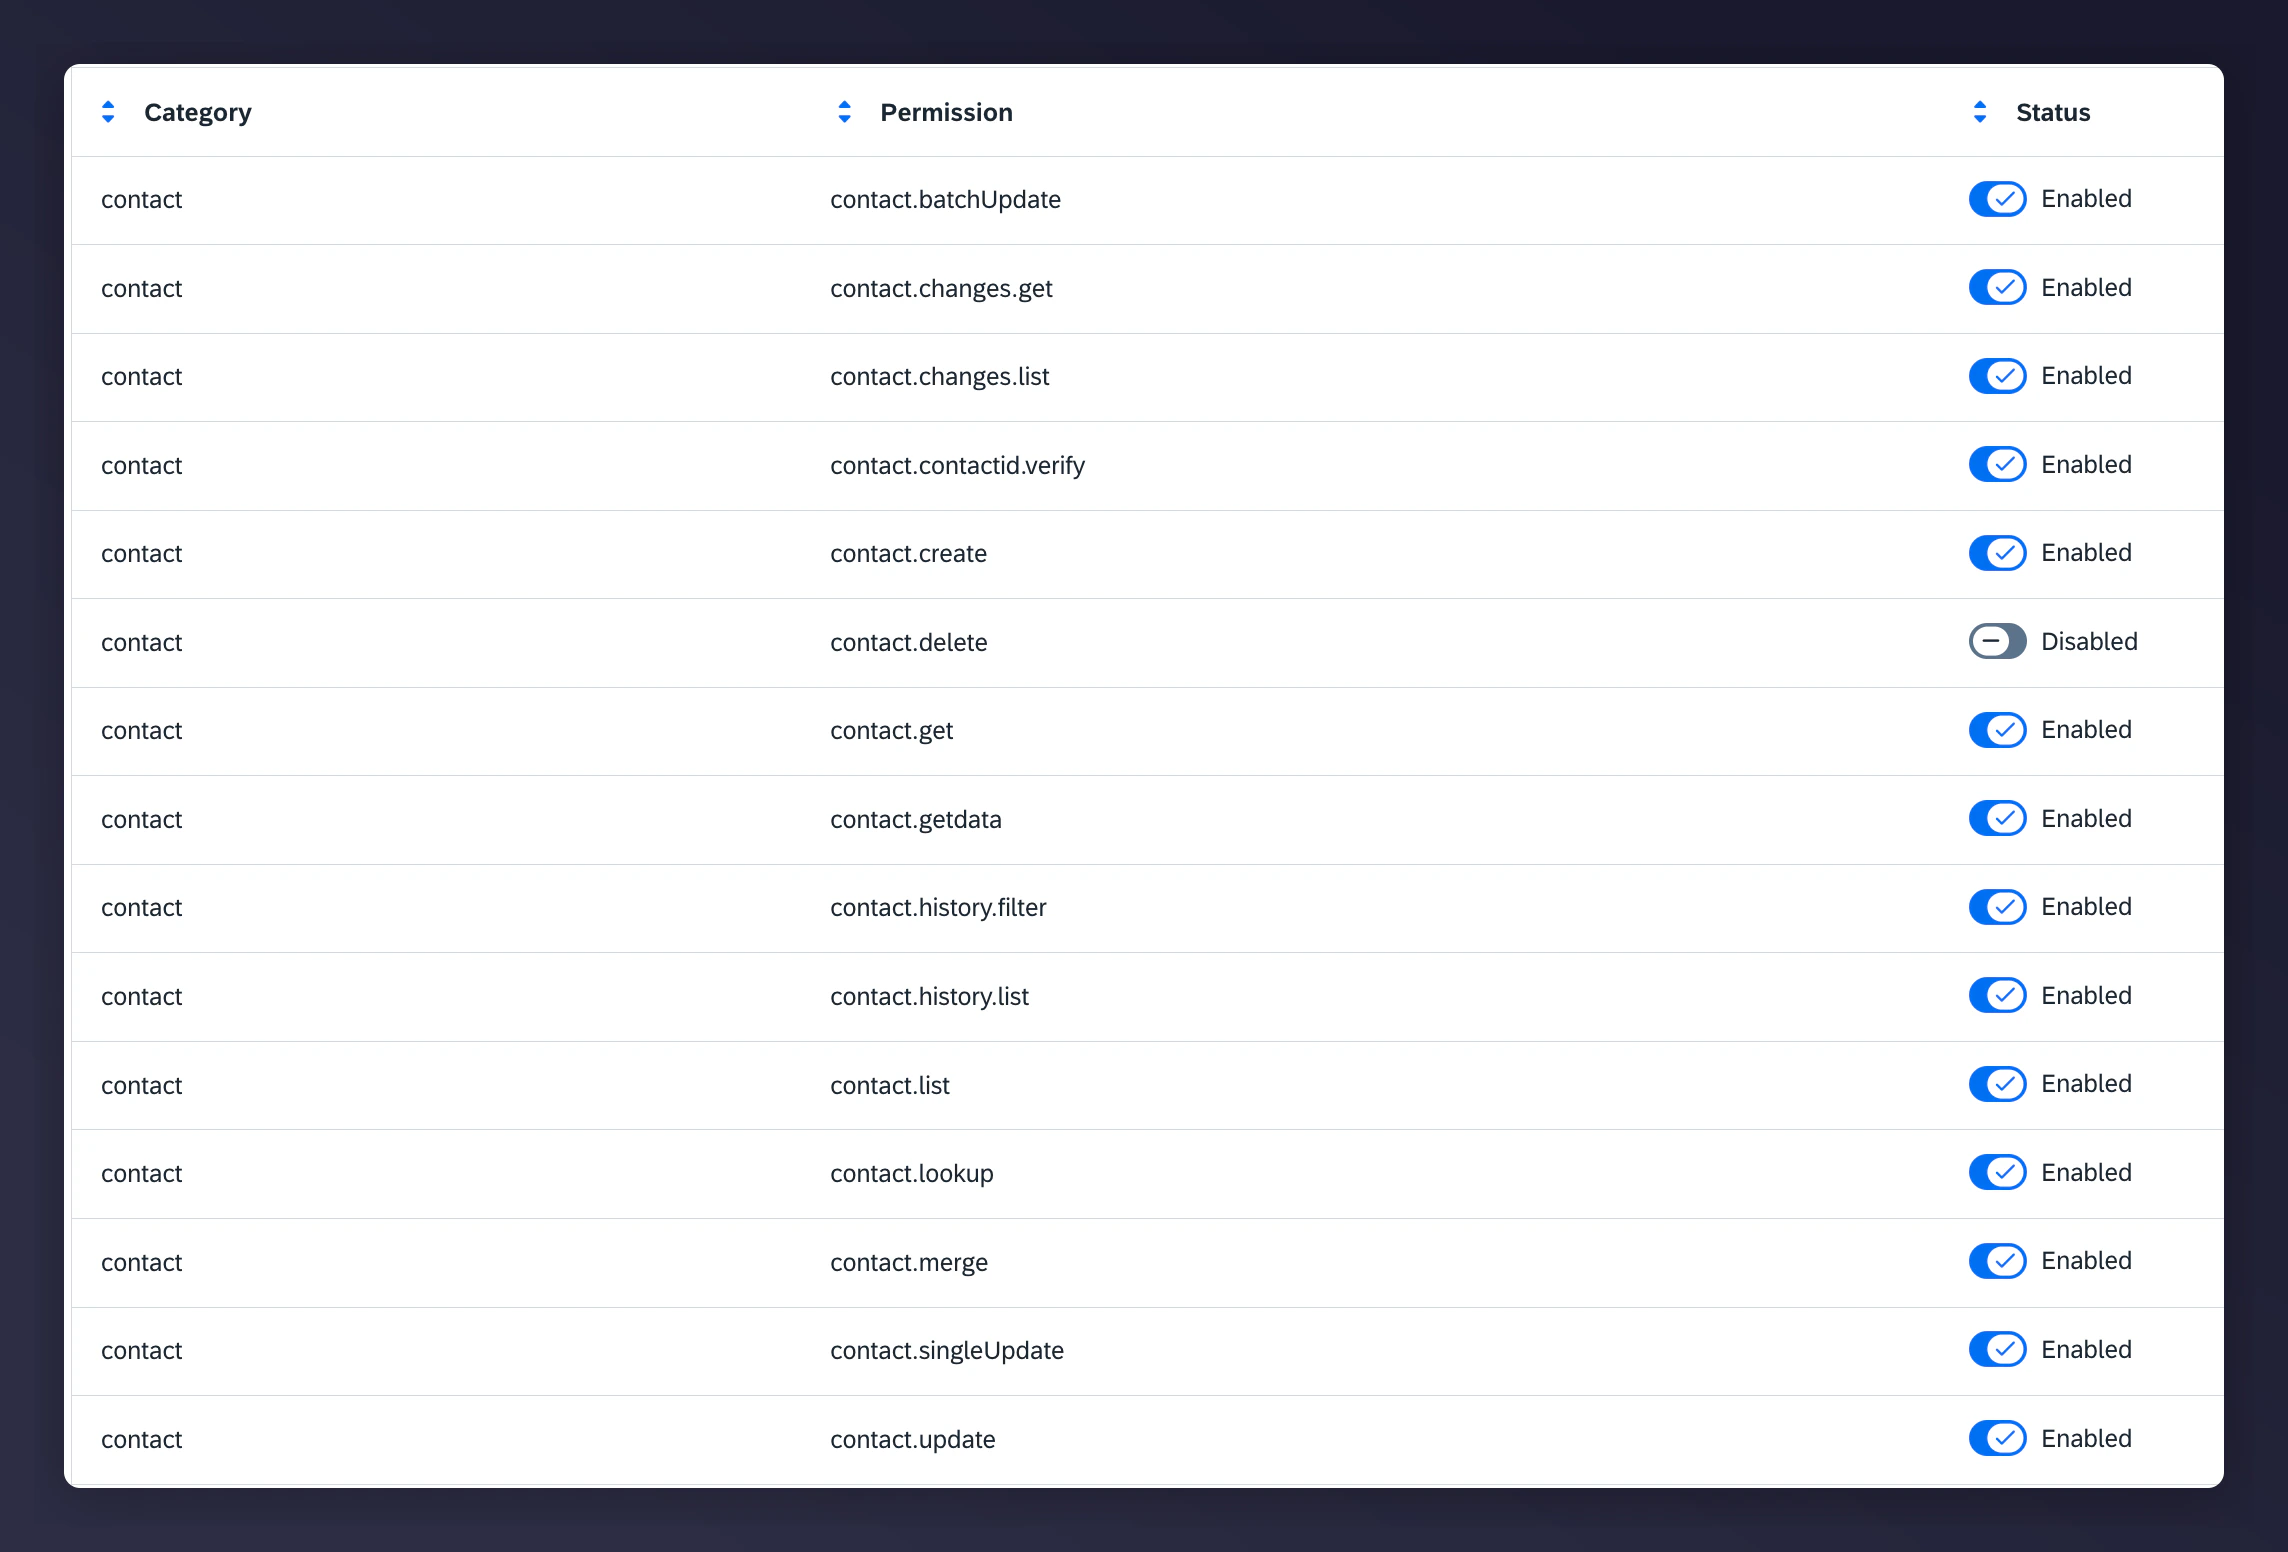

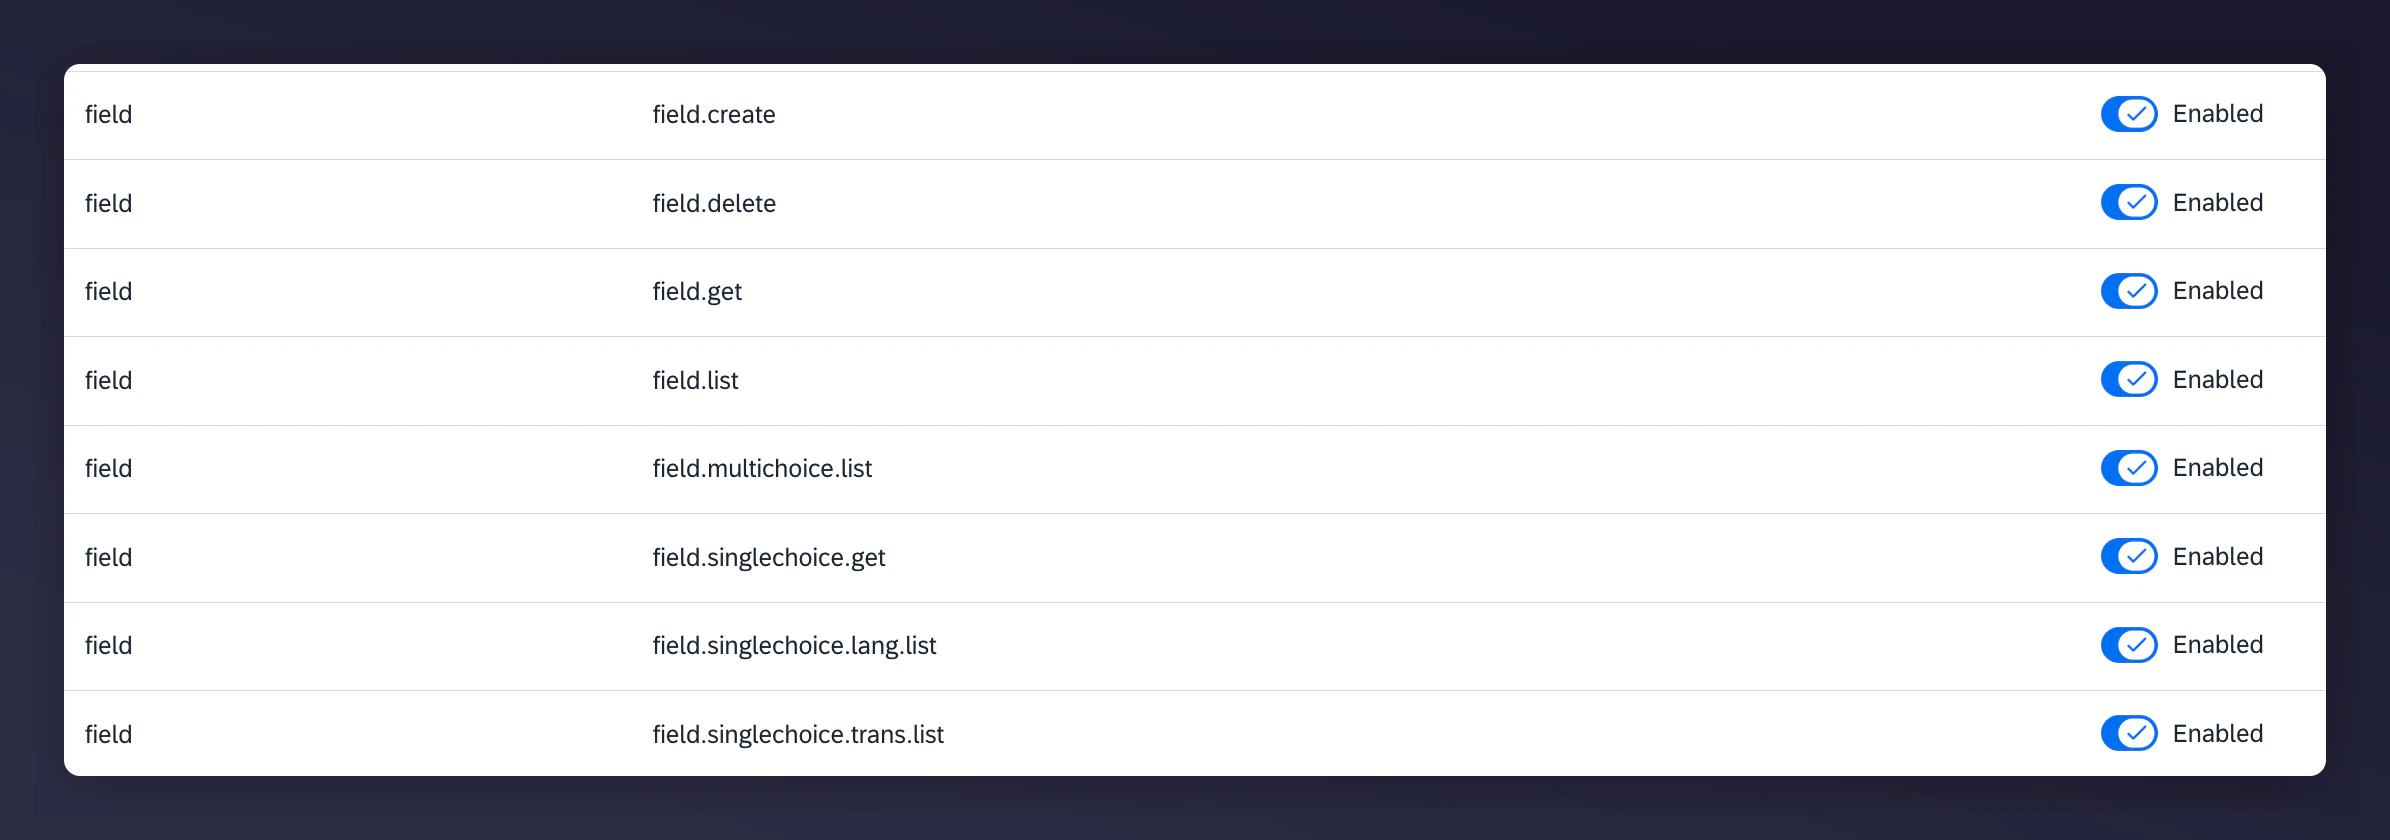
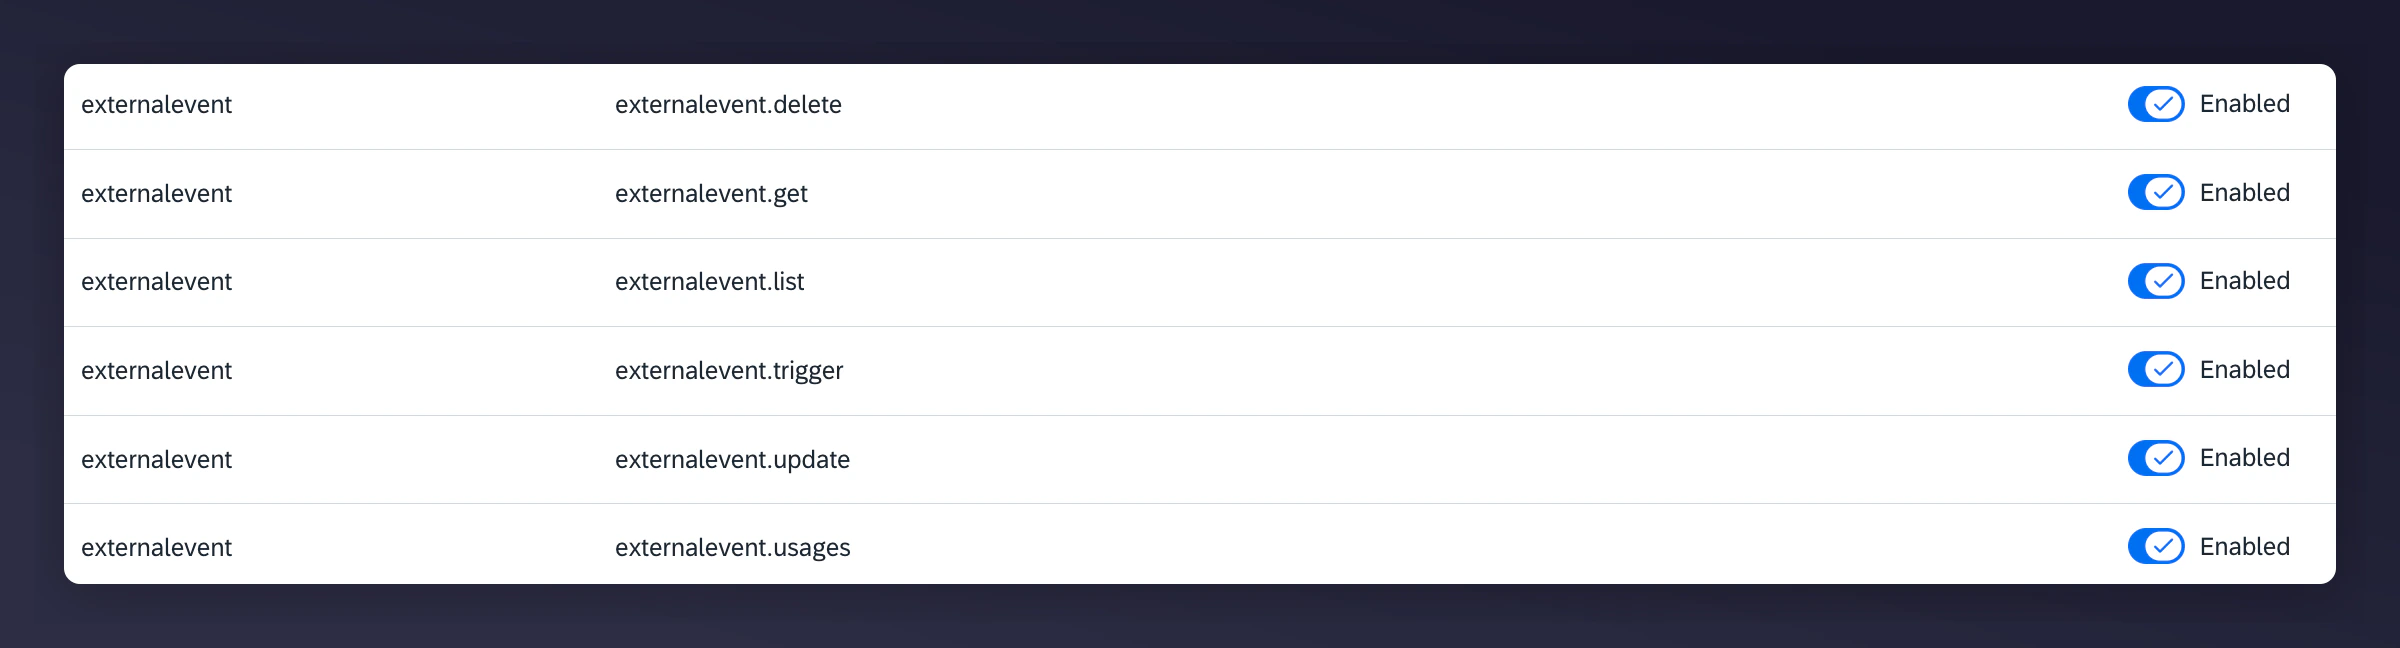 You must set up these permissions to implement and run the Mention Me and Emarsys integration.
[Learn more about creating your API key and secret.](https://help.emarsys.com/hc/en-us/articles/115004740329-security-settings#api-users)
Save these credentials for use in Step 2.
If you have multiple Emarsys accounts, create an API Username and Secret Key for each.
## Step 2: Set up the integration in Mention Me
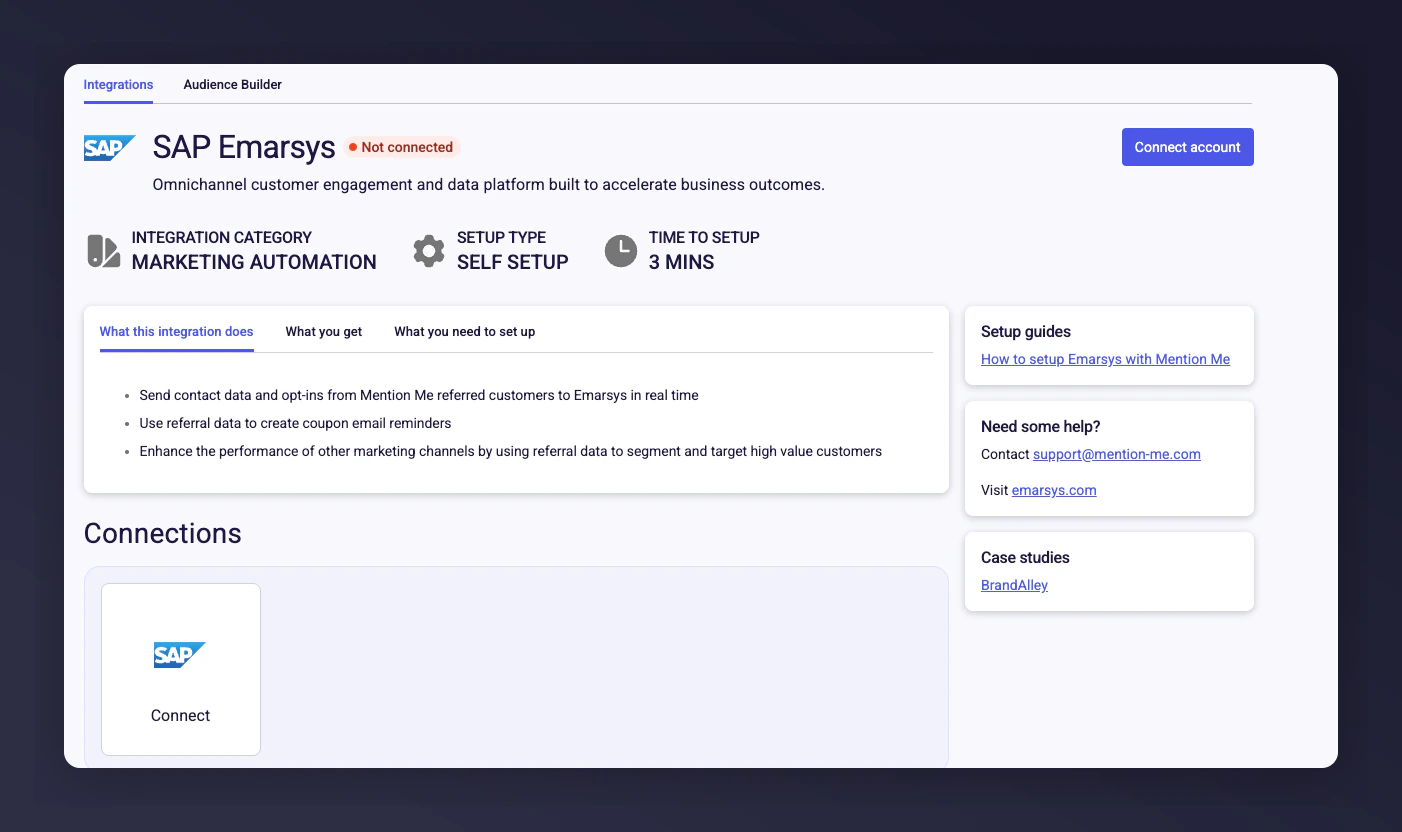
On the [Mention Me platform](https://mention-me.com/merchant/~/integrations/emarsys), click **Connect**.
You must set up these permissions to implement and run the Mention Me and Emarsys integration.
[Learn more about creating your API key and secret.](https://help.emarsys.com/hc/en-us/articles/115004740329-security-settings#api-users)
Save these credentials for use in Step 2.
If you have multiple Emarsys accounts, create an API Username and Secret Key for each.
## Step 2: Set up the integration in Mention Me
On the [Mention Me platform](https://mention-me.com/merchant/~/integrations/emarsys), click **Connect**.
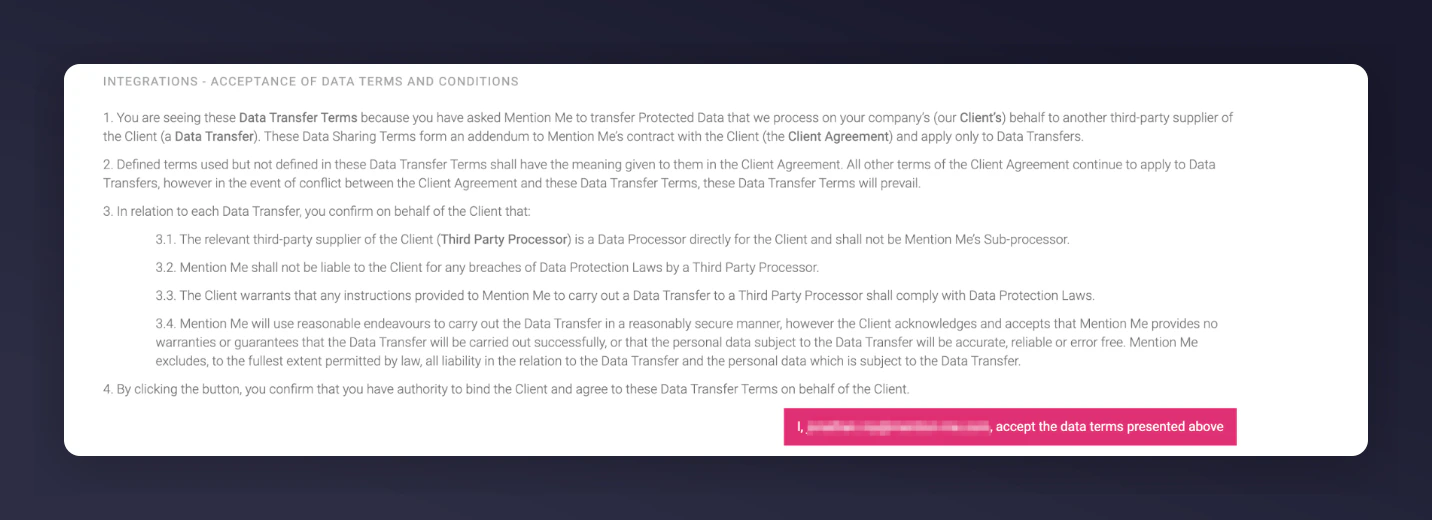
 Agree to the Terms and Conditions to allow Mention Me to transfer data to Emarsys on your behalf.
 Click **New authentication**.
 Name your authentication. If you have multiple Emarsys accounts, name the connection per account, or leave the default.
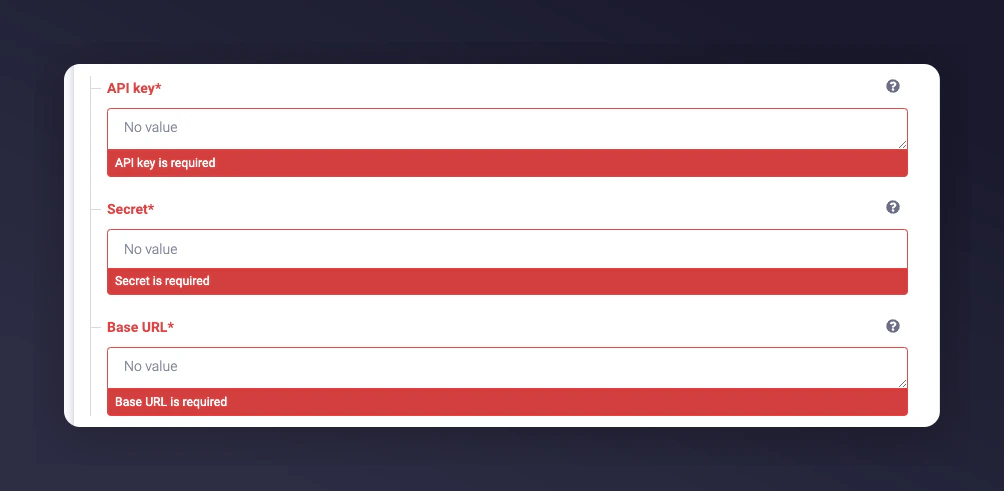
Enter the following values from Step 1:
* API Key (User)
* API Secret
Enter the following in the Base URL:
```
api.emarsys.net
```
Press **Create** to finish.
Name your authentication. If you have multiple Emarsys accounts, name the connection per account, or leave the default.
Enter the following values from Step 1:
* API Key (User)
* API Secret
Enter the following in the Base URL:
```
api.emarsys.net
```
Press **Create** to finish.
 Select the country/countries you want to sync to Emarsys.
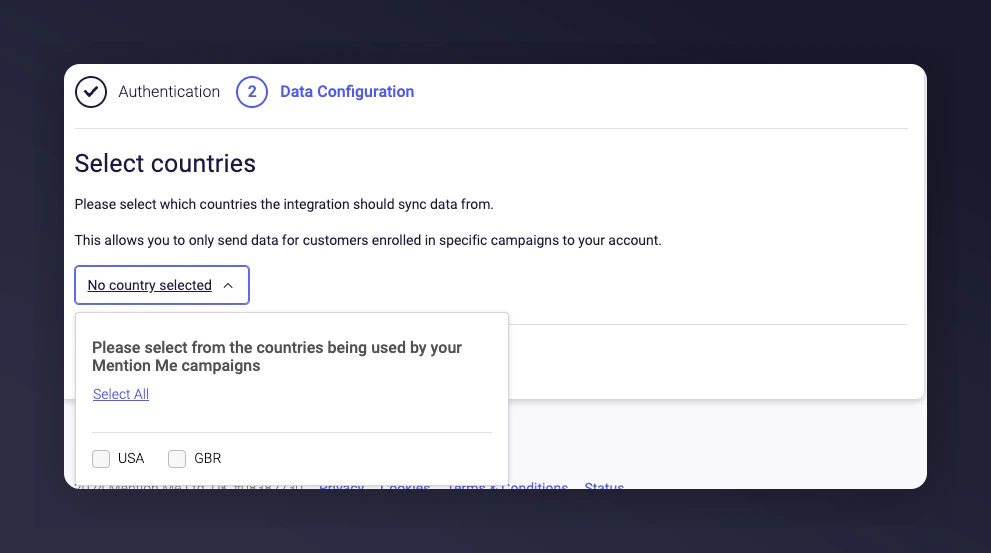 Depending on which countries you use Emarsys in, select only the specific Mention Me enabled markets.
Click **Connect** to finalize the setup. All properties and events will be created automatically inside Emarsys.
Depending on which countries you use Emarsys in, select only the specific Mention Me enabled markets.
Click **Connect** to finalize the setup. All properties and events will be created automatically inside Emarsys.
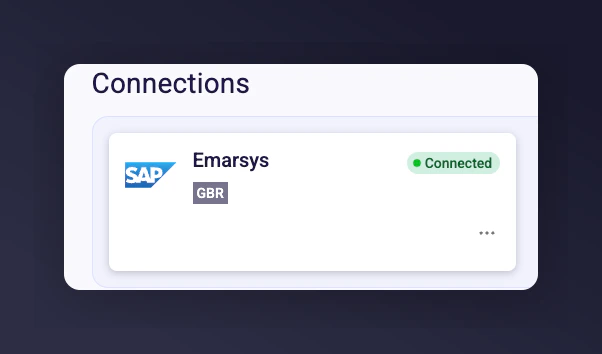
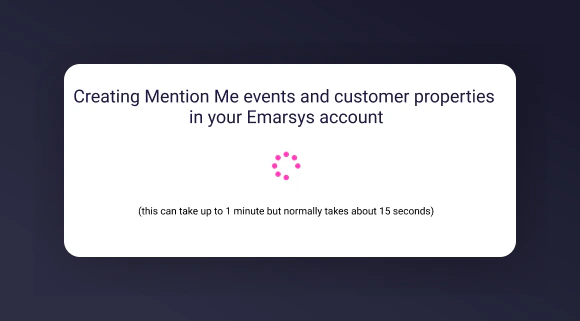 A confirmation message will appear showing the integration completed successfully.
 Mention Me events and contacts will now begin syncing to your Emarsys account for use in Tactics and segmentation. If you need help, contact your CSM or [submit a support request](https://help.mention-me.com/hc/en-gb/requests/new).
### Multiple account setup (optional)
If you would like to integrate another Emarsys account (e.g. for different regions such as UK/US), click **Connect Another Account** and repeat the above steps.
Mention Me events and contacts will now begin syncing to your Emarsys account for use in Tactics and segmentation. If you need help, contact your CSM or [submit a support request](https://help.mention-me.com/hc/en-gb/requests/new).
### Multiple account setup (optional)
If you would like to integrate another Emarsys account (e.g. for different regions such as UK/US), click **Connect Another Account** and repeat the above steps.
 ## Supplying Emarsys credentials for opt-in triggering rules (optional)
Use this section if you have requested to enable checking of customers' opt-in status before showing a newsletter sign-up overlay. This is separate from the full Emarsys integration above.
### Prerequisites
* **Emarsys** — Ability to [create private API Users](https://help.emarsys.com/hc/en-us/articles/115004740329-Your-account-Security-Settings#api-users).
* **Mention Me** — Access to the [Mention Me platform](https://mention-me.com/login).
### Step 1: Provide Emarsys API key and secret
Log in to [Emarsys](https://login.emarsys.net/bootstrap.php?r=customer/Login) as the **Account Owner**.
Go to Management > Security Settings > API.
## Supplying Emarsys credentials for opt-in triggering rules (optional)
Use this section if you have requested to enable checking of customers' opt-in status before showing a newsletter sign-up overlay. This is separate from the full Emarsys integration above.
### Prerequisites
* **Emarsys** — Ability to [create private API Users](https://help.emarsys.com/hc/en-us/articles/115004740329-Your-account-Security-Settings#api-users).
* **Mention Me** — Access to the [Mention Me platform](https://mention-me.com/login).
### Step 1: Provide Emarsys API key and secret
Log in to [Emarsys](https://login.emarsys.net/bootstrap.php?r=customer/Login) as the **Account Owner**.
Go to Management > Security Settings > API.
 Create your API Username and API Secret Key.
If you have multiple Emarsys accounts, create an API Username and Secret Key for each account.
Create your API Username and API Secret Key.
If you have multiple Emarsys accounts, create an API Username and Secret Key for each account.
 Save these credentials as plain text or in a PDF file (so you can upload them to Mention Me).
Click the edit button to update the API User Permissions and only enable the following for the newly created API User(s):
Save these credentials as plain text or in a PDF file (so you can upload them to Mention Me).
Click the edit button to update the API User Permissions and only enable the following for the newly created API User(s):
 [Learn more about creating your API key and secret.](https://help.emarsys.com/hc/en-us/articles/115004740329-security-settings#api-users)
### Step 2: Send the Account ID, API key, and secret securely to Mention Me
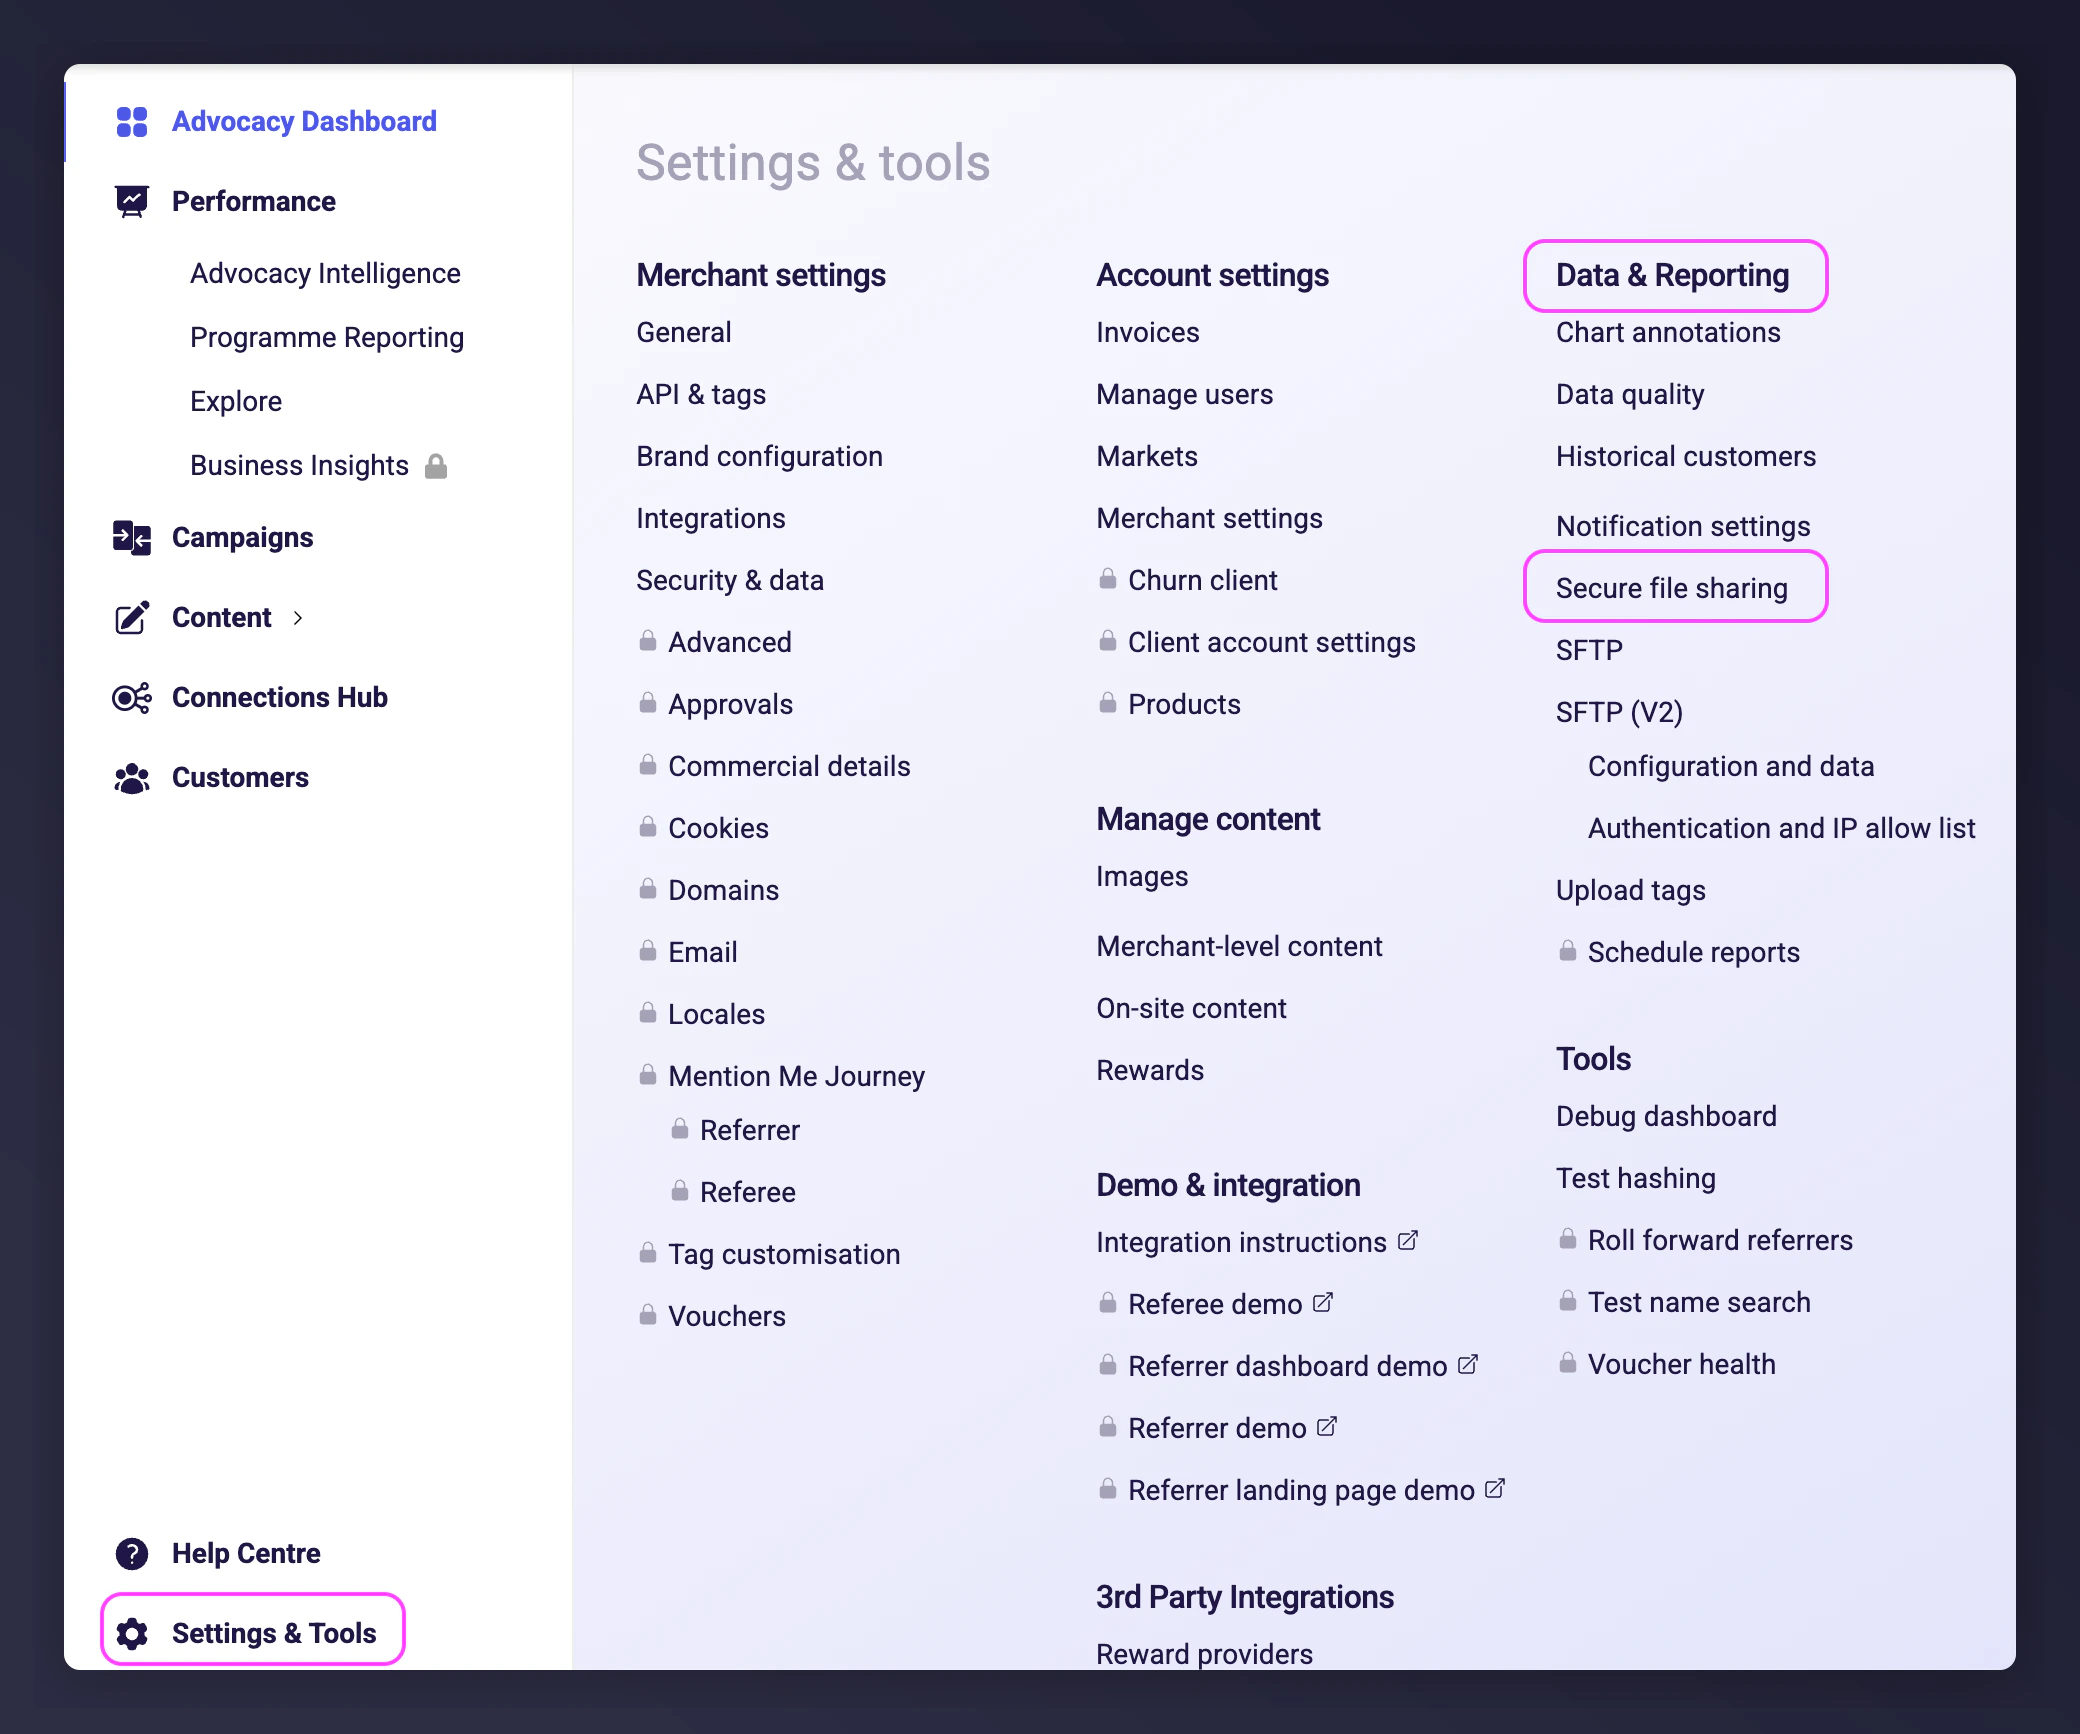
Log in to the [Mention Me platform](https://mention-me.com/login).
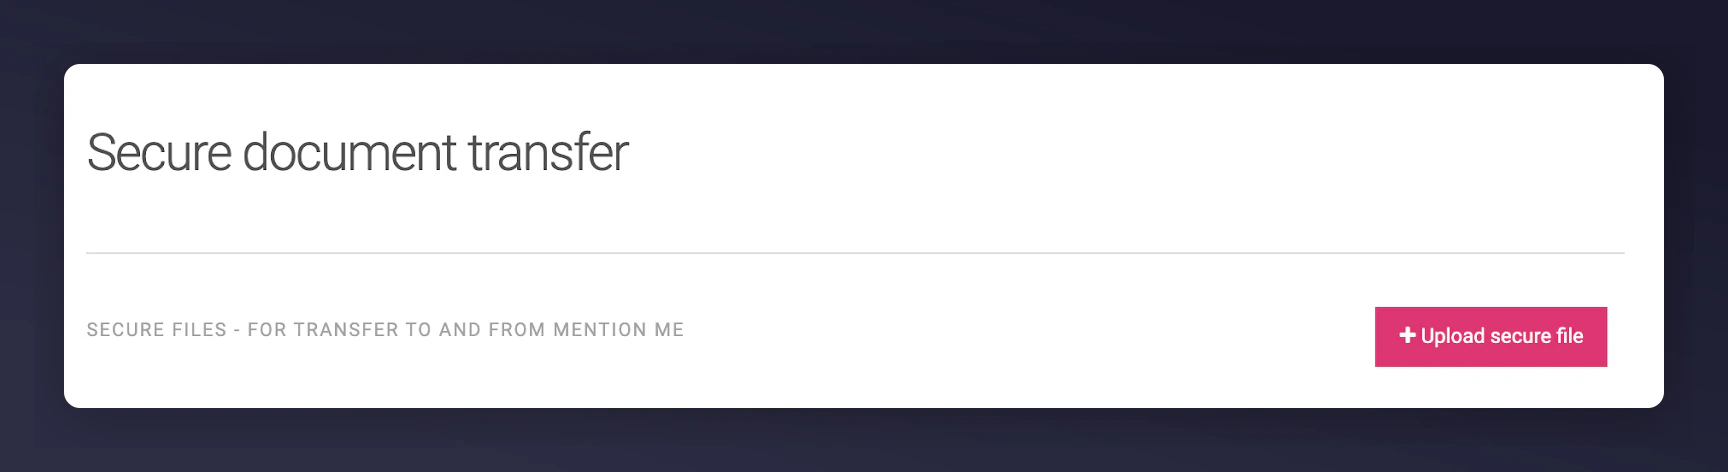
Navigate to the **Secure file transfer** option under the **Settings & Tools** tab.
[Learn more about creating your API key and secret.](https://help.emarsys.com/hc/en-us/articles/115004740329-security-settings#api-users)
### Step 2: Send the Account ID, API key, and secret securely to Mention Me
Log in to the [Mention Me platform](https://mention-me.com/login).
Navigate to the **Secure file transfer** option under the **Settings & Tools** tab.
 Click **Upload secure file**, then upload the PDF file containing your API key and secret to the secure area.
 Email your Mention Me Client Success Manager to let them know you've uploaded this information.
## Granting your Mention Me CSM access to your Emarsys account
Granting Mention Me view-only access to your Emarsys account allows your CSM to provide recommendations on where advocacy data can fit into your segmentation or contact strategy.
The permissions are **view-only** for specific functions and do **not** include access to personally identifiable customer data.
### What Mention Me will have permission to view
* Automation Performance
* Email Campaign Performance
* Strategic Dashboard
* Tactics Enabled
### Prerequisites
You must have an **Account Owner** role in Emarsys to create new roles and users.
### Step 1: Create a new Mention Me role in Emarsys
[Learn more about creating Roles in Emarsys.](https://help.emarsys.com/hc/en-us/articles/360015594914-User-roles-and-permissions)
Log in to [Emarsys](https://login.emarsys.net/bootstrap.php?r=customer/Login) as the **Account Owner**.
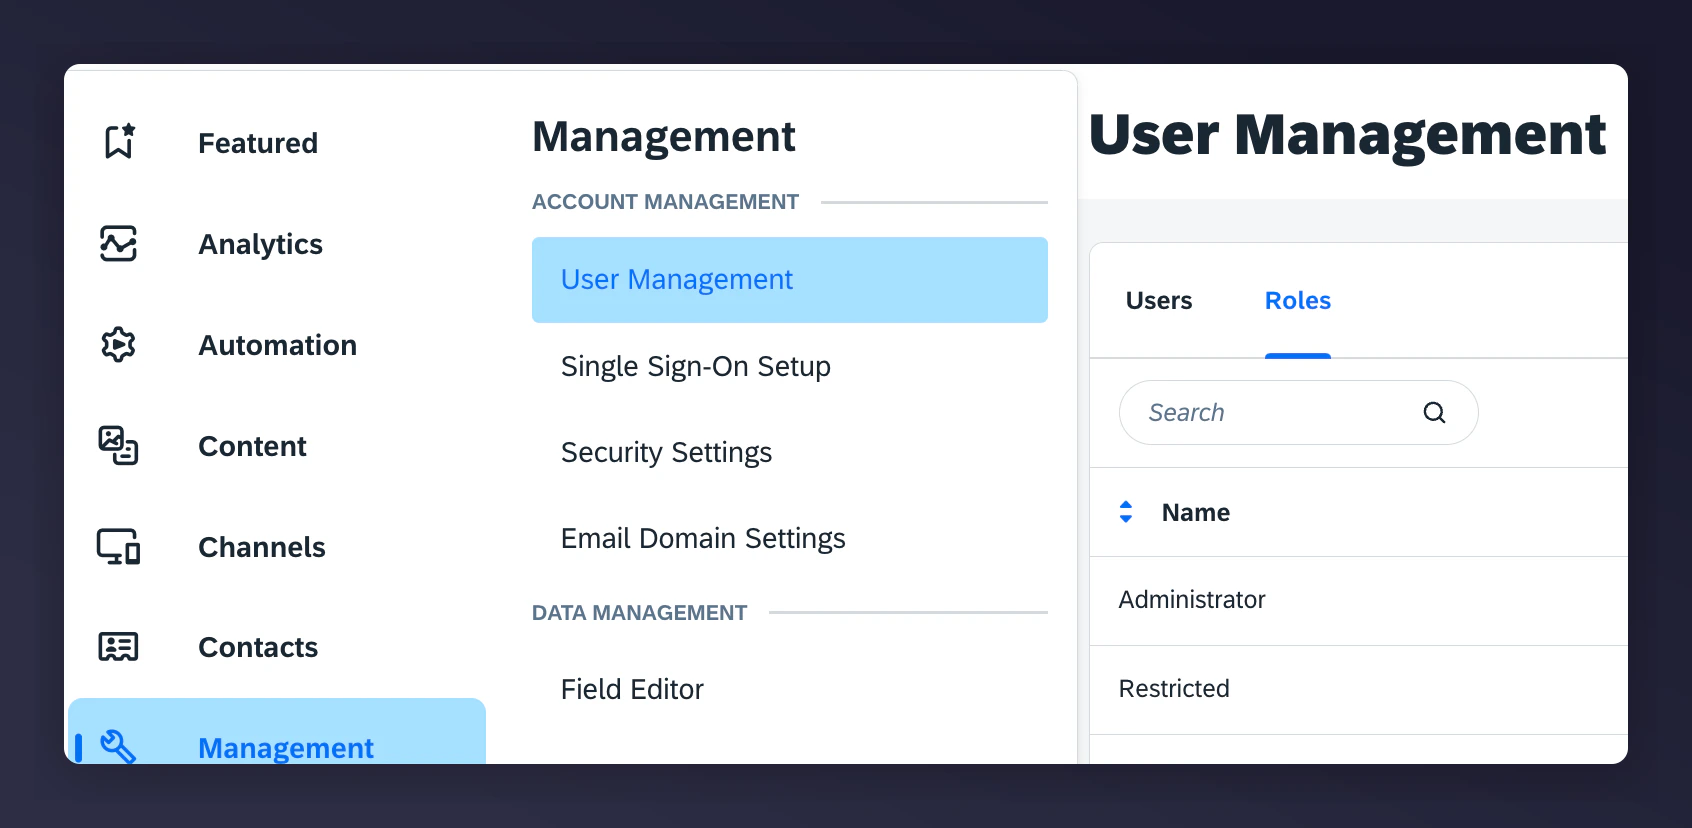
Go to Management > User Management > Roles.
Email your Mention Me Client Success Manager to let them know you've uploaded this information.
## Granting your Mention Me CSM access to your Emarsys account
Granting Mention Me view-only access to your Emarsys account allows your CSM to provide recommendations on where advocacy data can fit into your segmentation or contact strategy.
The permissions are **view-only** for specific functions and do **not** include access to personally identifiable customer data.
### What Mention Me will have permission to view
* Automation Performance
* Email Campaign Performance
* Strategic Dashboard
* Tactics Enabled
### Prerequisites
You must have an **Account Owner** role in Emarsys to create new roles and users.
### Step 1: Create a new Mention Me role in Emarsys
[Learn more about creating Roles in Emarsys.](https://help.emarsys.com/hc/en-us/articles/360015594914-User-roles-and-permissions)
Log in to [Emarsys](https://login.emarsys.net/bootstrap.php?r=customer/Login) as the **Account Owner**.
Go to Management > User Management > Roles.
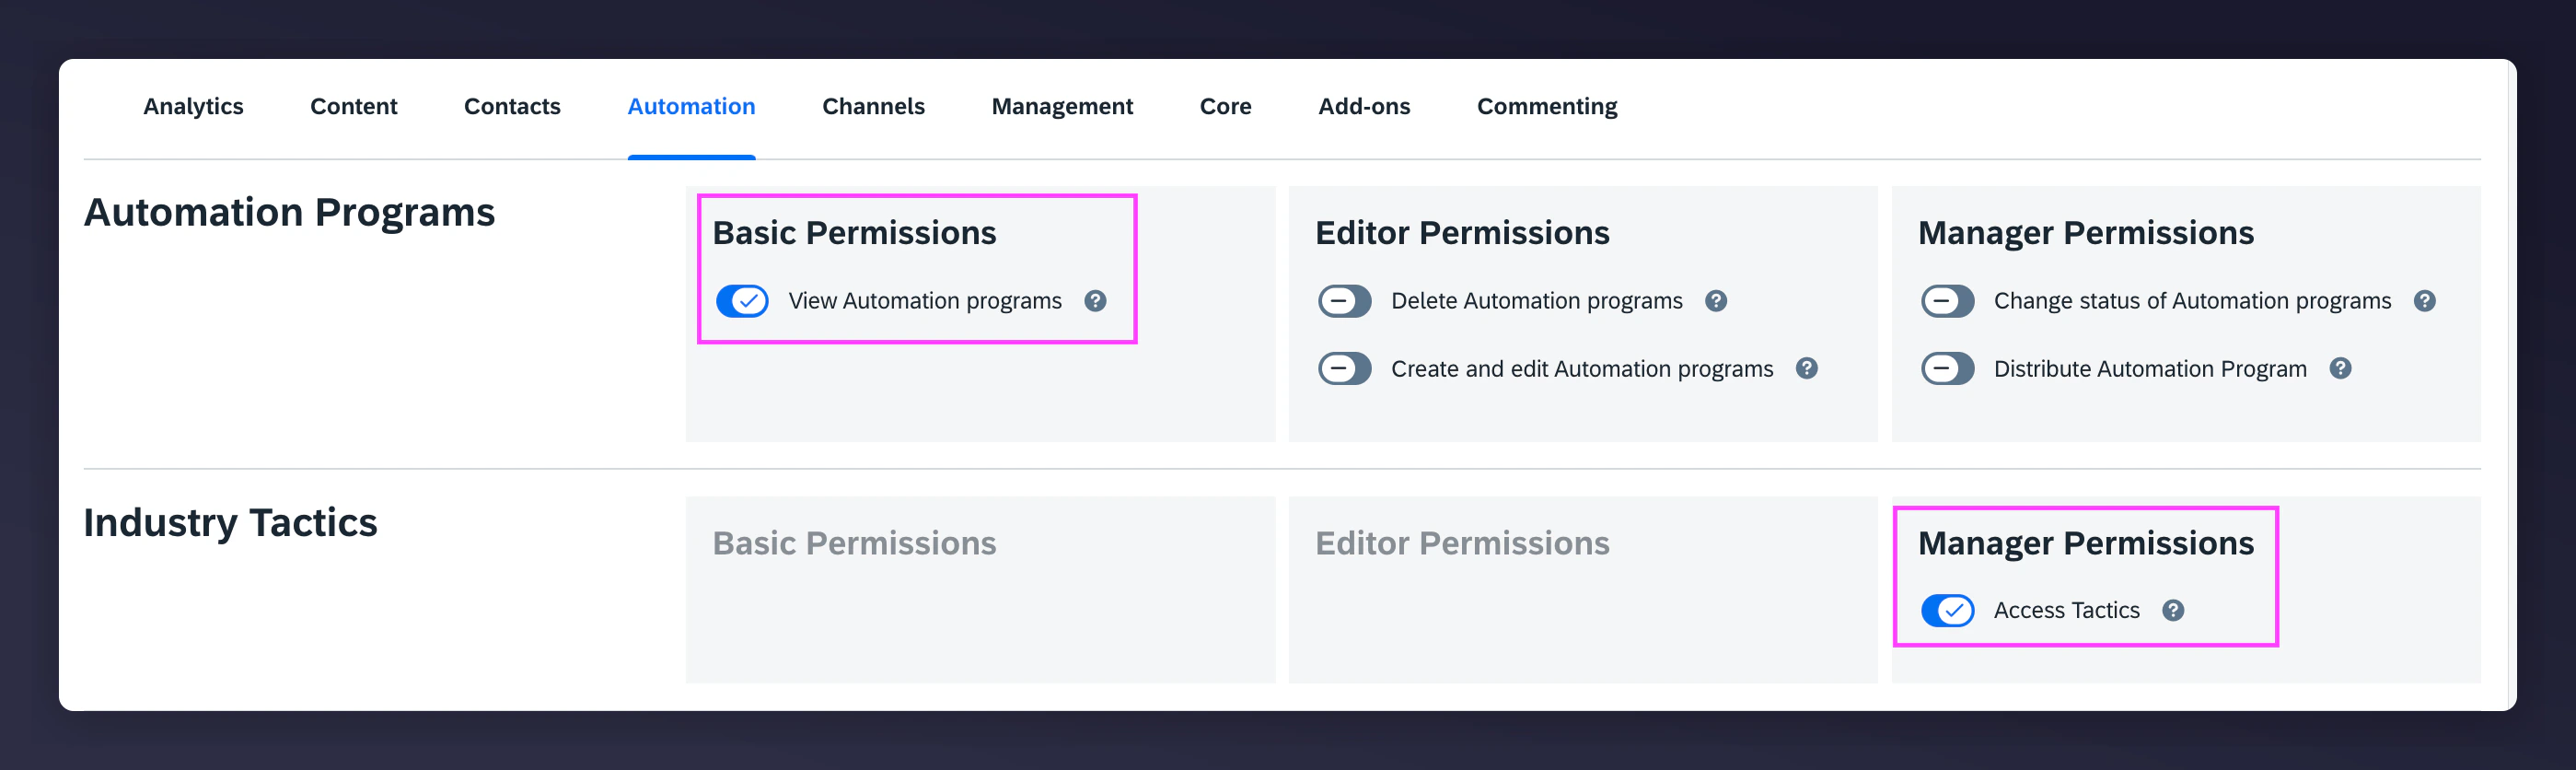
 Click **Create Role**.
Name the Role "Mention Me" and include a description.
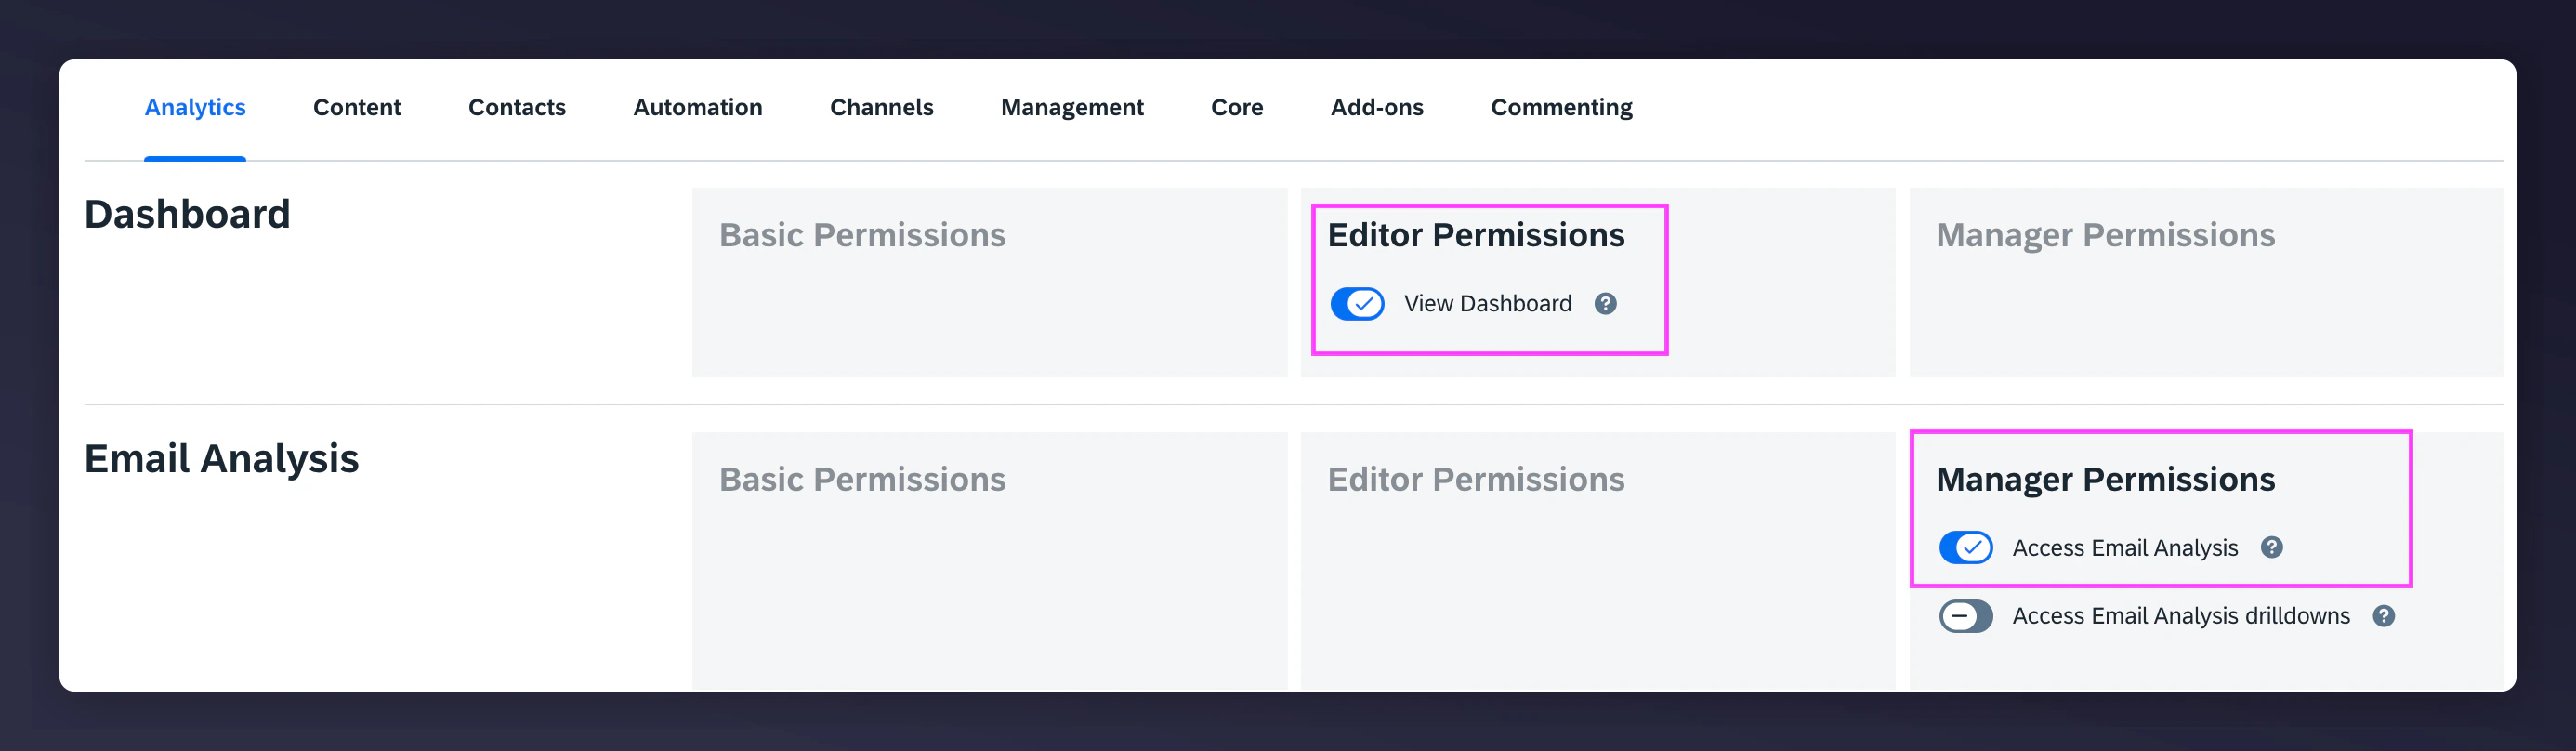
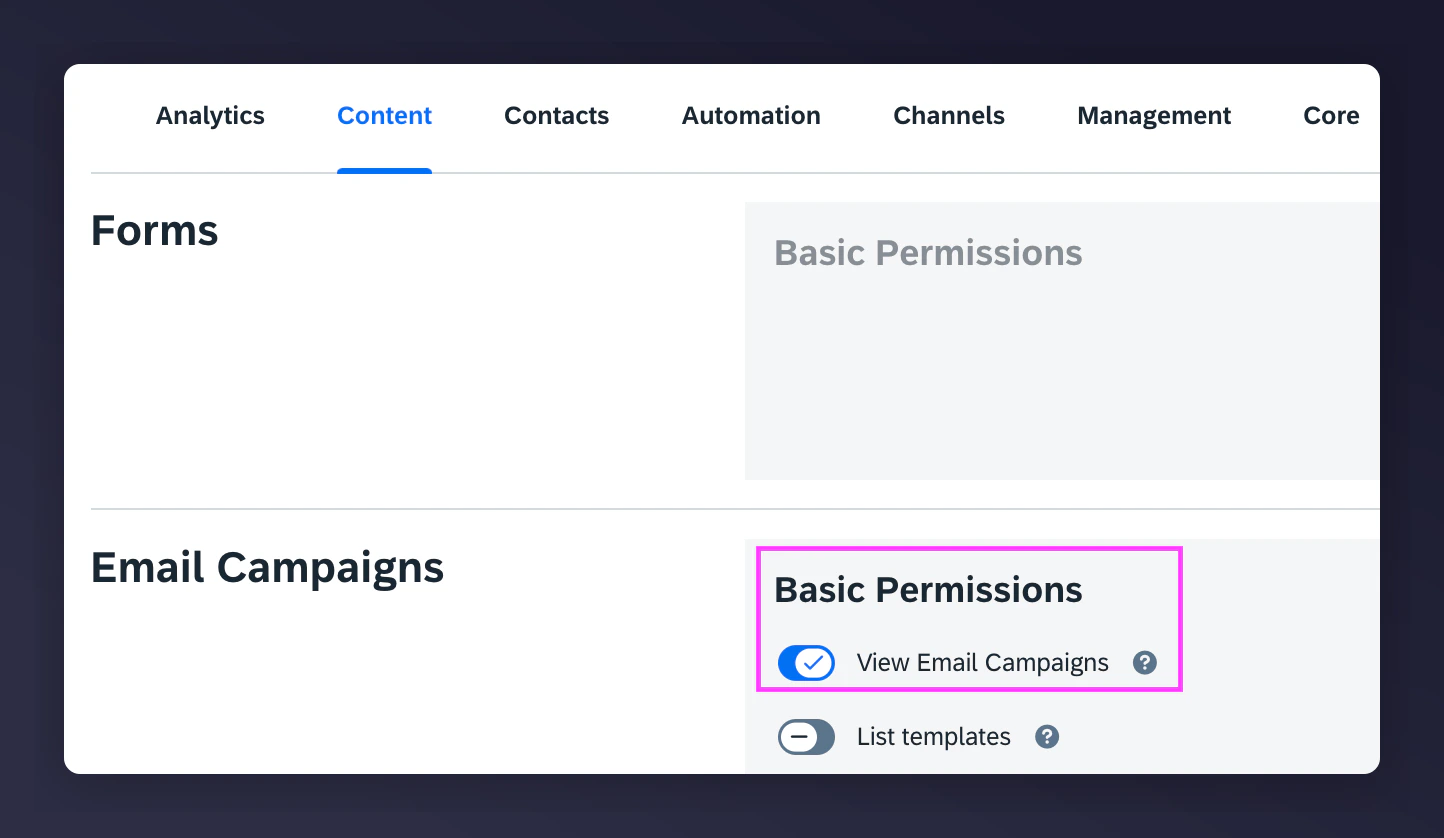
Set the Role permissions as follows:
Click **Create Role**.
Name the Role "Mention Me" and include a description.
Set the Role permissions as follows:
 Save the Role.
### Step 2: Create a new Mention Me user in Emarsys
[Learn more about creating Users in Emarsys.](https://help.emarsys.com/hc/en-us/articles/115004735805-Creating-and-managing-users)
Log in to [Emarsys](https://login.emarsys.net/bootstrap.php?r=customer/Login) as the **Account Owner**.
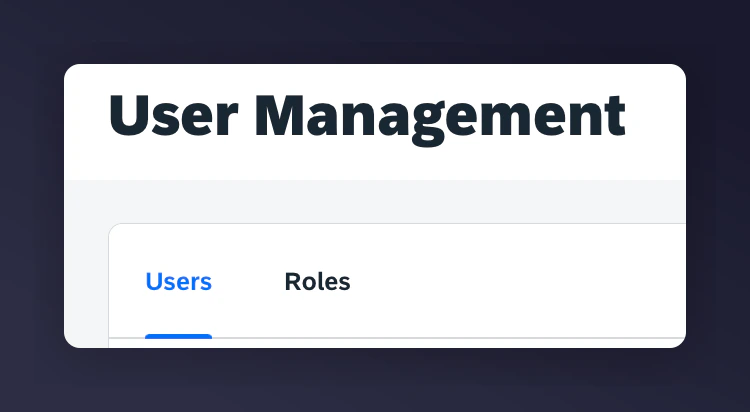
Go to Management > User Management > Users.
Save the Role.
### Step 2: Create a new Mention Me user in Emarsys
[Learn more about creating Users in Emarsys.](https://help.emarsys.com/hc/en-us/articles/115004735805-Creating-and-managing-users)
Log in to [Emarsys](https://login.emarsys.net/bootstrap.php?r=customer/Login) as the **Account Owner**.
Go to Management > User Management > Users.
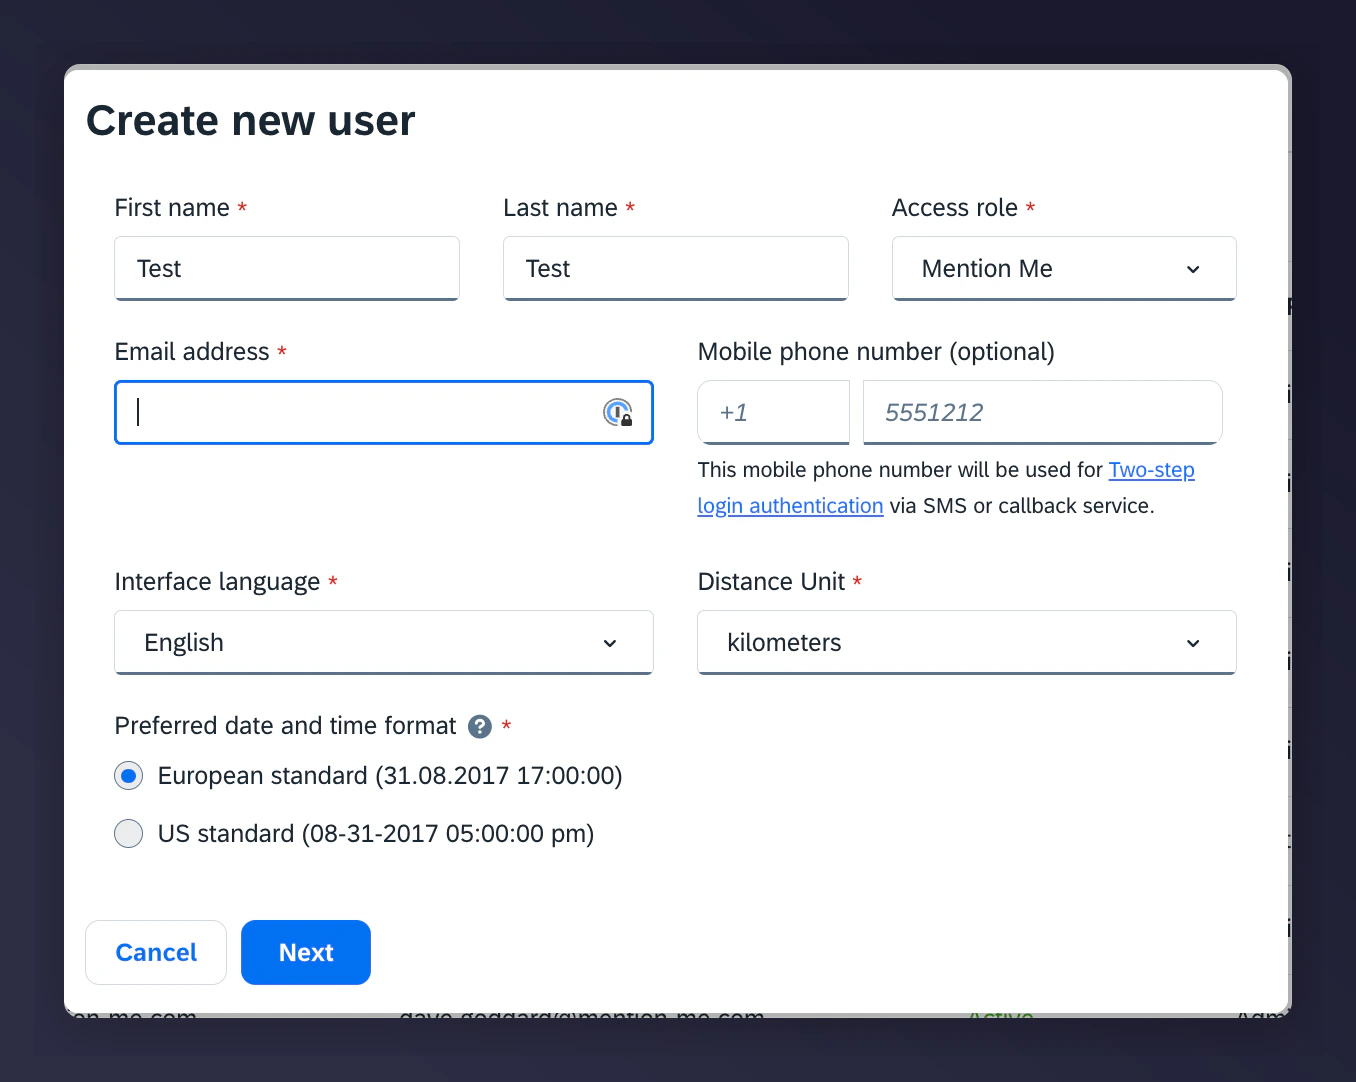
 Create a new user.
Enter your Mention Me CSM details.
Create a new user.
Enter your Mention Me CSM details.
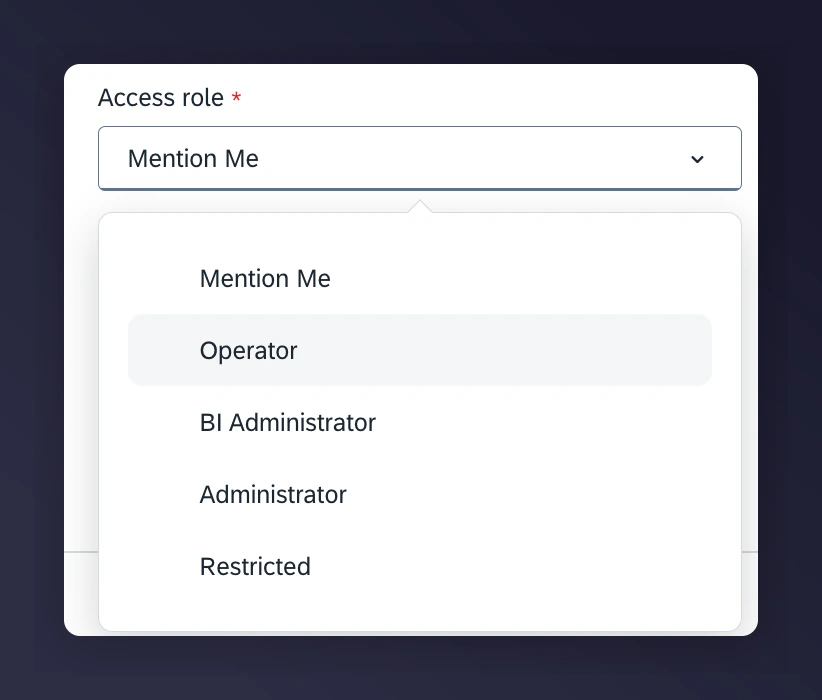
 Select the **Mention Me** Role from the Access Roles dropdown.
 Click "Next" and confirm the user creation.